Download
1 / 31
310 likes | 457 Views
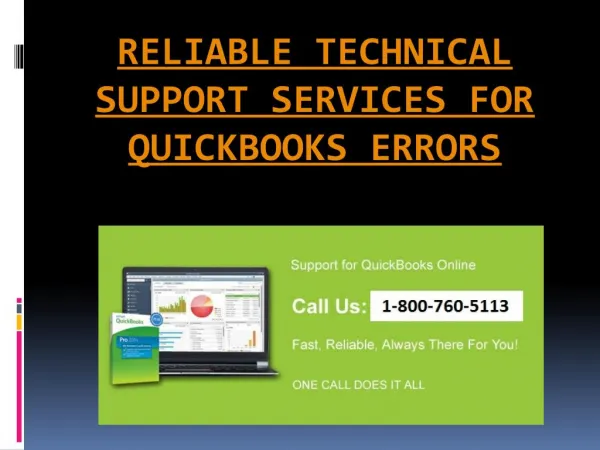
The important consideration in hiring Hosted Quick Books Provider is speed, cost, number of add- on support, technical expertise for support services and the programs supported at the terminal server. Now I will analyze the service offering by Quick Books Hosting market players to help you choose the right one.<br>

E N D
Objectives • How to install the QuickBooks software • How to work with the practice files in this book • How to open QuickBooks data files • Editions of the QuickBooks software • Some of the basic principles of accounting • About Academy Glass, the sample company • How to install QuickBooks Releases • How to use Navigators, Menus, Icon Bars, and the Shortcut list in QuickBooks • About QuickBooks Help and Support
Installing QuickBooks Software • Insert the QuickBooks CD into CD-ROM drive • The installation program will start automatically • Follow the onscreen instructions • If the installation program does not start automatically: • Select the windows start menu and then select run • Enter [D]:\ Setup.exe (where D is the drive letter of your CD-ROM drive) • Click OK
Working With the Practice Files • The practice files are located at www.quickbooksupportdesk.com/support/ • Download the file QuickBooks_2005_Classroom_Files.exe to your local hard disk and install (double-click) it • Installed files will be placed in • C:\QuickBooks 2005 Classroom Files and backup files into the QuickBooks 2005 Backup Files directory.
Computer Practices • All the chapter computer files are • In the .QBB format • Located inside the QuickBooks 2005 backup files sub directory • Example: Intro-05.QBB • The practice files used for every chapter are • In the .QBW format • Created by restoring the corresponding backup file • Example: Intro-05.QBW
About QuickBooks Files QuickBooks has two primary types of files: • Data files (extension “.QBW”) • To enter data or create reports • Select File menu and then select Opencompany • Backup files (extension “.QBB”) • To create a condensed version of the data file • Restore into a .QBW file before using it • Select File menu and then select Restore
Backing up Data Files • To create a backup, select the File Menu and then choose Backup • Creates a smaller version of the data file with the file extension “.QBB” • Most important safeguard for safety of your data file
Restoring Backup Files • Main reasons for restoring backup files in QuickBooks: • To transfer files between computers • To recover damaged or lost data files • Restoring does not add information to your file
Steps to Restore a Backup File • Launch the QuickBooks program • Select the File menu and then select Restore • Restore From: Set the filename and location fields of your backup disk and backup file name (.QBB file) • Restore To: Set the filename and location fields to where you want to store your file (.QBW file) • Click Restore • QuickBooks will then restore your backup file to a “.QBW” file in the directory you specified
Open QuickBooks Data Files • Launch the QuickBooks program: • Double-click the icon on your desktop or • Select it from the Windows Start menu • Previously opened data file will be opened (unless you specifically closed the data file before exiting File/Close Company) • To open a different file, select the File menu and then select Open Company
QuickBooks Features • Comprehensive set of accounting tools that’s very powerful and easy to use • General Journal • Chart of Accounts • Accounts Receivable • Accounts Payable • Inventory • Financial Reporting • Fee based Payroll services
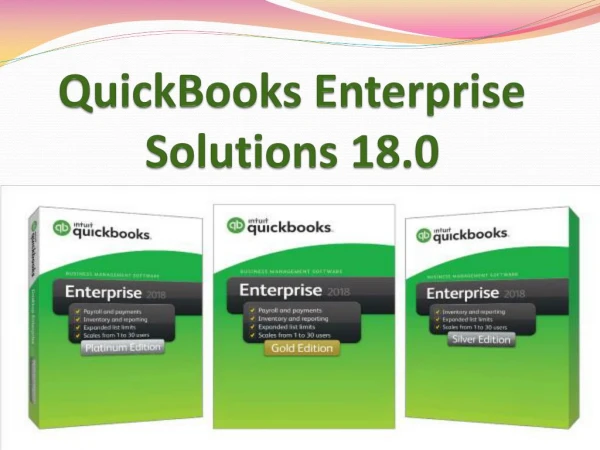
Editions of QuickBooks • Simple Start • Basic • Pro • Premier • Accountant • Contractor • Non Profit • Manufacturing & Wholesale • Professional Services • Retail
Accounting’s Focus • To assess: • The financial position of the organization relative to its debts (liabilities) • Its capabilities to satisfy those debts and continue operations (assets), and • The difference between liabilities and assets (net worth or equity) • The Accounting Equation, • Assets = Liabilities + Equity
Accounts and Chart of Accounts • Business transactions are recorded in several types of ledgers, called accounts • The summary of all transactions in all ledgers for a company is called the GeneralLedger • A listing of every account in the General Ledger is called the Chart of Accounts. • Each account has a type (i.e., asset, liability, equity, income, or expense)
Double-entry Accounting • Total debits must always equal total credits • In QuickBooks, every transaction creates a debit in one or more accounts and a credit in one or more accounts to handle double-entry accounting • Depending on the type of account, a debit might increase the account or decrease it; the same is true of credits • Therefore, debits are not always bad and credits are not always good
Cash Versus Accrual • The accrual basis method • Revenues and expenses are recognized in the period in which the transactions occur, rather than in the period in which cash changes hands • The cash basis method • Revenues and expenses are not recognized until cash changes hands • With QuickBooks, you can create reports for either method
The Accounting in QuickBooks • Transactions are entered in familiar-looking forms such as Invoices, Bills and Checks • QuickBooks handles the accounting debit and credit entries • This allows you to focus on the business transaction rather than the debits and credits in the General Ledger
Academy Glass Sample Company • Fictitious sample company used in the text book • A home improvement and contracting corporation • A service and a merchandising company • Has two stores, one located in San Jose and another located in Walnut Creek
QuickBooks Releases • Release Level refers to the patches provided by Intuit to fix the problems found in the program • To verify the release level, press Ctrl+1 (or F2) while QuickBooks is running • To patch your software with the latest maintenance release • Download the latest release by selecting the Filemenu and then selecting Update QuickBooks • Follow the instructions on these screens to download and install maintenance releases in QuickBooks via the Internet
QuickBooks User Interface Features • There are five methods of accessing the data entry windows: • Menus • Icon Bar • Shortcut List • Navigators • Shortcut Keys
Menus Icon Bar Navigators
Menus • Menus run along the top of the screen • To open a menu, select the menu name and then choose the option desired
Icon Bar • Allows you to select activities and lists by clicking icons on the bar • The contents or position of the icons on the Icon Bar can be modified by selecting the View menu, and then choosing Customize Icon Bar
Shortcut List • Allows you to select activities and lists by picking them from items on a bar located at the right or left of the screen • Click Customize at the bottom of the shortcut list to modify the contents or position of the list
Navigators • QuickBooks has several navigators that help you work through the program and understand how it functions. • The Customer Navigator shows a flowchart of the sales process as well as several other icons that relate to the sales part of your business
Shortcut Keys • You may use your mouse or the keyboard shortcut keys to select the menu options. • To use the keyboard, press the ALT key then press the underlined letter of the desired menu item. • Some of the menu items have control-key shortcuts.
Open Previous Company • You can open a previous company file by selecting it from the Open Previous Company submenu of the File menu • QuickBooks lists the last few companies you have most recently accessed, allowing you to open any one of them • You can set the number of previous companies on the list from 1 to 20
Entering Data In Forms • Transactions are created by filling out familiar-looking forms such as invoices, bills, and checks. • As you fill out forms, you choose names from lists such as the customer list, the Item list, and the account list. • When you finish filling out a form, QuickBooks automatically records the accounting entries behind the scenes.
Support Resources • QuickBooks provides a variety of support resources that assist in using the program • Some of these resources are on the Internet and others are in help files on disk • To access the support resources, select the Help menu and then select Help & Support
Context-Sensitive Help • You can access onscreen Help by clicking the How Do I button on any screen, or by pressing the F1 key. • Depending on what you are doing at the time, you’ll get advice from the Help system that is relevant to what you’re doing • This is known as Context-Sensitive Help
Summary of Key Points • How to install the QuickBooks software • How to work with the practice files in this book • How to open QuickBooks data files • Editions of the QuickBooks software • Some of the basic principles of accounting • About Academy Glass, the sample company • How to install QuickBooks Releases • How to use Navigators, Menus, Icon Bars, and the Shortcut list in QuickBooks • About QuickBooks Support and Help