Download
1 / 2
20 likes | 36 Views
The assembling process can be broken down into seven steps. These steps are; assemble the frame, attach back panel kits, connect and bury cables, connect the enclosure to the machine, attach doors, attach panels and finally attach the exhaust duct. This whole process takes about 40 minutes.

E N D
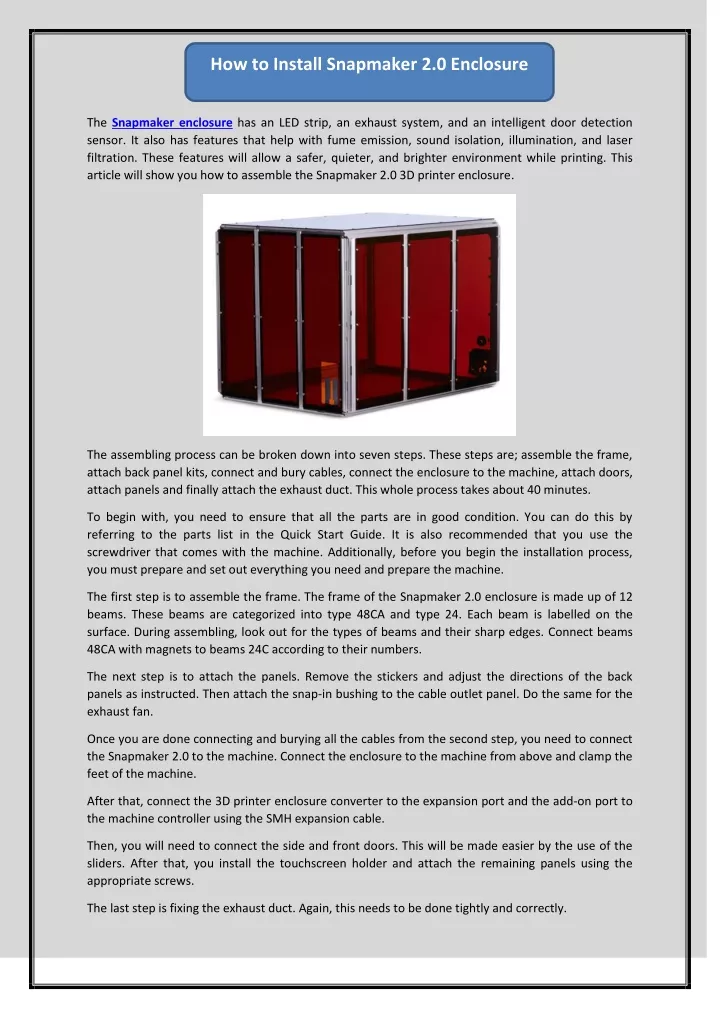
How to Install Snapmaker 2.0 Enclosure The Snapmaker enclosure has an LED strip, an exhaust system, and an intelligent door detection sensor. It also has features that help with fume emission, sound isolation, illumination, and laser filtration. These features will allow a safer, quieter, and brighter environment while printing. This article will show you how to assemble the Snapmaker 2.0 3D printer enclosure. The assembling process can be broken down into seven steps. These steps are; assemble the frame, attach back panel kits, connect and bury cables, connect the enclosure to the machine, attach doors, attach panels and finally attach the exhaust duct. This whole process takes about 40 minutes. To begin with, you need to ensure that all the parts are in good condition. You can do this by referring to the parts list in the Quick Start Guide. It is also recommended that you use the screwdriver that comes with the machine. Additionally, before you begin the installation process, you must prepare and set out everything you need and prepare the machine. The first step is to assemble the frame. The frame of the Snapmaker 2.0 enclosure is made up of 12 beams. These beams are categorized into type 48CA and type 24. Each beam is labelled on the surface. During assembling, look out for the types of beams and their sharp edges. Connect beams 48CA with magnets to beams 24C according to their numbers. The next step is to attach the panels. Remove the stickers and adjust the directions of the back panels as instructed. Then attach the snap-in bushing to the cable outlet panel. Do the same for the exhaust fan. Once you are done connecting and burying all the cables from the second step, you need to connect the Snapmaker 2.0 to the machine. Connect the enclosure to the machine from above and clamp the feet of the machine. After that, connect the 3D printer enclosure converter to the expansion port and the add-on port to the machine controller using the SMH expansion cable. Then, you will need to connect the side and front doors. This will be made easier by the use of the sliders. After that, you install the touchscreen holder and attach the remaining panels using the appropriate screws. The last step is fixing the exhaust duct. Again, this needs to be done tightly and correctly.
Finally, thread the DC power cable through the Snap-in Bushing on the back of the enclosure and connect the machine controller to the power module. Now, the Snapmaker 2.0 enclosure is ready to use!