1 / 3
30 likes | 33 Views
Shade sail installation in Brisbane is often tricky without proper guidance. For information related to shade sail installation read this blog.<br>https://sailmaker.com.au

E N D
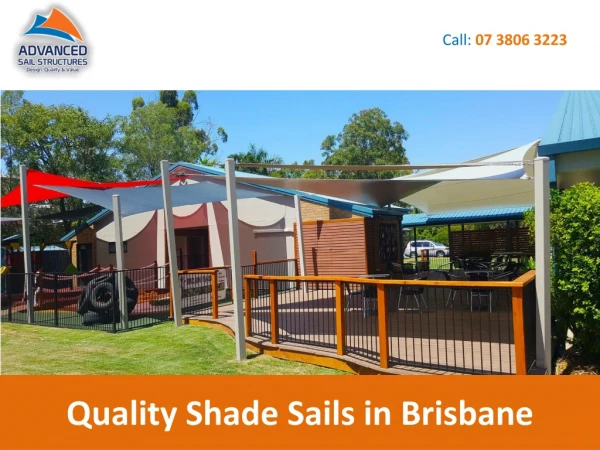
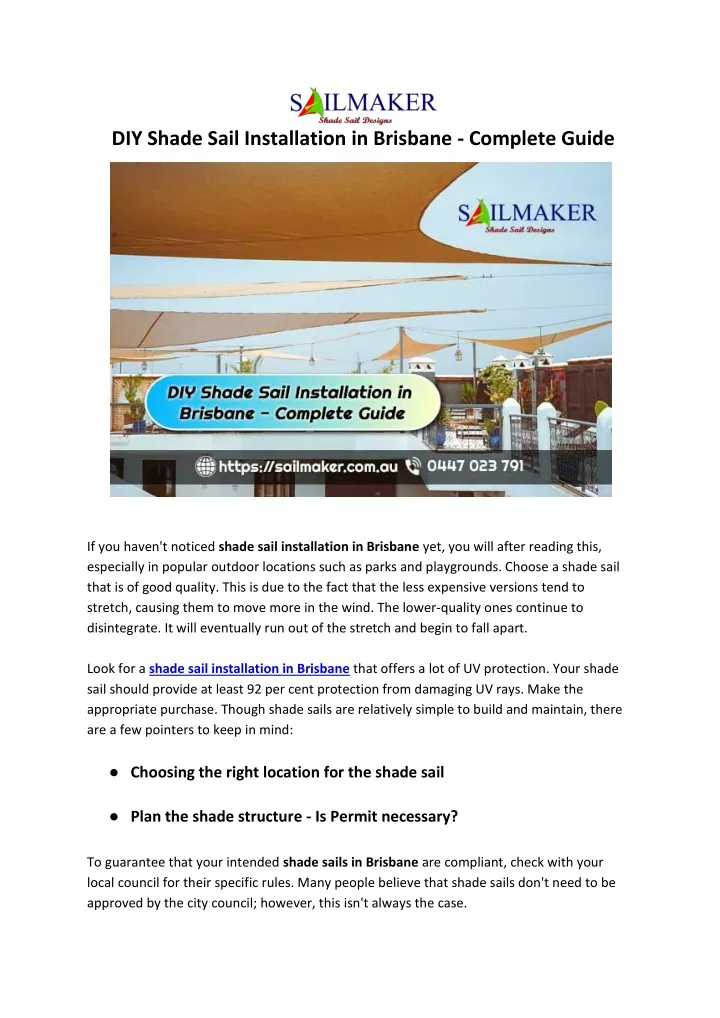
DIY Shade Sail Installation in Brisbane - Complete Guide If you haven't noticed shade sail installation in Brisbane yet, you will after reading this, especially in popular outdoor locations such as parks and playgrounds. Choose a shade sail that is of good quality. This is due to the fact that the less expensive versions tend to stretch, causing them to move more in the wind. The lower-quality ones continue to disintegrate. It will eventually run out of the stretch and begin to fall apart. Look for a shade sail installation in Brisbane that offers a lot of UV protection. Your shade sail should provide at least 92 per cent protection from damaging UV rays. Make the appropriate purchase. Though shade sails are relatively simple to build and maintain, there are a few pointers to keep in mind: ●Choosing the right location for the shade sail ●Plan the shade structure - Is Permit necessary? To guarantee that your intended shade sails in Brisbane are compliant, check with your local council for their specific rules. Many people believe that shade sails don't need to be approved by the city council; however, this isn't always the case.
●Footers a.You're all set to start digging holes for anchor post-placement and installation. b.Your hole should be at least 1 square foot in diameter and 3 feet deep. c.This will ensure that the post is stable and stress-free. It will have to withstand a certain amount of tension when the wind picks up in your garden, even though it is not load-bearing. ●Posts - Wood vs. Steel a.Steel posts have a longer lifespan and can be powder coated or painted to provide additional protection and colour. We normally propose temporary power poles with a preservative added to the wood if timber posts are used; nevertheless, wooden posts must be maintained. Because dimensional timber isn't sturdy enough, don't use it. b.Make sure your anchor post hooks are levelled and that the corner where you want the water to drain down is somewhat lower than the other places after you've put your posts. Water will always flow down to the lowest place since it follows gravity's movement. c.Stretch across to the next eyebolt with a tape measure attached to the edge of the eyebolt and note the measurement, making sure to double-check the result and especially the coordinate. (Having the correct measurement but the incorrect coordinate is a tragedy.) To ensure a proper fit, each shade sail installation in Brisbane requires an exact set of extremely precise dimensions. d.The diagonals and post heights as they relate to Datum (lowest point) will then be required. ●Install the Sun Shade Sails a.Unwrap your sail carefully without dragging it across the ground, and make sure the seams are facing down. Open it up and begin hooking each D ring onto your desired fitments, making sure to release your cable wire first. Since the shade sail installation has curved sides for pull and tension, you may note that attaching each corner becomes increasingly difficult; this is natural. To avoid
damage during high winds and harsh weather, shade sails must be extremely taut. To assist you to draw the sail into place, run a rope or ratchet strap through the sail's corner hardware and the pad eye. b.To get even tension all over the shade sail installation Brisbane, tighten each turnbuckle a few turns at a time once each corner is securely secured. The shade sail should have few to no creases in the cloth and should not sag in the middle once tensioning is completed. Now, relax and enjoy the warm sunny weather with your new sunshade sail installation in Brisbane! You should feel successful after all of your hard work and time investment. References:https://theomnibuzz.com/diy-shade-sail-installation-in-brisbane-complete-guide/ Sailmaker 3/80 Ebbern St, Darra Qld 4076, Australia https://sailmaker.com.au/ Quotations: Brendon – 0447 023 791 Installations: Andrew – 0497 016 536