Download
1 / 3
0 likes | 17 Views
Welcome to Web Ironmongery's blog, where we unravel the secrets of furniture door hinge adjustments. Whether you're a DIY enthusiast or a professional carpenter, ensuring that your furniture doors hang perfectly is essential for both functionality and aesthetics. In this guide, we'll walk you through the step-by-step process of adjusting furniture door hinges to achieve that ideal fit.

E N D
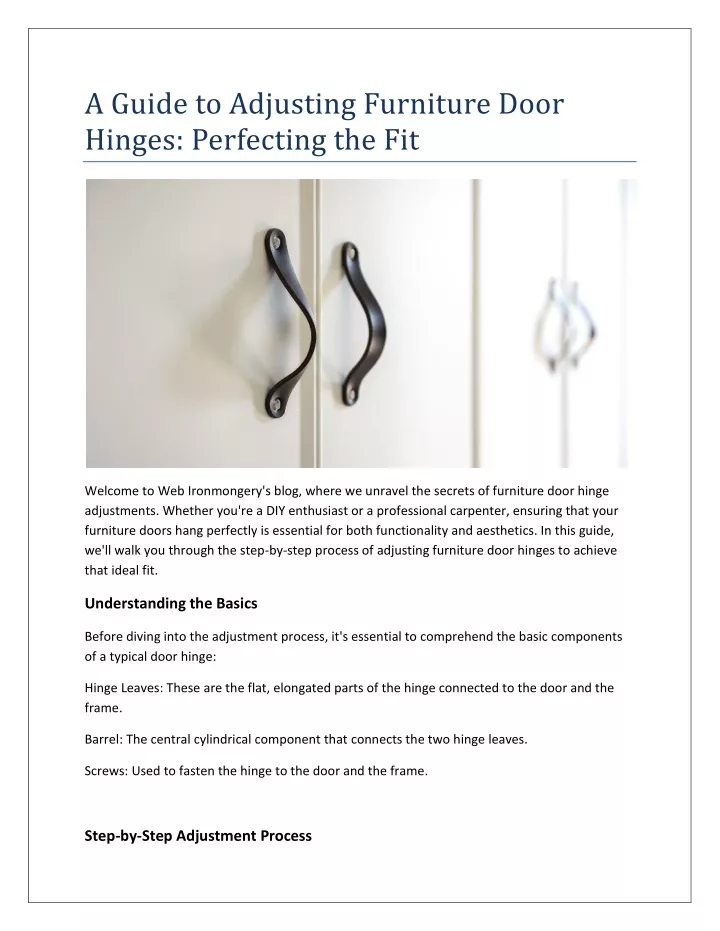
A Guide to Adjusting Furniture Door Hinges: Perfecting the Fit Welcome to Web Ironmongery's blog, where we unravel the secrets of furniture door hinge adjustments. Whether you're a DIY enthusiast or a professional carpenter, ensuring that your furniture doors hang perfectly is essential for both functionality and aesthetics. In this guide, we'll walk you through the step-by-step process of adjusting furniture door hinges to achieve that ideal fit. Understanding the Basics Before diving into the adjustment process, it's essential to comprehend the basic components of a typical door hinge: Hinge Leaves: These are the flat, elongated parts of the hinge connected to the door and the frame. Barrel: The central cylindrical component that connects the two hinge leaves. Screws: Used to fasten the hinge to the door and the frame. Step-by-Step Adjustment Process
1. Identify the Issue First and foremost, identify what needs adjustment. Is the door sagging, misaligned, or not closing properly? Understanding the problem will guide your adjustments. 2. Loosen the Screws Using a suitable screwdriver, carefully loosen the screws on both the door and frame sides of the hinge. Don't remove them; just loosen them enough to allow movement. 3. Vertical Adjustment For vertical adjustment (up or down movement of the door), slide the door up or down as needed. Hold the door in the desired position, then tighten the screws. Ensure the door is level. 4. Horizontal Adjustment To adjust the door horizontally (in and out), shift the door closer to or away from the frame. Tighten the screws once the desired position is achieved. 5. Depth Adjustment If the door doesn't align flush with the frame, adjust the depth by rotating the barrel of the hinge. Clockwise rotation brings the door closer to the frame, while anti-clockwise moves it away. 6. Test and Fine-Tune Close and open the door several times to ensure it's aligned and functions correctly. Make further minor adjustments if necessary. Tips and Tricks Use shims or wedges to hold the door in place during adjustment. Check for any warping in the door before making adjustments. Always make small adjustments and test the door frequently. Lubricate hinges with a suitable oil for smooth movement.
By mastering the art of adjusting furniture door hinges, you can ensure that your doors not only look aesthetically pleasing but also function smoothly. Happy adjusting! For a wide range of high-quality door hinges and ironmongery, visit Web Ironmongery.