Download
1 / 43
830 likes | 2.12k Views
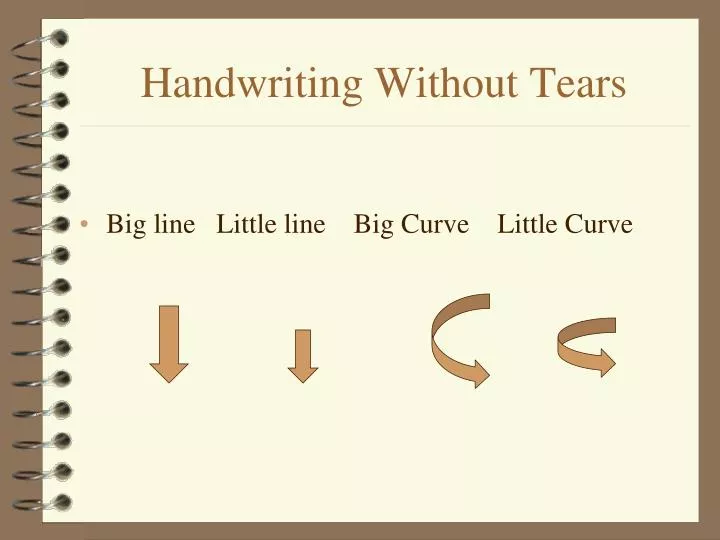
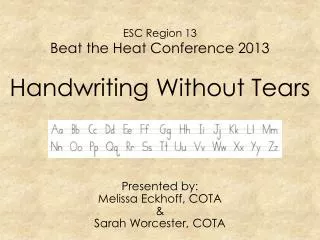
Handwriting Without Tears. Big line Little line Big Curve Little Curve. Introduction. High Desert ESD Occupational Therapists Nancy Hitchcock Steve Maddox. Video from CD. Handwriting Program. Handwriting without tears is a structured handwriting program.

E N D
Handwriting Without Tears • Big line Little line Big Curve Little Curve
Introduction • High Desert ESD Occupational Therapists • Nancy Hitchcock • Steve Maddox
Handwriting Program • Handwriting without tears is a structured handwriting program. • The multisensory lessons teach to all learning styles- tactile, auditory, visual, and movement. • It is a simple developmentally based curriculum for writing readiness, printing and cursive.
Multisensory • Multisensory handwriting program • Tactile-using wood pieces or chalkboards • Auditory-songs and verbal directions • Visual-boundaries in which to fit the letters • Movement-warm ups, wood pieces
Benefits • Prevent problems with letter formation, reversals, legibility, spacing. • Can be enjoyable and fun making writing an automatic and natural skill. • Children who write well perform better in school and feel proud of their work.
The basic foundation • Strength and stability • Sensory-motor abilities • Fine motor coordination and grasping • Visual-motor perception • Cognition • Attention
Strength and Stability • In order for us to develop control over the smaller muscles of the hand we must have support or control in our trunk, and in all of the other joints leading up to the hand. • The hand itself needs adequate strength to hold on to a writing utensil and isolate control in individual muscles. • Watch for slumping, poor grasp pattern, or fatigue
Activities and technology for shoulder and postural stability • Animal walks that encourage weight bearing on the arms, i.e.. Crab walk or bear walk • Gross motor activities/recess and PE • Use of vertical board for painting or coloring with large random movements • Various seating devices such as an air or foam wedge, seatbelt, T-stool, therapy ball • Supportive positioning • Slant boards • S’cool moves
Positioning • Feet and back supported at a 90 degree angle • Desk height about 2 inches above elbow resting at side • Sometimes a seatbelt can add extra stability and help child to focus if needed
Slant boards • Slant boards can help with forearm and wrist support needed to isolate finger movements. • Clips on slant boards can hold the paper in the appropriate position (30-45 degree angle) if bilateral coordination is difficult. • Slant boards can also improve posture and visual awareness
Handwriting warm ups (Let’s Practice!) • See posture preparation handout (from Handwriting without Tears) • Brain gym, S’cool Moves, and Yoga Calm programs have an extensive program that can help integrate body and mind to improve learning potential • A student may need a specific program set up by an occupational therapist to meet their individual needs • Put together your own routine to use regularly with the entire class before writing
Wood Pieces • Learn the language of big line, little line, big curve and little curve • Learn directionality-top, bottom, above, below, right, left • Mat man teaches body awareness • Laminated capital letter cards with perceptual activities on the back • Make letters and shapes on the blue mat or on the floor
Mat Man Video • http://www.youtube.com/watch?feature=player_embedded&v=lYiGf_0elw8
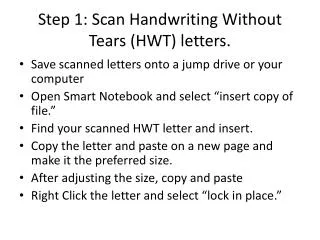
Chalkboards • Wet, dry, try • Adult demonstrates correct letter formation • Child uses small wet sponge to trace over letter • Child dries with small piece of paper towel • Child draws the letter with small chalk • There are large 2 lined chalkboards available for lower case practice
Other HWT activities/supports • Roll a dough letters • Stamp and see (magnadoodle) • Music CD’s • Lined and gray block paper • Flip crayons • Workbooks • Can go to their website for other activities, handouts and videos • hwtears.com
How to hold the pencil • The pencil is pinched between the thumb pad and the index finger pad. The pencil rests on the middle finger. Can hold something in last 2 fingers. • A-OK: 1. Make the A-OK sign 2. drop or tuck the other fingers 3. Place the pencil between the thumb and index finger pads • Pinch and flip: 1. Place pencil on table pointing away from you. 2. Pinch pencil and pick it up. Pinch the pencil where you should hold it-on the point where the point meets the wood. 3. With other hand hold the eraser and flip it around to the top side of hand.
Activities and technology to improve grasp patterns • Playing with playdoh/putty (hiding objects in putty or rolling into log and making shapes) • Playing tug of war with small strings, lace, etc. • Form circles with thumb and index finger and raise to eyes for glasses • Eating food with utensils • Regular participation in fine motor games and art activities that require manipulation of objects • Try different types of writing utensils • Try various pencil grips
Workbooks for Printing • Developmental-pre kindergarten, kindergarten, 1st and 2nd grade levels for printing • Capitals then lower case • Tracing then copying • Letters, words, paragraphs • Developmental progression for easier formation patterns and frequency of use • Teach child’s name in correct upper and lower case
Workbook Sequence • First workbook-Get set for school: coloring, learning shapes and tracing capital letters and numbers • Second workbook-Letters and numbers for me: copying upper case letters, lower case letters and numbers • Third workbook-My printing book: Review letters using smaller lines, copying words and sentences • Fourth workbook-Printing power: reviews letters, copying words, sentences and paragraphs
Capital letter sequence • Frog jump capitals: FEDPBRNM • Starting corner capitals: HKLUVWXYZ • Center starting capitals: COQGSAITJ
Lower case letter sequence • Same as capital: cosvw and t • Magic c letters: adg • More vowels: uie • Transition group: lkyj • Diver letters: prnmhb • Final group: fqxz
Numbers • Taught in numerical order • They all fit into the chalkboard for capitals • Can use the gray block paper • There are no reversals with this method • They all start at the top and use basic lines and curves • 1-7 starting in corner, 8 is center top, 9 is right top
Cursive • Can be easier for some kids due to the flow • Less stopping and starting • Good to know how to read cursive • Another chance to re-learn good handwriting mechanics • Usually taught in 3rdgrade • Often sent home to learn
Cursive Workbooks • Cursive handwriting and cursive success • Teaches a clean, clear vertical style that is easy to write and read. • Lower case letters are introduced first beginning with letters that are similar to print • Focus on correct formation and connecting letters as well as fluency to write quickly and automatically • Excellent teacher’s manual
2 lined Paper • Less visually stimulating • Consistent with workbooks • The bottom line keeps the writing straight and the top line controls the size • 14 lower case letters fit exactly between the lines • 19 of 26 lower case letters begin exactly on the top line (exceptions are t,l,k,f,h,b and e) • Use letter strip for reference • No matter what type of lined paper they need to be taught how to use it.
Gray block paper • Excellent for teaching capital letters and numbers • Gray blocks are “pictures” of the chalkboard • Easy to transfer what they have learned with chalk to paper and pencil • A dot on the gray block can show exactly where to start the letter (top corners or center) • Where do you start your letters? At the top!
Left handed Handwriting • 10 percent of the general population is left handed. • Possibly 1to 2 students per classroom • Some people who write left handed do many activities right handed
Differences between left handed writers and right handed writers • Right handers use the elbow as a pivot point to move pencil across the page • Left handers move their entire forearm to move the pencil across the page
Problems with writing left handed • Smearing ink • Digging pencil into paper • Covering writing and decreased visibility for spacing • Increased fatigue • Decreased stability for writing
Accommodating left handed children • Group left handed children together • Teach correct body position (body to right of paper) • Teach correct paper position/slant (30-45 degree slant to the right) • Teach proper grip (tripod), 1 and ½ inches back from pencil tip • Keep hand below line that is being written on • It is OK for letters to slant slightly backwards
Teaching Approaches • Direct instruction: One on one or small group • Practice should be fun yet organized • Build a positive relationship with the child • Take it at a relaxed speed and adapt according to the child’s needs • Keep actual handwriting sessions short and sweet. (5-20 minutes) • Do live demonstrations and encourage imitation • Teach directionality concepts • Multisensory approach • Consistency and repetition • Supervision to develop good habits • Opportunities for student self evaluation-circle their best letter
Specific Problems • Poor grip • Inappropriate pressure • Difficulty forming letters • Inappropriate spacing • Poor sizing of letters • Difficulty staying on the line
Strategies to improve visual-motor perception • Perceptual worksheets-tracing, mazes, finding hidden pictures, matching • Visual models • Verbal cues • Different types of lined paper
Activities to improve finger isolation • Use items to manipulate during math such as tongs to pick up marbles, coins or tokens, cotton balls or any small items. • Songs that have different hand gestures or isolated finger motions such as thumbkin, itsy bitsy spider, etc. • Cutting activities with adapted scissors if needed • Games or art that require use of finger tips/thumb • Push button toys that require use of one finger • Finger puppets • Keyboarding
Activities to improve accuracy • Tracing or cutting on straight or curved lines • Rainbow writing-repetitive tracing with different colors • Raised lined paper • Bold lines • Mazes
Activities to improve bilateral coordination and lateralization • Holding and turning paper when cutting • Tying shoes, buttoning, zipping • Stringing beads • Stabilizing paper when coloring • Velcro mitts with balls • Racquets with balloons • Bat and ball activities • Large screw and bolt activities • Wiping off tables with sponges • Brain gym warm ups
Fine Motor Art • Pictures with seeds and beans (use fingers or tweezers) • Ripping, tearing, and crumpling paper to glue in the pictures • Paint or draw using an easel • Collages either cutting or tearing the pictures
Fine Motor Games • Pick up sticks, big bird game, kerplunk, jenga, don’t break the ice, hihocherrios, bed bug game, flees on fred, light bright • Card games to work on memory and fine control • Animal walks in relays to complete puzzle activities, string beads,etc.
Activities and technology to improve sensory-motor abilities • Use different media to play or draw in such as water, sand, beans, gak, pudding, clay • Mystery writing-drawing shapes/letters on friend’s back • Rainbow writing-using different colors to trace over same shape/letter many times • Write in the air using index finger-can hold a piece of sponge with the rest of the hand • Use a wet sponge strip to write on chalkboard • Simon says game
Sensory-motor continued • Sit on less stable surface such as air cushion, therapy ball or t-stool • Use a vibrating pen • Provide consistent instruction and repetition for motor planning • Provide visual, and auditory cues
Questions? • We are all still learning • We are happy to help • Call us if questions arise later
Thanks • For helping increase kid’s self esteem • For teaching a skill that will be used in daily life • For helping kids be successful • You get an A!


![[PDF] DOWNLOAD Homework Without Tears](https://cdn7.slideserve.com/12504204/slide1-dt.jpg)