Download
1 / 16
170 likes | 423 Views
The Hipped Roof – Part 2 Pattern Rafters. M. Martin Original 2005 Reviewed 2006. Lets first look at the pattern we know, then add to it. For the hip lets look at it in solid form, for there is marks we need to place on the edge as well. C. Cut for eaves overhang. Cut for top end of rafter.

E N D
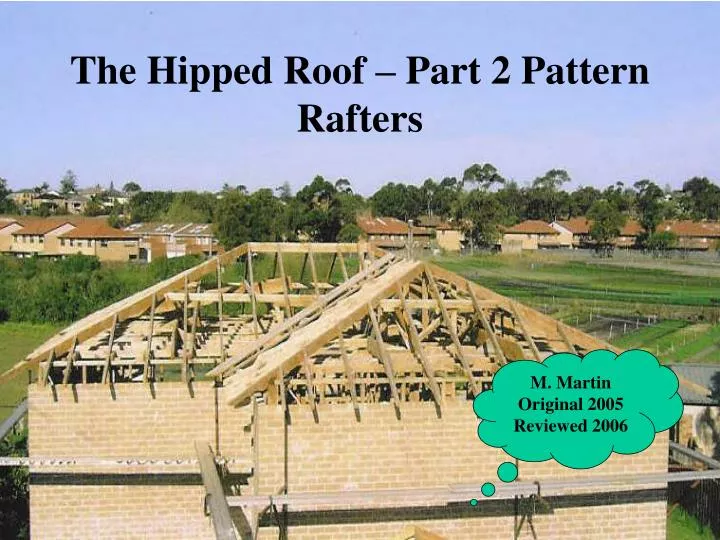
The Hipped Roof – Part 2 Pattern Rafters M. Martin Original 2005 Reviewed 2006
For the hip lets look at it in solid form, for there is marks we need to place on the edge as well C Cut for eaves overhang Cut for top end of rafter Centre line Birdsmouth
With a hipped roof, we need to add creeper cuts to this pattern L Now this becomes the centre line of first creeper C We can do this with your square or by measurement The two distances you need are either (1) rafter spacings at base of square, or (2) true length at the top.
Measurements and calculations • Before we go any further, lets note down some more figures. • (1) Rafter spacings, for our exercise, lets say they are at 450mm centres. This means your centre to centre measurement on base of square would be 450mm. • (2) Now for the true measurement at top, if you choose to do it this way, we need to do a simple calculation. Remember our ‘True length per / m’? • True length per / m x rafter centres gives you measurement (2) above. • 1.133 x .450 = .509mm • Lets look at the rafter again
Steel Square centre to centre measurement L C 450mm measured at base of square
True length centre to centre measurement C True length of 509mm is measured at top of rafter.
1st Creeper adjustment Centre line of first creeper C From this centre line point we need to mark the ‘long point for the first creeper' and we can do this with two simple measurements. 1) half mitre thickness of the hip 2) Half the thickness of a rafter. First lets look at what this means
Adjustment measurements Half the mitre thickness of a hip Half the thickness of a rafter
Adjustments on the rafter Forward half thickness of rafter Centre line of first creeper C Gives you long point of first creeper Back half mitre thickness of hip
The Geometry as to Why Now lets look at the rafter again
Pattern Rafter with first Creeper Centre line of first creeper C Long point of first creeper The last step is to mark remaining creepers, which you do with centre to centre measurement, either by square or by measurement of true length.
Marking remaining creepersNote: this will be there long point L Long point of next creeper, and continue down the length of the rafter for longer lengths C Start from long point of first creeper Simply mark remaining long points from here, the simplest way is with a steel square
One more item – the Crown end cut Crown end cut C Simply measure ½ the thickness of a rafter from original centre mark, this is your crown end cut.
Your finished Pattern for a hipped roof Second creeper long point Crown end cut C Common Rafter cut Birdsmouth First creeper long point Centre line of ridge Remember: longer rafter, more creepers marked Plumb cut for eave overhang