Download
1 / 17
170 likes | 183 Views
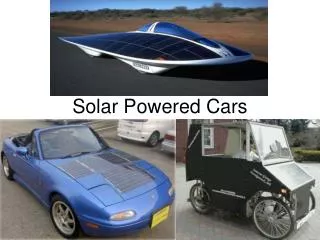
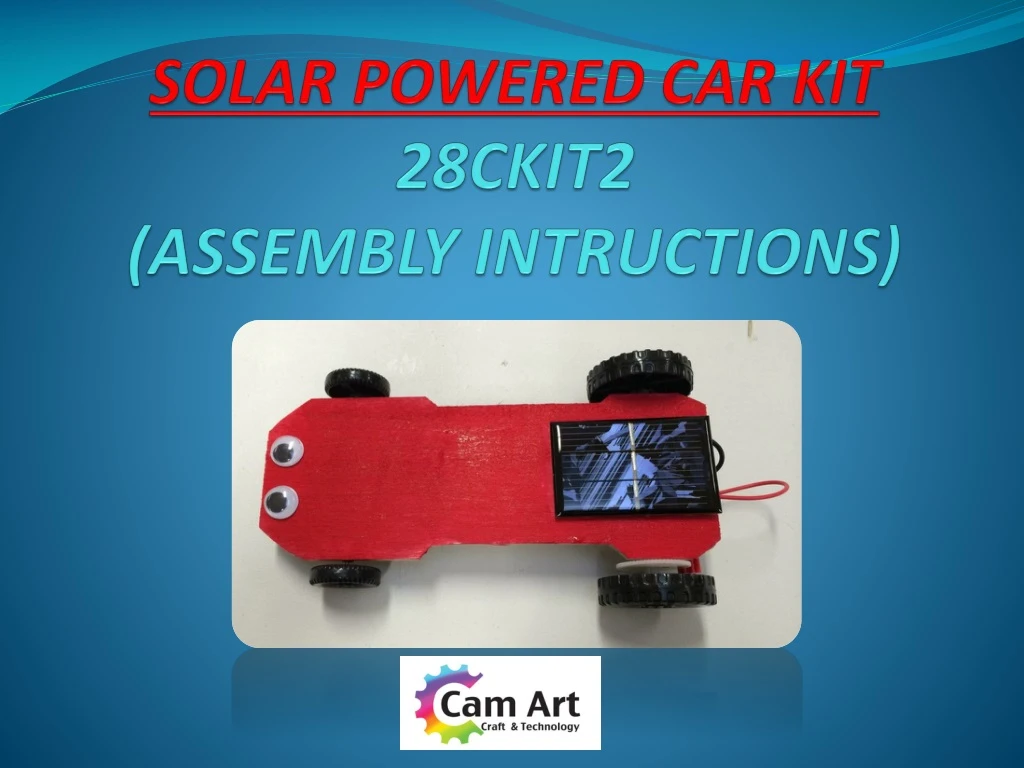
Create your own solar-powered car with this kit! Follow step-by-step instructions to assemble the car, attach wheels, solar panel, and motor. Educational and fun project for all ages.

E N D
Design the shape of your car onto the Balsa Wood chassis. • Use pencil to draw car outline onto the rectangular Balsa chassis. • Cut out the car shape from your chassis using scissors & hobby knife. • You now have the body of your car ready to use.
Place metal axles over the wheel position of your car & trim with bolt cutters. • Metal axle should poke out 1cm from each side of the wheel. • Make sure the axle is straight using a ruler
Place plastic straws over the car base & cut with scissors. • The straw should be the same as the width of the chassis base.
Insert metal rod into plastic straw. • This will act as the axle & shaft for your car.
Attach both of the smaller Car Wheels onto the metal axle. • This will act as the front wheels of your car.
Attach one of the large Truck wheels onto the second metal axle. • Firmly press the white Spur Gear 60 Tooth onto the other end. • Then attach the final Truck Wheel over the Spur Gear.
Place Connector Tabs over the wire ends of the solar panel & crimp together with Flat Nose Pliers.
Use glue gun to attach Plastic Straw onto car base. • Align the straw in the centre of the wheel arch. • Repeat step for rear wheels.
Glue motor into position behind rear wheel. • The red gear should lock in tightly with the white gear. • A good connection between the gears is pivotal to the cars ability to generate motion.
Flip over your car. • Glue Solar Panel onto the rear of the car base.
Attach Connector Tabs onto Motor • Test to make sure the car is travelling in the right direction. • May need to reverse wires on motor. • Glue Connector Tabs into place. • This will ensure they don’t slip off when in motion.
Remove plastic cover from Solar Panel & your car is ready to roll. • Solar Panels require the sun to generate power. As does this car. • Optimal results are achieved on a sunny day. • Winter conditions & cloud cover will minimise the power output created.
Decorate your car for a final bit of flare. • Hot Tip: Red cars go faster!!!