Download
1 / 21
280 likes | 636 Views
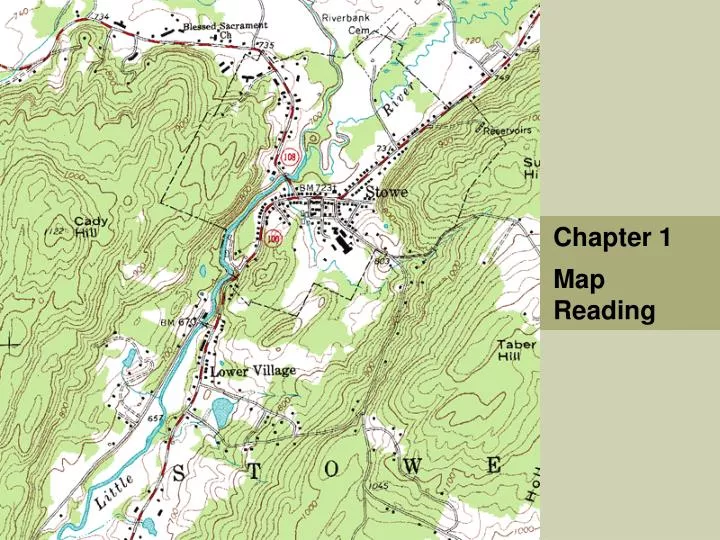
Chapter 1 Map Reading. Chapter 1: Map Reading. What is a topographic map ? Large-scale map representing selected aspects of the earth’s surface Shows both physical and human features Components of a topographic map Title Grid lines Names of places Scale Direction Contours

E N D
Chapter 1: Map Reading What is a topographic map ? • Large-scale map representing selected aspects of the earth’s surface • Shows both physical and human features Components of a topographic map • Title • Grid lines • Names of places • Scale • Direction • Contours • Legend and symbols
Chapter 1: Map Reading Title Contour Symbols Grid lines Place name Scale Some basic components of a topographic map
Chapter 1: Map Reading Grid lines • Eastings – vertical lines that run from west to east • Northings – horizontal lines that run from south to north • Grid lines are numbered to provide the coordinates of specific features on a map Grid reference • Set of digits formed using the grid values of eastings and northings • Defines a location on a map • The more digits in a grid reference, the more precise the location, e.g. a six-figure grid reference gives a more accurate location than a four-figure grid reference
32 31 X 30 65 66 67 Chapter 1: Map Reading Four-figure grid reference • Identifies a specific grid square • First two digits = Value of the easting on the left of the square • Second two digits = Value of the northing at the bottom of the square Example: The four-figure grid reference for Point X is 6530.
32 31 X 30 65 66 67 Chapter 1: Map Reading Six-figure grid reference • Identifies a specific point in a grid square • How: • Determine the four-figure grid reference • Divide the space between the two eastings of the grid square into ten equal intervals • Count how many tenths the point is from the left to right – add this number after the first two digits of the four-figure grid reference • Repeat Step 2 for the northings of the grid square • Count how many tenths the point is from the bottom up – add this number to the end of the grid reference Example: The six-figure grid reference for Point X is 655305
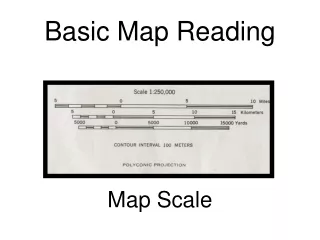
km 0 2 4 Chapter 1: Map Reading Scale • Shows what a certain distance on the map represents on the land in the real world • Three ways to indicate scale on a map: • Line scale – E.g. • Word statement – E.g. “1cm on the map equals 30km on the ground” • Representative fraction – E.g. ‘1:50,000’ means that one unit on the map represents 50,000 units on the ground in the real world
Chapter 1: Map Reading Reading the straight-line distance between two points • Place a strip of paper on the line between the two points • Mark the two points on the edge of the paper strip 3. Place the marked edge of the paper strip on the line scale 4. Read the distance between the two points
Chapter 1: Map Reading Reading the length of a curved path • Place one end of a string at one end of the path to be measured (point ‘C’) • Using the string, trace the curved path • Mark the end of the path on the string (point ‘D’) • Place the string on the line scale • Read the distance off the scale
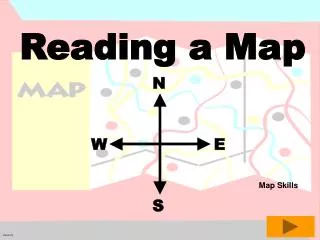
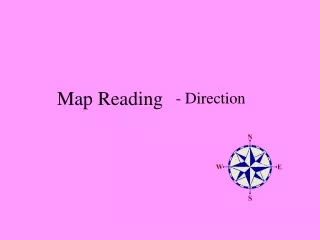
Chapter 1: Map Reading Direction • Two ways to describe the direction of a place • Using compass points – Cardinal points of the compass: north, south, east, west – Intercardinal points: northeast, southeast, southwest, northwest • Using bearings – Direction of a place is expressed as an angle (in degrees) clockwise from the base direction (0) – Base direction could be grid north, magnetic north or true north
Chapter 1: Map Reading Grid north • Direction of the vertical grid lines (called eastings) on a map Magnetic north • Direction of the magnetic north pole True north • Direction of the geographic north pole
100 200 998 Chapter 1: Map Reading Land elevation • Contours – Lines on the map joining places with the same height – The number on a contour line indicates the height that the line represents • Spot heights – Points on the map showing the heights of hills
4.38 480 Chapter 1: Map Reading • Benchmarks – Marked points of known elevation which serve as reference points from which the height of other places may be established • Trigonometrical stations – Points marked by metal discs mounted on stable foundations such as concrete pillars – Usually located on top of mountains or hills – May be used as benchmarks for measuring elevation
Chapter 1: Map Reading Recognising relief features • The shape of contour lines and the spacing between them show us the shape, height and slope of relief features A plateau A mountain Undulating relief
Chapter 1: Map Reading A gentle slope A stepped slope A steep slope
Chapter 1: Map Reading River features • Topographic maps can give us some information on the river features of an area • River source • – Point where a river originates • River mouth • – Point where a river ends • River course • – Path followed by a river • – Perennial course flows throughout the year • – Indefinite or seasonal course flows only during certain seasons • Watershed • – Boundary between two drainage basins
Chapter 1: Map Reading • Drainage pattern – Pattern formed by the rivers in a particular drainage basin Dendritic pattern Trellis pattern Radial pattern Centripetal pattern
Chapter 1: Map Reading Cross-sections • Drawing cross-sections will help you identify relief features • How: • Draw a line (XY) across the map where the cross-section is to be drawn.
Chapter 1: Map Reading • Place a strip of paper on the line XY. Moving from left to right, mark each point on the edge of the paper where XY meets a contour. • On another piece of paper, draw the horizontal and vertical axes for the cross-section. The horizontal axis should be the length of XY. Choose a suitable scale for the vertical axis.
Chapter 1: Map Reading • Place the marked edge of the paper strip (from Step 2) along the horizontal axis of the cross-section graph. For each mark on the paper strip, draw a vertical line up to the equivalent height and mark off with a dot. • Join all the dots with a smooth curve to complete the cross-section of XY.
Chapter 1: Map Reading Gradient • Tells us how steep a slope is • To calculate gradient: Vertical distance Gradient = Horizontal distance • A gradient of 1:25 means that for every horizontal distance of 25 units covered, you would ascend one unit