Download
1 / 10
100 likes | 124 Views
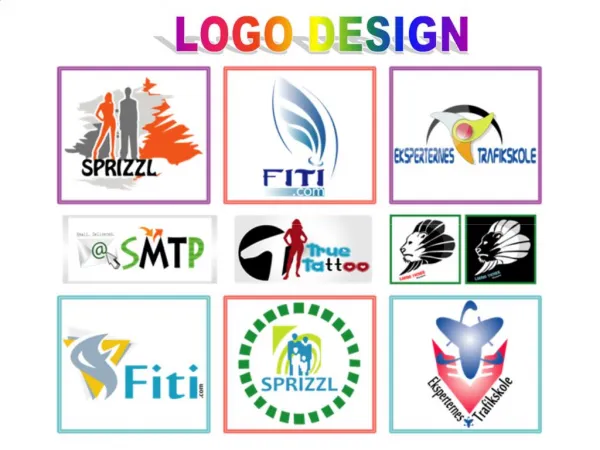
The expert logo forming method including text styles, shading and more. Below are the steps to create a logo design using adobe illustrator for students.

E N D
Learn How to Create Logo Design Using Adobe Illustrator for Beginners
Index • Create Logo Design Using Adobe Illustrator for Beginners • Steps To Create Logo Design Using Adobe Illustrator For Beginners • Step 1: Instance A Background Layer • Step 2: Add Any Slogan - Logo Text • Step 3: Add Text Graphics as Logo Shape • Step 4: Reorganize Logo Text and Logo Shape • Step 5: Output Your Logo
Create Logo Design Using Adobe Illustrator for Beginners • I uncover the entire expert logo configuration process all the way, including everything from drawing, text styles, character arrangement, image advancement, shading application and more. • You'll learn insider tips and tricks as having full instructions of animation logo design types in particular features. • Thus here are the steps to create a logo in illustrator for learners.
Steps To Create Logo Design Using Adobe Illustrator For Beginners • Step 1: Instance A Background Layer • Open AI, and hit [Create New]. Then again, keystroke [Ctrl] + N. • Enter the name of your logo venture, alongside the width and height. • For the most part, we set the width to 1000 px and height to 1000 px. You are allowed to enter your needed logo size here. Pick a background shading, for example: as 8A7139, for your logo and snap [Create].
Step 2: Add Any Slogan - Logo Text • Include another layer by choosing [Layer]>[New]>[Layer… ], or by utilizing Illustrator easy route blend: [Ctrl] + [Shift] + N. • Pick Adobe Illustrator Text device from the tool stash on the left. • Type your motto - your logo content, select the text style and textual style shading. It's permitted to change your content to a twisted one, and the choice is directly beside textual style shading alternative on the top.
Step 3: Add Text Graphics as Logo Shape • For logo shape, we are going to utilize a piece of a picture of text. • Use [Ctrl] + O to open an image of text. Keystroke W and apply it to the entire image in the way you want. • Right-click and select [Layer using Copy]. It will produce a layer named [Layer 1]. Drag and add it to [Layers] obstruct in the past archive. For Example, our record is Illustrator-Coffee-Logo.psd.
Step 4: Reorganize Logo Text and Logo Shape • Resize the logo text by applying a more significant text dimension. • Utilize alternate route [V] to choose any article on your canvas rapidly. • Move their position on the art for a pleasant look.
Step 5: Output Your Logo • Go [File]> [Quick Export as PNG], or keystroke [Alt] +[Shift] + [Ctrl] + W. • From these steps, we realize that utilizing Illustrator to DIY a logo is useful; however, not excessively productive. • Likewise, note that Photoshop also has yet completely backing yielding SVG logo.