Download
1 / 24
240 likes | 447 Views
STEPS FOR ODIN INSTALLATION. Step_1.Open Full Click Setup. Step_2. Go to the Common Folder –vcredist_x86.exe Run this file. Step_3. Go to the Common Folder – Report - disk 1 – then double click on SETUP.EXE , then a window will displayed Click on OK button

E N D
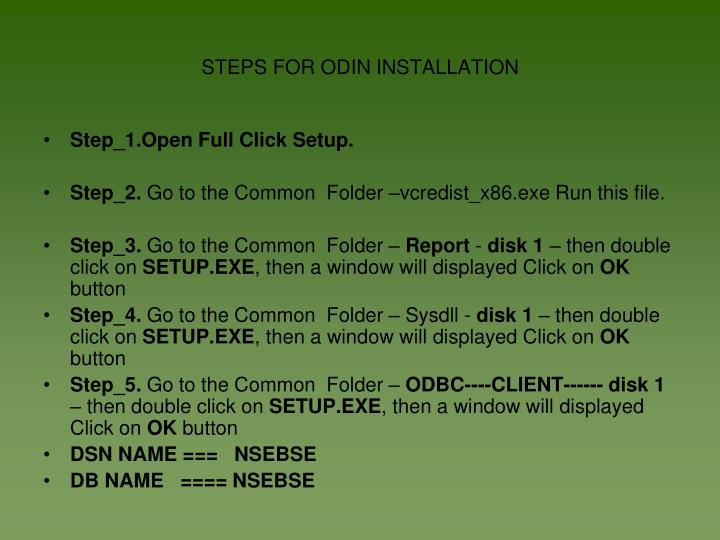
STEPS FOR ODIN INSTALLATION • Step_1.Open Full Click Setup. • Step_2. Go to the Common Folder –vcredist_x86.exe Run this file. • Step_3. Go to the Common Folder – Report - disk 1 – then double click on SETUP.EXE, then a window will displayed Click on OK button • Step_4. Go to the Common Folder – Sysdll - disk 1 – then double click on SETUP.EXE, then a window will displayed Click on OK button • Step_5. Go to the Common Folder – ODBC----CLIENT------ disk 1 – then double click on SETUP.EXE, then a window will displayed Click on OK button • DSN NAME === NSEBSE • DB NAME ==== NSEBSE
Step_4. Go to the Full Setup Folder – Client - disk 1 – then double click on SETUP.EXE, then a Window will be displayed of Information, Click on OK button
Step_5. After that Welcome window will be displayed as below Click on Next Button, then a window of Software License Agreement will be displayed as below.
Click on Yes button, then then a window of User Information will bedisplayed as below.
Then Fill the Displayed information as below Name : SMC ( anything ) Company : SMC( anything ) Serial : 91638-10001 (Serial No. must be same )
Then click on Next button, then a window of Start Copying Files will be displayed as below
Then click on Next button, then a window of Live Database Details will bedisplayed as below.
Fill Live Database Detail as below, DB Name : NSEBSE DSN Name : NSEBSE . Then click on Next Button, then a window of Test Database Details will bedisplayed as below.
Fill Same as Live Database Detail as below, DB Name : NSEBSE DSN Name : NSEBSE Then click on Next button, then a window of Select Component will be displayed as below, Click on Next button.
Enter Live Manager IP Adress( Local for LAN and VSAT Clients, Public for WAN Clients ) as below. Remote : 192.168.1.53 Then Click on Next button, then a window of UDP Local Address will be displayed as below.
Then click on Next button,then a window of Broadcast Address will be displayed as below.
Fill it as below BcastTCP : Manager IP Address ( eg- 192.168.1.53 ) TCPPort : Manager TCP Port (eg- 7013 ) UDPPort : Manager UDP Port ( eg- 9191 ) Then click on Next button, then a window of Select Component will be displayed as below.
Then click on Next button, then a window of Setup Complete will be displayed as below.
STEPS FOR FTP DOWNLOAD 1--- FIRST OF ALL DOUBLE CLICK ON FTP ICON
THEN DOUBLE CLICK ON NEW SCRIP FILE FOLDER LOCATED ON REMOTE SITE
THEN COPY THE DESIRE FILE BY DOUBLE CLICK ON IT ON YOUR SYSTEM
THEN COPY THE FILE IN :- C:\ODINNSEBSEMCXNCDEX\CLIENT\MATERS OR C:\ODINNINTEGRATED\CLIENT\MATERS THEN UNZIP THE FILE IN SAME FOLDERS THIS PROCESS IS SAME FOR ALL THE SERVER ONLY FTP ADDRESS IS CHANGED HECL USER=== 192.168.1.71 INTERNET USER === 203.197.226.179 AIRTEL VPN USER == 200.200.1.3 LOCAL USER == 192.168.1.159 EMAILID :== smcftp@rediffmail.com,
Q.1:-- How to chk the connectivity of HCL User Ans. First of all chk the ping of Default Gateway if the ping of default gateway is ok then chk the ping of ip add 167.50.2.2 by following command Ping 167.50.2.2 –t –w 5000 –l 0 If the ping is ok then VSAT is working fine. If still the user gets the connection busy error then there is problem with registry file of user . Q.2:-- How to chk the connectivity of HECL / LOCAL User Ans. First of all chk the ping of Default Gateway if the ping of default gateway is ok then chk the ping of ip add 192.168.1.53 by following command Ping 192.168.1.53 –t –w 5000 –l 0 If the ping is ok then VSAT is working fine. If still the user gets the connection busy error then there is problem with registry file of user . Q.:3-- How to chk the connectivity of Internet User Ans. First of all chk the ping of any website for example Yahoo, Google etc and then check the connectivity with following ip address through telnet Command on specified port. IP SERVER PORT NUMBER Interactive 203.200.85.122 ----- HCL 7777 203.200.85.118 ----- LOCAL 7777 203.200.85.32 ----- NEW SERVER 7777 203.200.85.30 ----- COMMODITY 7777 203.200.85.123 ----- CHENNAI 7777 Broadcast 203.200.85.122 SBS1 6013 203.200.85.123 SBS2 6013 203.200.85.117 SBS3 6013 203.200.85.35 SBS4 6013