Download
1 / 16
160 likes | 197 Views
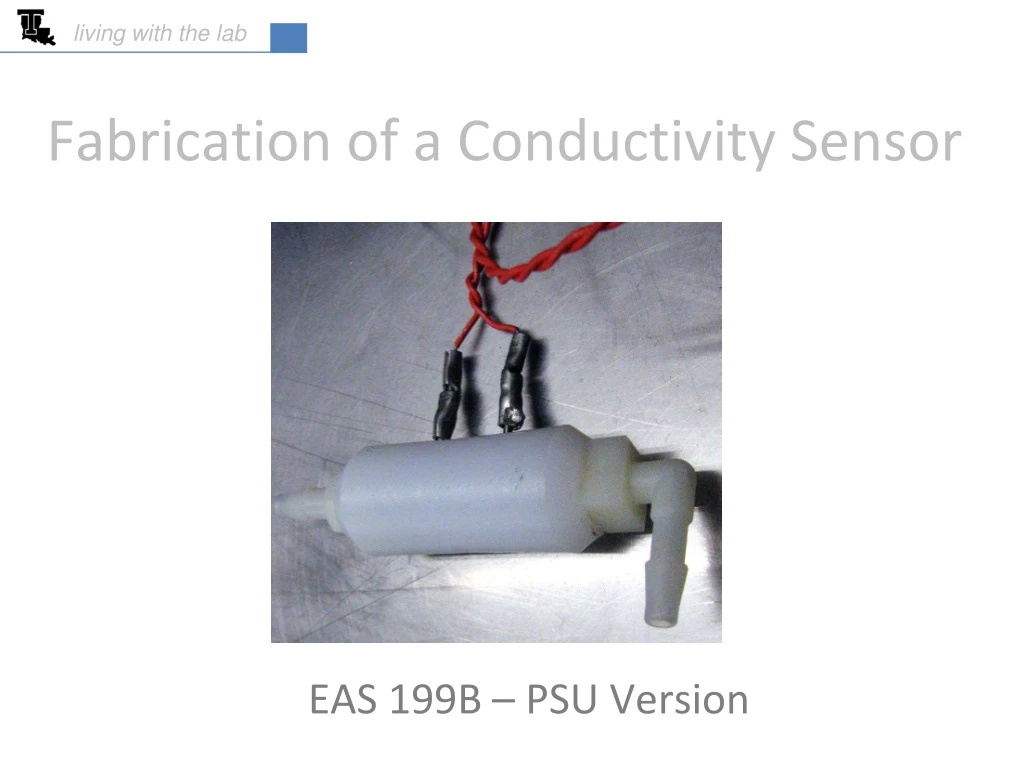
Learn how to fabricate a conductivity sensor using raw materials like ultra-high molecular weight polyethylene and stainless steel rods. Step-by-step instructions for creating the sensor body, drilling holes, and attaching wire leads.

E N D
living with the lab Fabrication of a Conductivity Sensor EAS 199B – PSU Version
living with the lab Examples of Conductivity Sensors http://www.sensorex.com www.globalw.com
red = carbon white = hydrogen living with the lab Raw Materials Ultra High Molecular Weight Polyethylene Ultra high molecular weight polyethylene 0.756 inch diameter bar $1.20 per foot Chain molecules align more than for lower density polyethylene (packed together more tightly) Type 316 stainless steel rod 1/16 inch diameter $8.95 for 6 foot length Also known as . . . poor-man’s teflon SOURCE: Phone order from
living with the lab Parts and Materials
Fabrication with Lathe • Sensor body is a hollow cylinder • Geometry is appropriate for lathe
living with the lab You must become familiar with the operation and safety procedures of the tools before beginning the project. Lathe spindle and chuck Q bit for center drilling workpiece tailstock quick release cutting tool crank handle to feed drill bit from tailstock tailstock carriage crank handle to move the carriage crank handle to move cross slide key for chuck
After cylinder is completed • Tap ends for barbed fitting • Drill holes and insert sensor probes • Attach wire leads to the sensor probes
living with the lab Create Threads in Each End using 1/8 NPT Tap
living with the lab Mark Locations for Conductivity Probes ½ inch location for inserting probes center mark
living with the lab Drill Holes for the Probes 1) Rest the ends of the workpiece on the parallels (different parallels may be used) 2) Use a #53 drill bit (0.059 inch diameter) so the 0.0625 inch SS rod will be press fit into the hole 3) Drill 0.625 inches deep (this is 1/8 of an inch shy of going all the way through)
living with the lab Cut 1/16 inch Stainless Steel Rod (already done for you)
living with the lab Press the Rods into the Holes This is a little tricky. Go slow and keep the rod in place with one hand while slowly tightening with the other.
living with the lab Press Terminals onto SS Rods using Vise (or tap on with hammer)
living with the lab Crimp Terminals onto Stainless Rods
living with the lab Crimp 20-inch Piece of 22-Gauge Wire onto Terminal Be sure to strip the ends of the wire before crimping
living with the lab CONGRATULATIONS – You’re Done!!!!