Download
1 / 15
150 likes | 166 Views
Learn how to manage outbound transfers, inbound transfers, and transfers to non-NCIR users. This lesson covers the steps and processes involved in transferring vaccines between facilities.

E N D
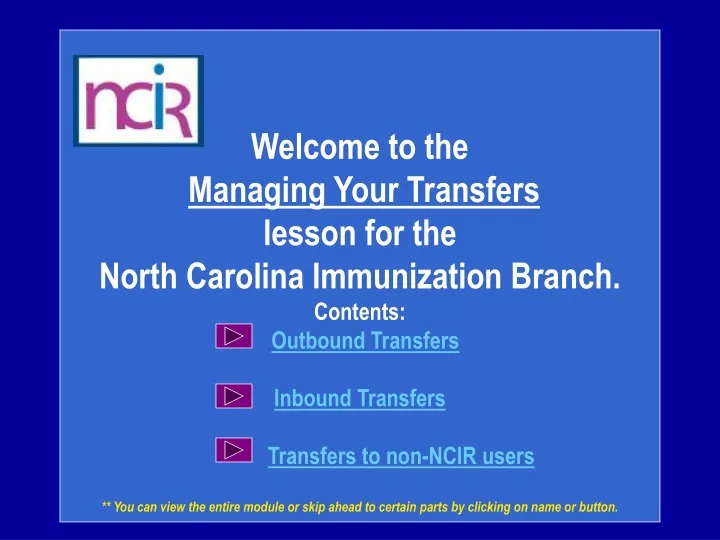
Welcome to the Managing Your Transfers lesson for the North Carolina Immunization Branch. Contents: Outbound Transfers Inbound Transfers Transfers to non-NCIR users ** You can view the entire module or skip ahead to certain parts by clicking on name or button.
Outbound Transfers to NCIR Users We are going to look at 3 different types of transfers: (1) Outbound transfers to NCIR users (2) Inbound transfers from another NCIR User and (3) Transfers between non-NCIR users. Let’s start with the Outbound Transfer. Click Manage Transfer When you have transfers that are in queue for one reason or another they will show up under the Vaccine Order/ Transfer Notification portion of the home page.
To transfer vaccine to another provider on the NCIR start by clicking New Transfer Outbound Transfers are when you transfer from your inventory to another site’s inventory. Inbound Transfers are when you receive transfers from another site into your inventory. Historic Transfers are transfers that have been shipped and/or received.
Choose your Receiving Organization as the facility that you are transferring vaccine to. Click Save when you are ready to finish the transfer. Enter the Transfer Quantity in the box next to the vaccine you are wanting to transfer. Remember to enter the amount in doses. You can choose to transfer active and inactive vaccine to another provider. Click on the OK radio button next to your choice.
You should see this message “Saved Successfully” The vaccine that you are transferring will show up under Transfer Item. In order to finish this transfer, you must look at the Packing List or Label. You will not be able to complete the transaction without doing this step. Click Packing List
The Packing List will come through as a pop up box, so make sure that you have your pop up blocker turned off if it is on. You can print this slip out if you would like to, otherwise just click the X in the corner to close the window. When you close the box you will be sent back to the Edit Transfer screen. Click Ship to complete transaction
When you close the packing list the ship screen will appear. From here you need to choose the date you are shipping the vaccine, or when they are picking it up. Enter the date here. When you are finished entering the ship date, click Ship. This will automatically take the vaccine out of your inventory and now it is up to the other facility to accept it into their inventory.
If the transfer was completed, you will see the message in blue Transfer Successfully Shipped and the transfer will show up under Outbound Transfer.
Inbound Transfers to NCIR Users Start by clicking Manage Transfer
Inbound Transfers can be state supplied vaccine orders or transfers from another provider. The process of accepting these transfers is the same. Find your transfer and click on the Create Date link in blue.
To accept this transfer into your inventory, click on Accept Transfer. You should only accept your transfer after you have verified lot number, expiration date, and amount shipped. If your invoice matches the NCIR then click here. You will see this pop up message that makes sure you want to add the vaccine into your inventory. Click OK
Transfer to and from non-NCIR users When you get ready to transfer vaccine to a provider that is not currently using the NCIR you will still need to be able to subtract that vaccine from your inventory so that your vaccine is balanced. Start by going to Manage Inventory and then click Show Inventory Choose the vaccine you want to transfer by clicking the Select box next to the Trade Name until you see a black check
After choosing the trade name you are directed to the Modify Quantity screen. Click Save when you are finished. Choose Subtract as the Action as you are subtracting this vaccine from your current inventory Enter the Amount in doses that you are going to transfer Choose the Transfer to Provider as the category for why you are modifying the quantity.
You will be able to see that the vaccine has been subtracted from your inventory by going to your Show Inventory screen . When you have finished modifying the quantity of vaccine you have transferred, you will still need to document that transfer with the Immunization Branch. You can do this by going to the Show Transaction report and running the report. You will need to choose Transfer to Provider as the transaction type. Print out the report and write the name of the practice that you transferred vaccine to and then fax that report to the Immunization Branch at 1-800-544-3059
This concludes the Manage Transfers lesson. If you have any questions please feel free to contact your Regional Consultant or the Immunization Branch Help Desk at 1-877-873-6247