Download
1 / 26
290 likes | 756 Views
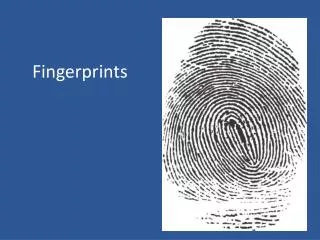
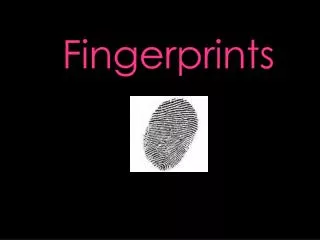
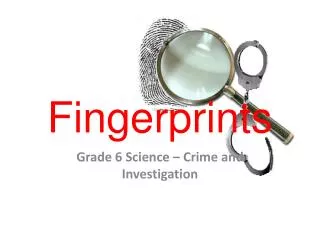
Fingerprints. Outline. Individuality of Fingerprints What are fingerprints? Classification of fingerprint patterns AFIS Methods of detecting latent fingerprints. Individuality of Fingerprints. Started collecting fingerprints around 1910 (Civil Service)

E N D
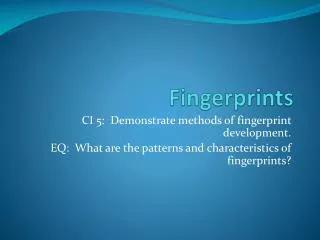
Outline • Individuality of Fingerprints • What are fingerprints? • Classification of fingerprint patterns • AFIS • Methods of detecting latent fingerprints
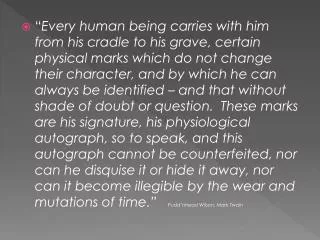
Individuality of Fingerprints • Started collecting fingerprints around 1910 (Civil Service) • Millions of fingerprints have been classified over past 95 years. • No two are identical! • Estimated statistical probability of 1 in 64 billion that two people have identical fingerprints
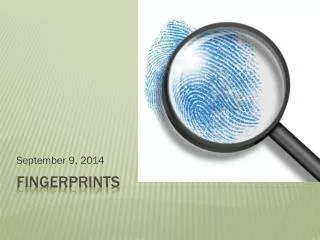
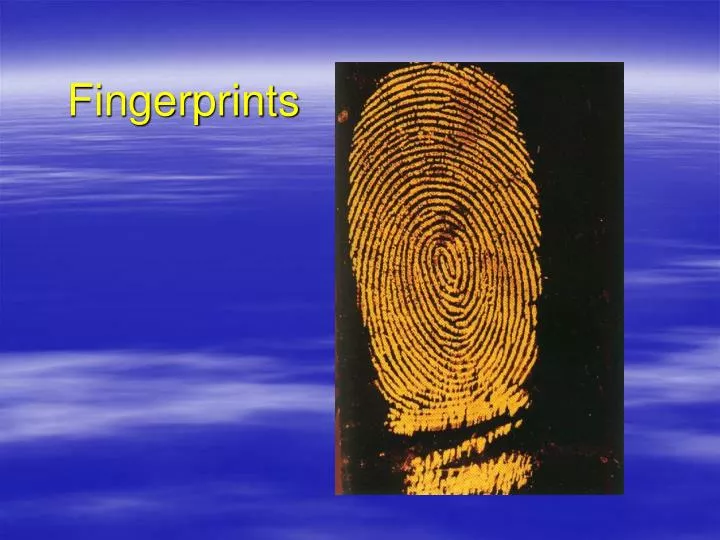
What are fingerprints? • Combination of oils, salts, proteins, perspiration left behind by the friction ridges on fingertips • Friction Ridge • Epidermis • Dermis • Dermal papillae • Formed in the uterus • Determines pattern of friction ridge • Same shape for life • Only grow in size
Classification • Loop • Ulnar – opens toward pinkie • Radial – opens toward thumb • Arch • Plain • Tented • Whorl • Plain • Central pocket loop • Double loop • Accidental
AFIS • Automated Fingerprint Identification System • Converts a fingerprint image into digital minutiae • Relative locations of ridge endings • And bifurcations • Thousands to millions of comparisons per second • Comparison must be verified by an expert
Y X How does AFIS compare prints?
Live Scan Technology • Fingers (and thumbs) rolled on a small section of glass • Pressure from ridges fed directly to computer • Fingerprint appears on screen as finger is rolled • Keeps track of which finger is being rolled based on combination • No need to roll in ink then scan with scanner • Coupled directly to AFIS
Types of Prints left at a Crime Scene • Visible • Fingerprints left from fingers that have been in contact with colored material • Blood, paint, grease, ink • Plastic • Ridge impressions left in soft material • Wax, putty, soap, dust • Latent • Invisible prints caused by the transfer of body perspiration or oils
Methods for detectinglatent prints • Powders • Black, gray, fluorescent, etc. • Magnetic • Chemical Treatment • Ninhydrin • Silver Nitrate • Super-Glue • Combined with dyes
Chemical Treatmentof Latent Prints • Ninhydrin • This chemical reacts with amino-acids on proteins • Turns dark blue • Quite useful on porous surfaces where dusting fails • Can take up to 24 hours for latent print to develop • Heat speeds this up
Chemical Treatmentof Latent Prints • Silver Nitrate • Perspiration contains salt (NaCl) • Silver nitrate reacts with chloride to form silver chloride • Silver chloride can be converted to silver metal with UV lamp • Ag+ + Cl- AgCl + UV Ag (metal) • Good for porous surfaces like paper
Chemical Treatment of Latent Prints • Fuming Super Glue • Hang object in a sealed container • Covered fish tank • Heat a small amount of super glue in a dish on a hot plate • Cyanoacrylate fumes react with components of latent prints in 10-15 minutes • A white color is formed by this reaction • Good for large areas • Like the inside of a car • Difficult to remove prints once developed with this method • Can treat super-glue print with fluorescent dye
Powders for latent prints • What color powder does one choose? • Black, Gray, Red, etc. • Powder color is chosen to contrast the color of the surface • Black surface, choose a gray powder • Light surface, choose a black powder • Multi-colored surface, fluorescent powder
How to apply powderto visualize a latent print • Never touch the bristles of a fingerprint brush • Twirl or tap to remove powder from previous application • Use a different brush for each powder • Dusting powder in a shallow dish • Dip tip of bristles in powder • Do not allow powder up in the center of bristles • Just graze the surface with a circular or sweeping motion
How to apply powderto visualize a latent print • Once a print becomes visible • Be careful not to dust with too much powder • Continue as before until the direction of the ridges are visible • Follow the ridge direction with the brush motion • If necessary, remove excess powder with clean brush
How to Lift a Print • Peel off 6-7 cm of transparent bookbinding tape • Do not cut • Cover the print by smoothing the tape over the print beginning at free end and working slowly over the print applying pressure with your finger • Do not simply lay tape over print • Air bubbles will destroy it • Once tape covers print • Use roll as handle to peel tape from surface in one continuous motion • Prevents distortion of print • Smooth tape onto card of contrasting color as powder • Cut tape