Download
1 / 6
60 likes | 69 Views
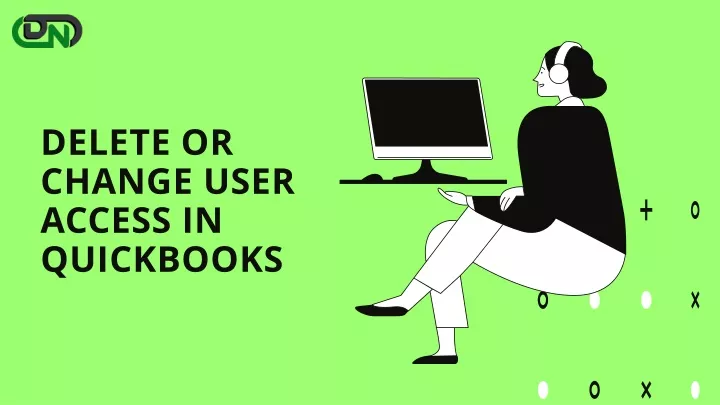
Certain roles, such as Reports only and Time tracker, do not count towards your user limit. These user permissions are not editable. So let's find out how to delete or change user access in Quickbooks.

E N D
Certain roles, such as Reports only and Time tracker, do not count towards your user limit. These user permissions are not editable. Simply remove that user if you need to make changes to them. Then re-add them with the proper role. (Read More)
Delete a User Keep in mind that removing a user is irreversible. In the audit log, though, you may still see their history. • Open QuickBooks and log in using a user profile that has the ability to manage users. • Go to the Settings tab. • Go to Users > Manage Users. • Locate the user you wish to remove. Then, in the Action column, pick the arrow icon. • Click Delete. • In the confirmation window, select Delete once more..
Changing user Access in QuickBooks Online • You must sign in with a profile that has ability to manage users in order to change user access. • After login in with your credentials, go to settings > manager users > find the user you want to change and select edit from the action column.
For more info click here! • In the user-type drop-down menu, select the new user type. • If appropriate in your case, choose needed user settings and then click Save. • Finally, request that the user log out and sign back in to view any updates or changes.
Contact us For any other queries related to this or about QuickBooks Desktop or Online then, Email info@dancingnumbers.com Website • www.dancingnumbers.com