Download
1 / 8
80 likes | 108 Views
Learn how to create and manage users and groups in Windows and UNIX systems, assign security measures, and optimize permissions for effective security. Follow step-by-step instructions for managing accounts and groups efficiently.

E N D
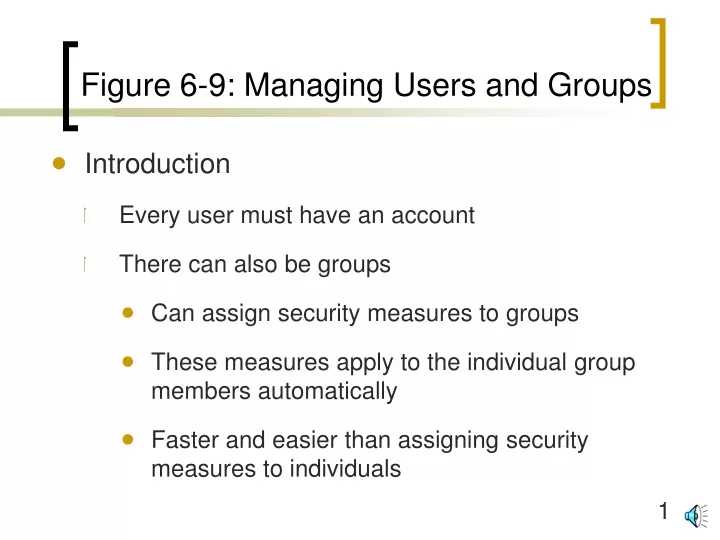
Figure 6-9: Managing Users and Groups • Introduction • Every user must have an account • There can also be groups • Can assign security measures to groups • These measures apply to the individual group members automatically • Faster and easier than assigning security measures to individuals
Figure 6-9: Managing Users and Groups • Creating and Managing Groups in Windows • Computer Management: Local Users and Groups snap-in (Figure 6-10) • Select Users • Select user from list • Right click on user and select Properties: password restrictions, disable box • Or select Action: change password, etc. • Add, delete users
Figure 6-11: Windows User Account Properties To get this screen, right click on user account in Figure 6-10, select Properties
Figure 6-9: Managing Users and Groups • Creating and Managing Groups in Windows • Select user from list • Administrator is the super account • Change its name and create a new Administrator account with no permissions • Administrators should not log in as Administrators; log in as their own account, use RunAs to get temporary Administrator status when needed • Guest account should be disabled (the default during installation)
Figure 6-9: Managing Users and Groups • Creating and Managing Groups in Windows • Select Groups • Assign rights to groups • Standard groups: Administrators, Power Users, Backup Operators, etc. • Have appropriate permissions by default for their tasks
Figure 6-9: Managing Users and Groups • Managing Users and Groups in UNIX • Different versions of UNIX do this differently, so it is difficult to talk in general terms • The super account is root • su (switch user) allows administrators to log in as regular accounts, su to get root privileges when desired • Guest account should be disabled