Download
1 / 22
220 likes | 529 Views
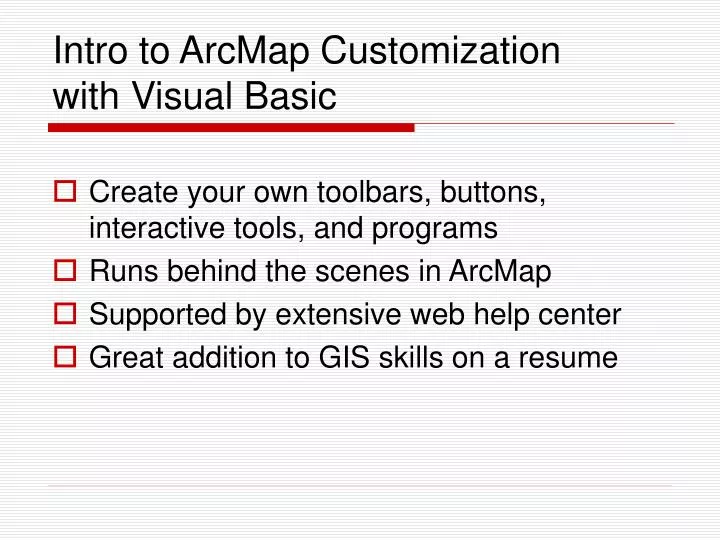
Intro to ArcMap Customization with Visual Basic. Create your own toolbars, buttons, interactive tools, and programs Runs behind the scenes in ArcMap Supported by extensive web help center Great addition to GIS skills on a resume. The ArcMap Interface. Powerful but complicated

E N D
Intro to ArcMap Customizationwith Visual Basic Create your own toolbars, buttons, interactive tools, and programs Runs behind the scenes in ArcMap Supported by extensive web help center Great addition to GIS skills on a resume
The ArcMap Interface Powerful but complicated Many tasks require a multitude of steps Capabilities buried within many different toolbars Editing. Enough said. Unfortunately Many organizations do just a couple of set tasks and they do them often Many personnel / users who might benefit from simple and straightforward GIS use are not trained in ESRI products Time (training, familiarization) is a limited resource
ArcMap Interface cont. ArcMap (and more) can be customized to incorporate tools that: Provide shortcuts to common tasks Aggregate multiple steps into one click Simplify the built-in ESRI interfaces and tailor them to the problem at hand
Yet more ArcMap Interface ESRI provides an extremely comprehensive object library for its GIS components All components you see here in ArcMap can be accessed behind the scenes
Adding Your Own CommandsFirst Steps • Start with a new toolbar • Add new ‘UIControls’ • Buttons • Tools • Combo Boxes • Edit Boxes • Right-click and add code! • Well…not quite that simple
Right-click toolbar area • Scroll to bottom and click ‘Customize’
Select ‘New’ toolbar • Enter name • Choose to save inside your mxd file • Your new, empty toolbar appears on the screen
Now add controls • Click the ‘Commands’ tab and scroll to bottom of categories • Click ‘New UIControl’ • Select the type of control
Style Controls • Click on the control in the list to give it a new name. • When finished, click and drag the control onto toolbar • Right-click control on toolbar to change label, icon, and specify display options (image only, etc)
Code Window • Also right-click control to specify behavior via code window
Many programming languages are supported in ArcGIS • Finding the examples you need for VBA will take some practice
VBA Code 2 • Sets up objects for a layer, the map doc, and the main map • Connects the new objects to your open map document, the first data frame, and the first layer in the list • Sets up query object & specify conditions • Sets up selection set object • Assigns the selection set to the results of the select query
Example map document and customized toolbar with 3 specialized buttons
The Zoom to Full Extent button always takes you to the extent of the largest layer • However…
You can create a button that zooms exactly to a certain spot as a shortcut • Or a button that selects a subset of features of interest without the user having to specify the select by attribute query
Classroom Finder 1 • You can tell a button to load a specialized form that takes input, then does processing that you specify in code.
Classroom Finder 2 • Restrict input to options in drop-down boxes . . .
Classroom Finder 3 • You can simplify a query, and then condense the query, zooming, and display of the results as you choose • Beginnings of a classrom finder?
Wrap-Up • Familiarization will require some experimentation, but very rewarding • Full libraries, discussion forums, and code examples online at: • http://edn.esri.com/index.cfm?fa=docLibrary.gateway • Multiple programming languages supported • VB, VB.NET, C, C++, Java