Download

1 / 19
190 likes | 337 Views
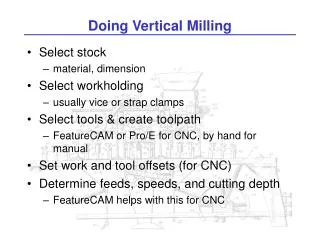
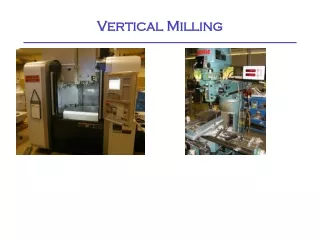
Doing Vertical Milling. Select stock material, dimension Select workholding usually vice or strap clamps Select tools & create toolpath FeatureCAM, Pro/E or hand-edited G-code for CNC, by hand for manual Set work and tool offsets (for CNC) Determine feeds, speeds, and cutting depth

E N D
Doing Vertical Milling • Select stock • material, dimension • Select workholding • usually vice or strap clamps • Select tools & create toolpath • FeatureCAM, Pro/E or hand-edited G-code for CNC, by hand for manual • Set work and tool offsets (for CNC) • Determine feeds, speeds, and cutting depth • FeatureCAM helps with this for CNC
Work Offsets • Work Offsets • G54-G59 • G54 X & Y aligned with vice jaw left front • Set G54 Z to height of top of work (type number, press F1)
Tool Offsets • Select tool # • Jog until touch • Press “Tool Offset Measure” • Subtract 2.000” (-2.0 Enter)
Process • Rigidity: • use shortest tool and tool holder • deflection of tool or work causes form error • keep workpiece firmly clamped and supported • avoid speed/feed/depth combos that chatter • Heat: • use carbide tools when heat is a problem • keep chips cleared (liquid or air coolant) • hard chips get harder • soft chips stick to tool • don’t go too fast OR too slow • Chip load: • keep volume removed constant! • especially watch tool entry, exit, corners
Setting Feeds & Speeds • http://www.custompartnet.com/calculator/milling-speed-and-feed
Vibration • For Max Material Removal Rate: • Choose highest spindle RPM • Tune tool length to stay in a stable lobe at top spindle RPM
CNC Programming for Mill • Example CNC program – drills four holes • Haas manual at: k:\class\engr\480\haas\usermanual.pdf or at http://engr.wallawalla.edu/engr480/docs/Haas
Example Program (DRILL 1/4IN HOLES) T9 M6 G43 H9 S2000 M3 M8 G0 X0.50 Y0.50 Z0.1 G83 Z-0.35 Q0.1 R0.1 F10.0 X0.50 Y1.00 X1.00 Y1.00 X1.00 Y0.50 G80 G00 Z0.1 G00 Z6.0 M9 M5 M30 % % O01001 (DRILL EXAMPLE - 2013-04-05) (OP1- TOP SIDE) (STOCK- 2IN X 2IN X 1/4IN) (G54 ZERO- LEFT FRONT TOP) G54 G00 G40 G90 G17 G20 (SPOT DRILL HOLES) T7 M6 G43 H7 S2000 M3 M8 G0 X0.50 Y0.50 Z0.1 G81 Z-0.1 R0.1 F10.; (CANNED DRILL CYCLE) X0.50 Y1.00 X1.00 Y1.00 X1.00 Y0.50 G80 G00 Z0.1;(CANCEL CANNED CYCLE) M9 M5
Loading CNC Program • Copy to K:\class\engr\cnc as haascode.txt • Press List Prog • Type program number (O01234) • Press RECV RS232