Download
1 / 2
20 likes | 32 Views
You know those YouTube tutorials with eye shadow and 4 shadow colors? I can't do all that. I just select one shade that reflects my attire or my mood and put everything over my lids. Sometimes I try to get fancy and do a darker color in the crease of my eye, but that's only if I'm planning to be in a dark location (like a club or ballroom) where no one will see my eye shadow ineptitude.

E N D
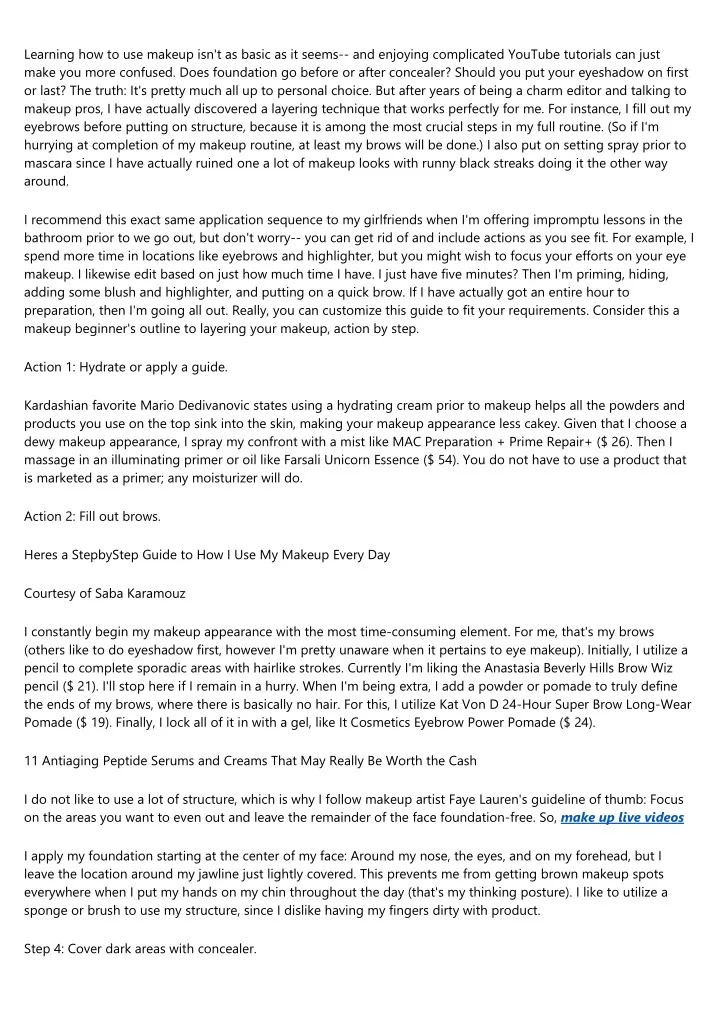
Learning how to use makeup isn't as basic as it seems-- and enjoying complicated YouTube tutorials can just make you more confused. Does foundation go before or after concealer? Should you put your eyeshadow on first or last? The truth: It's pretty much all up to personal choice. But after years of being a charm editor and talking to makeup pros, I have actually discovered a layering technique that works perfectly for me. For instance, I fill out my eyebrows before putting on structure, because it is among the most crucial steps in my full routine. (So if I'm hurrying at completion of my makeup routine, at least my brows will be done.) I also put on setting spray prior to mascara since I have actually ruined one a lot of makeup looks with runny black streaks doing it the other way around. I recommend this exact same application sequence to my girlfriends when I'm offering impromptu lessons in the bathroom prior to we go out, but don't worry-- you can get rid of and include actions as you see fit. For example, I spend more time in locations like eyebrows and highlighter, but you might wish to focus your efforts on your eye makeup. I likewise edit based on just how much time I have. I just have five minutes? Then I'm priming, hiding, adding some blush and highlighter, and putting on a quick brow. If I have actually got an entire hour to preparation, then I'm going all out. Really, you can customize this guide to fit your requirements. Consider this a makeup beginner's outline to layering your makeup, action by step. Action 1: Hydrate or apply a guide. Kardashian favorite Mario Dedivanovic states using a hydrating cream prior to makeup helps all the powders and products you use on the top sink into the skin, making your makeup appearance less cakey. Given that I choose a dewy makeup appearance, I spray my confront with a mist like MAC Preparation + Prime Repair+ ($ 26). Then I massage in an illuminating primer or oil like Farsali Unicorn Essence ($ 54). You do not have to use a product that is marketed as a primer; any moisturizer will do. Action 2: Fill out brows. Heres a StepbyStep Guide to How I Use My Makeup Every Day Courtesy of Saba Karamouz I constantly begin my makeup appearance with the most time-consuming element. For me, that's my brows (others like to do eyeshadow first, however I'm pretty unaware when it pertains to eye makeup). Initially, I utilize a pencil to complete sporadic areas with hairlike strokes. Currently I'm liking the Anastasia Beverly Hills Brow Wiz pencil ($ 21). I'll stop here if I remain in a hurry. When I'm being extra, I add a powder or pomade to truly define the ends of my brows, where there is basically no hair. For this, I utilize Kat Von D 24-Hour Super Brow Long-Wear Pomade ($ 19). Finally, I lock all of it in with a gel, like It Cosmetics Eyebrow Power Pomade ($ 24). 11 Antiaging Peptide Serums and Creams That May Really Be Worth the Cash I do not like to use a lot of structure, which is why I follow makeup artist Faye Lauren's guideline of thumb: Focus on the areas you want to even out and leave the remainder of the face foundation-free. So, make up live videos I apply my foundation starting at the center of my face: Around my nose, the eyes, and on my forehead, but I leave the location around my jawline just lightly covered. This prevents me from getting brown makeup spots everywhere when I put my hands on my chin throughout the day (that's my thinking posture). I like to utilize a sponge or brush to use my structure, since I dislike having my fingers dirty with product. Step 4: Cover dark areas with concealer.
Heres a StepbyStep Guide to How I Use My Makeup Every Day Thanks To Saba Karamouz Carmen Williamson, a makeup artist at Joanna Czech Dallas, formerly told SELF that the best method to layer on concealer is after foundation in order to make certain your makeup mixes together which you don't exaggerate it. This method works best for me because I get the sort of brightening I require for my purplish-black dark circles. I use a shade that is a bit lighter than my foundation under my eyes. I also use a little concealer to my lids to act as a guide for when I wear eyeshadow. Step 5: Include eyeshadow. Heres a StepbyStep Guide to How I Use My Makeup Every Day You know those YouTube tutorials with eyeshadow and four shadow colors? I can't do all that. I simply choose one shade that shows my attire or my state of mind and put all of it over my lids. Sometimes I attempt to get elegant and do a darker color in the crease of my eye, but that's just if I'm planning to be in a dark location (like a club or ballroom) where no one will see my eye shadow ineptitude.