Download
1 / 16
160 likes | 350 Views
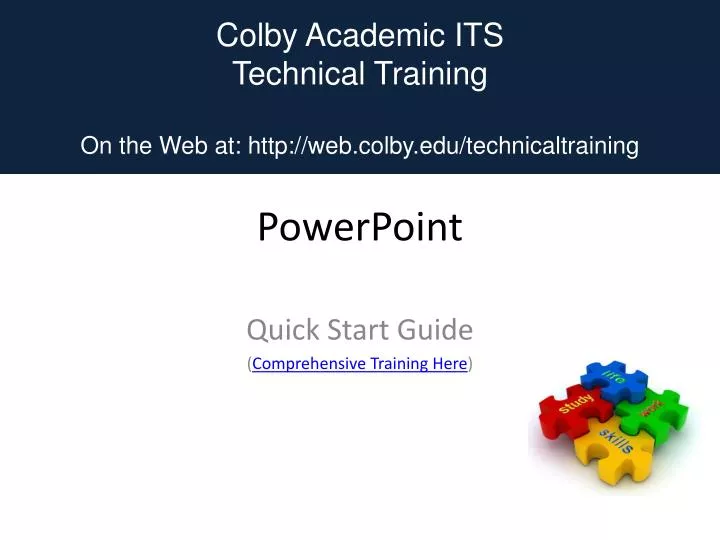
PowerPoint. Quick Start Guide ( Comprehensive Training Here ). Today’s Quick Start Topics. Interface Look and Feel Working with Text Graphics Tables and Charts Drawing Multimedia Slide Show Packaging Tips and Tricks. Interface. File Menu Commands Here. A central Ribbon

E N D
PowerPoint Quick Start Guide (Comprehensive Training Here)
Today’s Quick Start Topics Interface Look and Feel Working with Text Graphics Tables and Charts Drawing Multimedia Slide Show Packaging Tips and Tricks
Interface File Menu Commands Here • A central Ribbon • Contains tools on tabs • Tabs include tool groups • Quick Access toolbar • Place to put favorite tools • Some tools • Offer drop-down galleries of selections • Open dialog boxes for making detailed settings • The Launcher • Small arrow expands icon contents
Look and Feel 1 On the Home tab, click New Slide, below the slide icon. 2 Click a layout to insert a slide with that layout. Slide Layout Themes Standard TemplatesDesign Tab View Tab 1 Rest the pointer over a theme thumbnail 2 The preview appears on the slide. 3 Click the More arrow for a full theme gallery 1 Click on the Office Icon 2 Select “New” 3 Select Themes from listings • Slide Layout • Themes • Standard Templates • Design Tab • View Tab Click on View tab Select options to set In this case the slide master Slide Layout Slide Layout Themes Slide Layout Themes Standard Templates Slide Layout Themes Standard TemplatesDesign Tab Page orientation Built-in themes Theme color, font and effects Backgrounds Ways to Make It Your Own
Text • In general • Sized and formatted based on the Template or Theme • Overflow • Wrapped inside text container • Will reduce in size when overflows to fit • Resize container to increase size • Standard WYSIWYG icons • Home Tab
Graphics • SmartArt • WordArt • Photos and Images • Inserting • Editing • Clip Art
Tables • 1 • 2 • 3 To importfrom Excel Note the use of SmartArt!
Drawing • Click on desired shape • Drag to size on slide • Double-clickto bring upshape editing options • Make it blue…
Multimedia • We have been using it throughout this tutorial • You can insert • Video • Audio • “Canned” sounds • Transitions • Animations • The REAL questions are • How many • How often • Should I? OR
Show Packaging • Display “live” with a lap top • Your lap top “dies” • Display from an Internet site • Internet access? • Forgot to upload linked files? • Package on CD • Play on any windows computer • All files in one place
Tip #1 • Use “Outline” tab to quickly enter slide titles and bulleted lists
Tip #2 • “Less” IS “More” • Remember the Marbles! • Applies to EVERYTHING in your presentation • Overuse = Confusion • Over stimulation = No recognition
Tip #3 • Use images and photos selectively • Follow a “theme” in art also • Color • Faces • Nature… Different ?Can? Emphasize OR ?Can? Distract
Tip #4 • BEFORE you do anything think about your: • Audience • Purpose • Goal • Time limit • HW/SW limitations • THEN start designing • AND ONLY THEN add content
Colby Academic ITS Technical Training On the Web at: http://web.colby.edu/technicaltraining PowerPoint For more information or help, contact: Mel Regnell (4217)