Download
1 / 13
130 likes | 133 Views
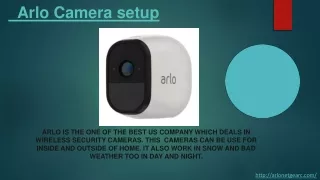
Are you facing the Arlo setup And fixing the Arlo Login? Donu2019t Worry! Our knowledgeable specialist is here! They will solve the Arlo issue within 10 minutes. Our team solves Arlo's error with the troubleshooting method. You need to call a toll-free number 1 888-255-8018 and get a better solution Quickly

E N D
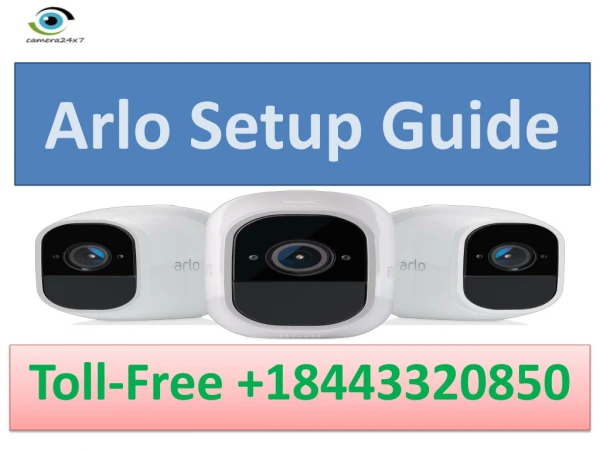
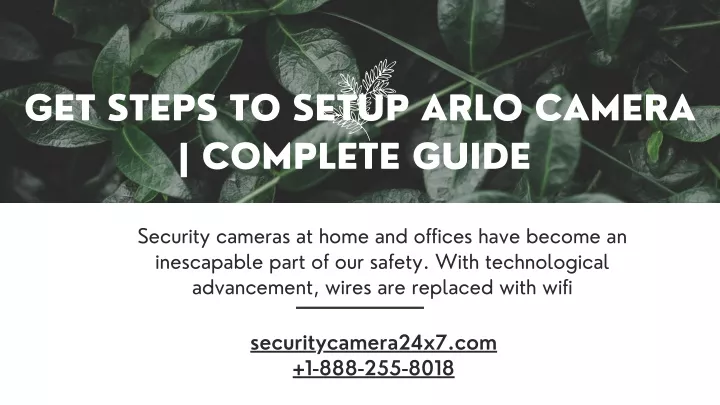
GET STEPS TO SETUP ARLO CAMERA | COMPLETE GUIDE Security cameras at home and offices have become an inescapable part of our safety. With technological advancement, wires are replaced with wifi securitycamera24x7.com +1-888-255-8018
Introduction Arlo camera systems are a renowned and most efficient technology in this field. This setup is quite easy to understand. How to setup arlo camera is what we are going to discuss below: securitycamera24x7.com +1-888-255-8018
Content Steps To Setup Arlo Camera | Useful Tips Step 1: Install The Arlo App Step 2: Turn The Camera On Step 3: Connect Arlo With A Good Internet Step 4: Mount The Arlo Camera Some Points - Must To Be Noted In The Nutshell
Steps To Setup Arlo Camera | Useful Tips Make sure to follow the guidelines properly… If you will skip any of the steps then unfortunately you will fail to setup Arlo camera. Adhere the stated steps below: securitycamera24x7.com +1-888-255-8018
01.Step 1: Install The Arlo App The very first step to setup arlo camera begins with downloading an Arlo application. This is mandatory prior to the setup. One can not proceed to the camera installations before downloading the Arlo app. securitycamera24x7.com +1-888-255-8018
Step 2: Turn The Camera On Once you are done with downloading and creating an Arlo account, the Arlo Setup becomes easier to operate. Turning the camera on is the second step. For the wifi models, a long narrow cut is made below the battery to avoid confusion about the right side of the battery. securitycamera24x7.com +1-888-255-8018
Step 3: Connect Arlo With A Good Internet Now the most crucial phase of Arlo Setup starts. We need the camera to connect with wifi. By scanning the QR code generated on the app through the camera, it will be connected. Once the camera makes a bell sound, we are assured that the setup is one step closer. securitycamera24x7.com +1-888-255-8018
Step 4: Mount The Arlo Camera This step to setup arlo camera includes the placing of the camera at the position, place, and angle that the owner thinks is the best. It must be kept at a height at which the maximum area is covered. But, not that high which might affect the quality of visuals. securitycamera24x7.com +1-888-255-8018
Some Points - Must To Be Noted First, open the setting menu from the app. Under that, select the option “My Devices”. It will lead to the cameras. Now select the camera which you want to adjust. Next, select the device utilities option and further select Camera Positioning. Now, you are at “Adjusthe camera option”. At this point, look closely and adjust the camera at the angle which covers all the required areas you want to see. To setup arlo camera, this point must not be avoided. 1. Camera can be positioned through the app. It means, we can set the delay time with respect to live-view.
2. Next is setting up the appropriate mode of the camera. Let’s say if you have put the camera covering your garden or main gate etc., you will be needing a wider view. On the other hand, a narrower view will be required for places like hallways. The procedure to do so is the same as you followed for Arlo setup above, till the point we are selecting the camera that you want to adjust. After that, Go for “ Video Settings”. There option called “video mode”. Finally, select the mode as per its best fit.
There is another impressive feature of Arlo cameras. You can select the motion zones. It means you can opt for what or what not to record. These are further divided into two parts i.e Passive Motion Zone and Adjustable Motion Zone. Passive motion zone- the more tactful than another one. As the motion sensor is set off by the activity which is quite frequent in nature. We can include this in the top area of the camera and the problem is resolved. Adjustable motion Zone- This is the paid feature that allows you for customized recording areas. But it has a catch. It will be required to connect with a power outlet.
Now comes the most common, yet unavoidable option. It is motion detection. It is the feature that is the decision maker of when to record. To set it up: Go to settings from the app. Now select “ My devices” and go for the camera you want to access. Next, go for “ device utilities” and further “Motion Detection Test”. This is the feature that makes the camera’s light blink during motion detection. Now you can adjust the sensitivity at the degree you want it to be. securitycamera24x7.com +1-888-255-8018
In The Nutshell To cap it all, above are the steps to setup arlo camera with ease using the arlo app. And don’t forget the further discussed options to be included that will bring the best out of it. securitycamera24x7.com +1-888-255-8018