Download
1 / 28
310 likes | 618 Views
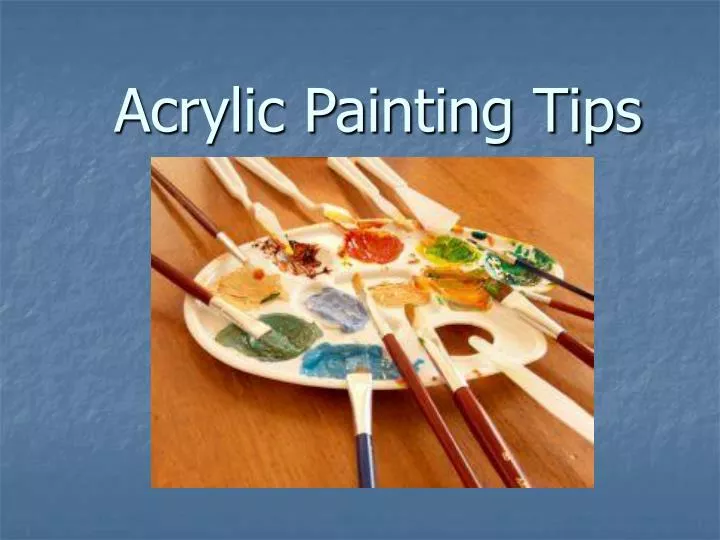
Acrylic Painting Tips. THE MEDIUM-. All acrylics are made from coloured pigments mixed with synthetic resin which acts as the binder and adhesive. Once dry acrylic colours form a tough plastic coating which is almost indestructible. Acrylic Paint.

E N D
THE MEDIUM- • All acrylics are made from coloured pigments mixed with synthetic resin which acts as the binder and adhesive. Once dry acrylic colours form a tough plastic coating which is almost indestructible.
Acrylic Paint • Change your rinse water often to keep colours pure and clean • Wash brushes with cool water, not hot
Acrylic Paint • Paint left to dry on clothing or in brushes becomes permanent – wash while wet! • If you get paint on your clothes, rinse it out with cold water
Acrylic Paint • Blend colours together on the painting surface while wet to achieve gradual changes in value/tone • If you want an area to be well blended, it’s a good idea to pre-mix the colours you will need so you can apply them more quickly and be able to blend while still wet. For example, if you want to blend a red into a yellow, pre-mix a couple in between colours – this way, not all your blending is done on the painting surface, allowing you to work quicker
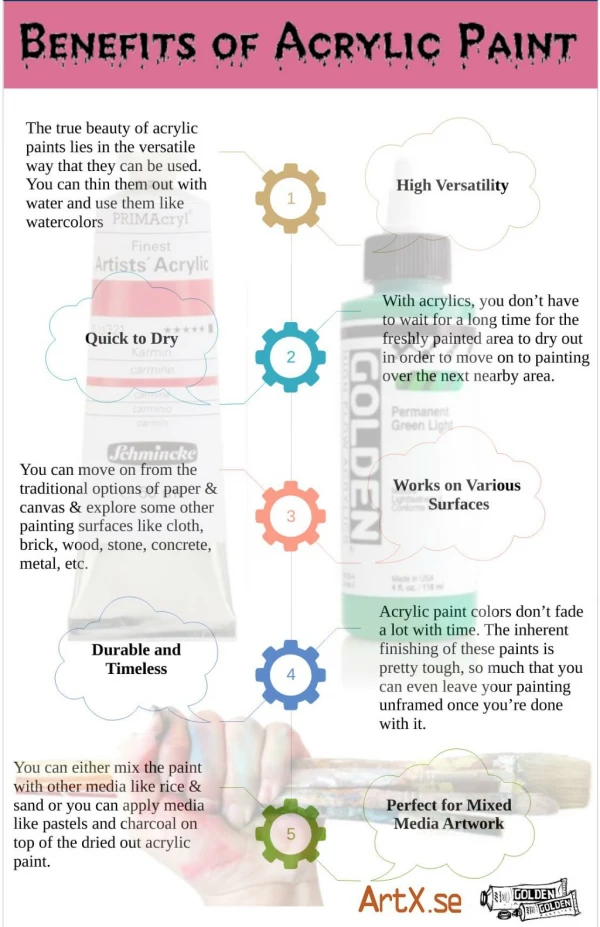
Acrylic Paint • Acrylic dries slightly darker than it looks when wet • If an area doesn’t work out, let it dry and simply paint over it again – it is very forgiving!
Opaque from the tube- easy to paint one colour over another, even a light colour over another one only takes one coat • Translucent when one adds water- bold or subtle transparent washes. Does not behave as watercolour; washes are unsolvable so once dry cannot be removed. This allows you to add one transparent colour over another without disturbing the colour underneath. They also dry to a rather flat finish, the more water you use the less shiny the final work. • Can be applied thickly to add texture. Mediums can be used to make this even thicker.
Surfaces • Painting surfaces- wide range- canvas, board, cardboard, paper; also, plastic, metal, formica and other surfaces. All surfaces should be primed to seal the surface and provide a key for the paint to adhere to. It will not adhere to an oily or waxy surface so do not use it to paint over an old oil painting. Acrylic gesso or acrylic primer provides a good white surface. To retain the colour of the canvas board, card or paper seal the surface with acrylic gloss or matt medium. • Bought surfaces- ready primed for acrylic use including, stretched canvas, boards, and canvas covered boards as well as special papers which have a texture similar to canvas.-limited range of sizes and shapes • Inexpensive alternatives- hardboard, masonite, cardboard, thick paper- prime with two coats.
Layering • Most effective way to adjust colours , tones and composition by overlaying paint rather than manipulating wet paint on canvas as with oils.
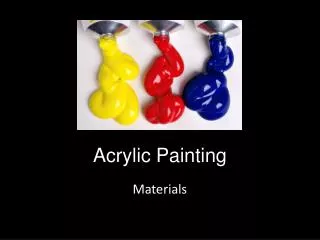
ACCESSORIES AND ADDITIVES- • Palettes-use white plastic palettes or flat plastic or glass sheets, not wooden palettes. Keep paint moist while you work with an occasional spray of water. • Styrofoam trays with moistened paper towels- can keep paint moist on a limited budget- cover with tinfoil • Paint- tube paint generally thicker than that in jars. • Mediums-gloss medium- allows the paint to become transparent with a shinier result. Often used when one colour needs to be seen underneath. Matt is the same but leaves it with a non=reflecting surface. • Gel Medium and Texture paste- used to make it thicker, allowing for texturizing with a brush, knife or other tools. You can also make your own special textures by adding sand sawdust or other substances. • Retarder- slows down drying time, used with thick paint to allow time for texturizing.
Glazing Building up layers of transparent colours. Paints can be thinned with water (dull) or acrylic mediums (slight to high gloss
Layering • The first step should be an underpainting. • Underpaintings should not be detailed. • This first layer of paint covers the gesso (primer) and prevents white areas. It can also add a different tint to layers on top of it. It can be one colour for the entire painting, or different colours for different areas.
Layering, con’t Sometimes painters allow portions of the underpainting to show through, forming what looks like an outline. Allow successive layers to dry before building on top so the colours don’t become muddy; add glaze layers on dry paint to change tone of an area
Painting Order • Work from background to middle ground to foreground! • For example, in the example shown here, sky first, then blue hills, brown hills, white hills, then trees. • Also consider that dark colours layer over light colours more easily than light over dark.
WASHES: • Three uses you want your picture to look like a watercolour, or you want to use it as a starting place for your picture, or you want to use it as an overlaid colour. The latter is known as glazing and change the underlying colour without obliterating it. Some paints are strong and do not work well as glazes, such as phythalo blue and alizarin crimson. Remember water produces matt finish and medium a gloss finish.
Brushstrokes • impasto - A thick or lumpy application of paint, or deep brush marks (brushstrokes), as distinguished from a flat, smooth paint surface. (pr. im-PAHS-toh) • May be thinned with water or a medium to get watercolour like effect • Scumbling/drybrushing can be used on top of completely dry areas to add soft, broken, transparent areas of colour – good for highlights for example • Broad brushstrokes of thinned paint are good for underpainting and blocking in large areas of colour. Smaller brushstrokes with thicker paint are useful for adding details • Build up from thin to thick (for the most part)
TEXTURE: • Don’t over do it- it can take away from the picture, be selective • Model with a knife, scratch into with a brush handle (show layer underneath), imprint with another material such as tinfoil; combing; dab with your finger; dab from the tube; stipple with the flat of a knife; mix with sawdust , sand, rocksalt, rice, eggshells etc. ; have candlewax below, paint over such things as a doiley (stencil), paint over applied fabric.
1. Use a ground • There are many benefits to working on a ground. One of these is increased painting or drawing speed. A ground covers a painting or drawing surface from the outset. It can act as mid-tone, with only black and white used to apply dark and light areas (as in the examples below) or be left partially visible in the final work. This results in an artwork that is much faster to complete
2. Incorporate mixed media /patterned surfaces / textural elements • As with using a ground, patterned, decorative or textural items can cover areas of an artwork quickly. Although this strategy should be used with care, selecting only materials which support or enhance your project (usually with reference to a relevant artist model) this can be a great way to speed up your project and introduce creative use of mixed media.
Paint things in the right order - background areas first • In almost all cases, the background should be completed first, followed by the middle-ground, ending with the foreground. This is easily understood when considering a tree in front of a cloudy sky. If you make the mistake of painting the tree first, the sky has to be meticulously painted around every leaf and branch: an irritating task that takes hours (and ends up looking a little shabby). Painting the sky first, however, means that a large brush can quickly be used to paint the sky, with the tree then easily added over the top. Painting in the correct order also results in a painting that has layers (which gives it a richness and lustre, as with using a ground).
USE masking tape to create straight edges • Some students are concerned that it might be necessary to ‘prove’ that a straight line can be painted by hand. This is not the case. Your control of a paint brush can be ascertained immediately by looking at the remainder of your painting. Masking tape creates straight edges in seconds. Once mastered, this trick can save you hours – and make your paintings sharper, cleaner and more professional in the process. If you haven’t used masking tape before, buy some now!
OMIT PARTS OF A SCENE • Deliberately picking out certain parts of a scene to draw has a strong impact on the final work and must be used with care to ensure that the resulting image supports the ideas explored in your project. As with the previous option, this allows you to demonstrate strong observational drawing skills, while saving time by omitting part of the scene.
Use a bigger brush • There is something surprisingly liberating about painting with a bigger brush – especially if you have previously worked at a microscopic scale, picking out detail the size of a pin prick. You will soon discover that it is just as easy to achieve clean edges with a larger brush and that an unexpected level of detail can be achieved. Most enjoy picking up a larger brush – even if this just becomes a way for creating grounds and applying background layers
Be more gestural • Instead of artwork being a laborious process that grinds away for days, images can be created quickly, using rich, expressive mark-making. Those who have only produced realist, tightly controlled drawings usually take some time to adapt to this approach and not all students find it easy; selection of the right drawing tools and mediums can help. Charcoal, chunky 5mm wide graphite leads, Indian ink, big brushes and paint applied with pieces of card all lend themselves to gestural mark-making