Download
1 / 7
70 likes | 82 Views
Broadway Sheet Metal has been established in the Food Service Industry since 1971. The name Broadway Sheet Metal has been synonymous with quality and commitment to customer service. All fabrication is done in our 14,000 SQ FT facility with our highly trained union craftsmen. Our installation crew as well as our transport crew are fully equipped with the latest equipment. We have the experience and the knowledge to install our custom work as well as customer-supplied "buyout" equipment.<br>

E N D
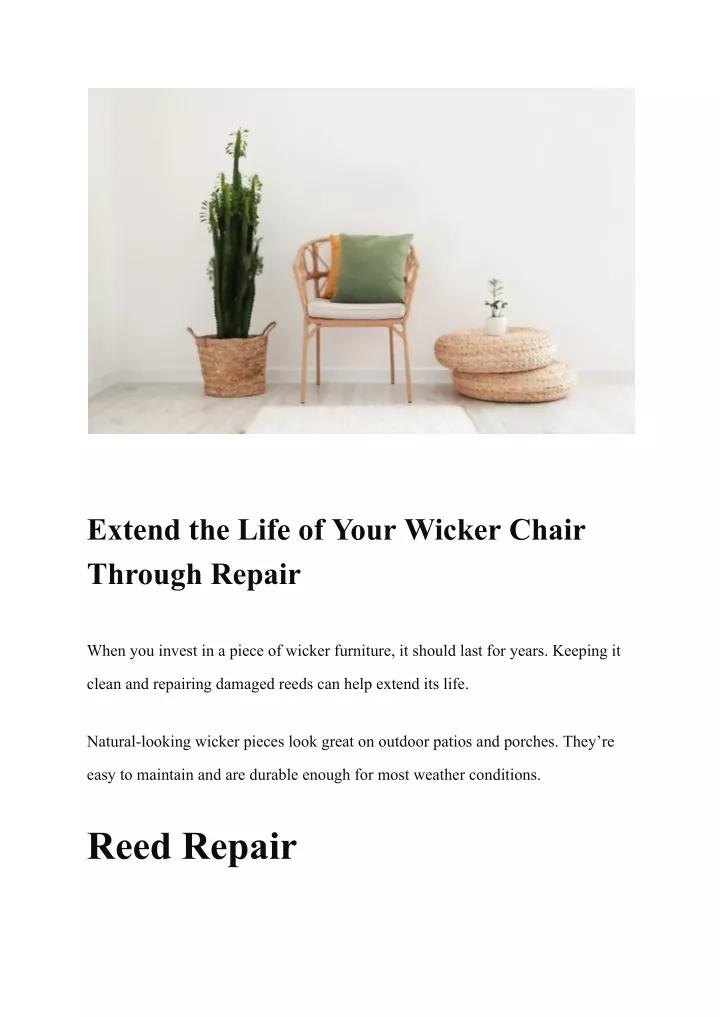
Business Extend the Life of Your Wicker Chair Through Repair When you invest in a piece of wicker furniture, it should last for years. Keeping it clean and repairing damaged reeds can help extend its life. Natural-looking wicker pieces look great on outdoor patios and porches. They’re easy to maintain and are durable enough for most weather conditions. Reed Repair
If you have a piece of wicker furniture that needs repairs, there are a few things that you can do to make it more durable. The type of wicker furniture you have will determine what materials and tools you need to get the job done right. For example, a sofa or chair will likely require repairs to its seating and legs because they are worn or loose. A table, depending on how it is used, may need a few broken reeds replaced. Reeds are the long strands of woven rattan that give wicker its distinctive appearance. They are made from natural or synthetic resin materials and can be found in several different styles and colors. Replacing reeds is an excellent way to restore the look of your wicker pieces and increase their durability. However, you should be careful about the quality of the reeds you choose to use. If the reed is not made from natural rattan, it may be more brittle than the original. You can try soaking the new reeds in water before replacing them, which makes them more pliable and less likely to break. If you have any questions about the type of reed you need to use, be sure to check with your local hardware store or crafts store. Replacement Reeds Once the replacement reeds are soaked, thread them into the damaged area of your wicker chair. Be sure to gingerly weave the new reeds in and out of the old reeds so that they stay tight.
As you do this, glue each strand together at its endpoints to hold them in place. You can do this by using a dribble of wood glue or an adhesive spray. In many cases, the repair will work well and you will be happy with your results. If not, you can always take your furniture to a professional rattan expert who will have the right tools for the job. Before you begin repairing your wicker furniture, ask yourself whether it is worth the time and effort to do so. If it is in good condition but has a lot of reeds that need to be replaced, you might want to leave it to the professionals. But if the damage is minor, you can do it yourself and keep the wicker furniture looking its best. Reed Wrapping Repairing wicker furniture is a great way to extend the life of your piece. It can be done with tools and materials that are readily available at your local craft store. To begin the process of repairing your wicker chair, you’ll need to give it a good cleaning with a soft-bristle brush. Henry suggests scrubbing the item thoroughly, taking care to get in between reeds of cane and to remove all flaking paint and dirt. Steps to reed wrapping Once the wicker has been thoroughly cleaned, you can proceed to Wicker chair repair any damaged reeds. The first step is to soak replacement reed fibers for at least 30 minutes so that they are more pliable and easier to work with.
After soaking the reed, thread it into the damaged area of the wicker. Use a pair of needle nose pliers or a wire tool to help guide the reed into place. Next, wrap the reed around the damaged area, tacking it in place with a wood glue. After the glue has dried, re-wrap the reed and make sure it is firmly in place. If there are any loose ends, tuck them into the frame and dab a bit of wood glue on them to hold them in place. Repeat the process for all damaged reeds on the wicker. Once all of the broken or missing reeds are replaced, you can re-weave the wicker to match the original weave pattern. Once you’ve finished weaving, re-check to make sure the weave is tight but not too slack. It’s sometimes unavoidable to have a loose weave when re-weaving, but it is far preferable to have a tight weave than one that’s been damaged or missing. After re-weaving, apply a coat of olive oil or finishing varnish to the repaired reed to keep it supple. This will protect it from moisture and other environmental elements, extending the life of your wicker furniture. Caning Repair If you own a cane chair that has a caning sag, there are several ways to Wicker chair repair it. One option is to replace the entire cane seat, which is a fairly simple and inexpensive procedure. Another is to add a new cane piece that overlaps the old cane piece under the seat. This is more difficult and may require a professional to complete the job, but it is not as expensive as replacing the entire cane seat.
Most cane chairs are hand-caned, which means the cane is threaded through individual holes in the frame and woven strand by strand. However, some chairs use pre-woven cane. These cane pieces are cut to the right size and pressed into a groove around the perimeter of the frame. A wedge shaped strip of molding, called a spline, is then forced down into the groove to hold the cane in place. Another type of cane chair is press cane, which differs from hand caning in that a groove is drilled in the frame for the cane material to be threaded into. This cane is typically made of a light-colored, vanilla ice cream or hay/straw color and is stained if desired. Replace the Damaged cane chair To replace a damaged cane chair seat, remove the existing caning from the frame of the chair and clean out the old spline and glue. Next, if the spline is still stuck to the frame of the chair, soak the area in very hot water and wring it dry. Once the adhesive softens, pry it loose with a chisel. Cane furniture is usually a natural grass material, so it can be damaged by heat and direct sunlight. You can protect your wicker furniture from damage by keeping it out of the sun, using a humidifier during the winter and applying mineral oil or orange or lemon oils to the cane several times each year.
If you are looking to restore a chair with cane, make sure you contact a professional restoration company that specializes in recaning. They will be able to give you an estimate for the work and ensure that they have the skills to do it well. Paint Repair Paint repair is a form of restoration where the damaged area gets a new layer of paint. It is a common technique used by car detailers and it usually doesn’t require extensive work. The exact process of Wicker chair repair the paint depends on the type of damage, but some of the most common techniques are polishing and wetsanding. It’s also possible to remove a scratch with rubbing compound and then fill it in with a paint chip repair kit, The Drive reports. Applying paint on damaged area Before applying any paint to the damaged areas, you should prime them with a quality primer. This helps the paint adhere to the surface and makes color blending easier. It’s especially important if the damage was caused by moisture. If the chipped area is large, you will need to sand it with a fine wet/dry sandpaper, such as 1500-2500 grit, or a small sanding block. Use light, short strokes back and forth to smooth out the chip.
Afterward, you can apply a clear coat finish to the Wicker chair repair area and blend it with the surrounding area. After the paint dries, you can go over it with a rubbing compound and a microfiber cloth to help remove any leftover sanding marks. This will make the Wicker chair repair area look like it’s part of the original paint. You can then apply wax to the repaired area to protect it from future damage. You can also do a spot Wicker chair repair with touch-up paint to fill in a small scratch or chip. However, it’s best to use touch-up paint only when the scratch is small and doesn’t go all the way through the paint. Once the touch-up is dry, you can start painting the area with a color that matches your other colors. You can use the same applicator that you used to paint the last coat of paint on the wall, or a small-sized brush, for better control and more even application. The paint you use should be a lacquer that has been specially formulated for repairs and should have a high level of UV protection. It should be applied in a well-ventilated area, and the temperature should be at least 55F degrees to allow the paint to dry quickly. Thanks for visiting webvk.in