Download
1 / 5
50 likes | 67 Views
Who doesnu2019t want to see own self in a different look? What about changing the color of the eyes? If you also want to see yourself in a different and stylish look by changing the eye color, you are just at the right place. In this post, you will learn how to change the eye color in Photoshop. At the end of the post, you can also know where you can get the best photo editing services at affordable prices. Freelance Colorist Color Correction<br>photo color correction service<br>Bulk Photo Color Correction Services<br>Hair Color Correction Service<br>Best Photo Color Correction Services<br>Photo Color Correction Services For Photographers<br>Photo Color Enhancement Services

E N D
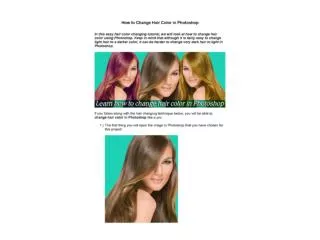
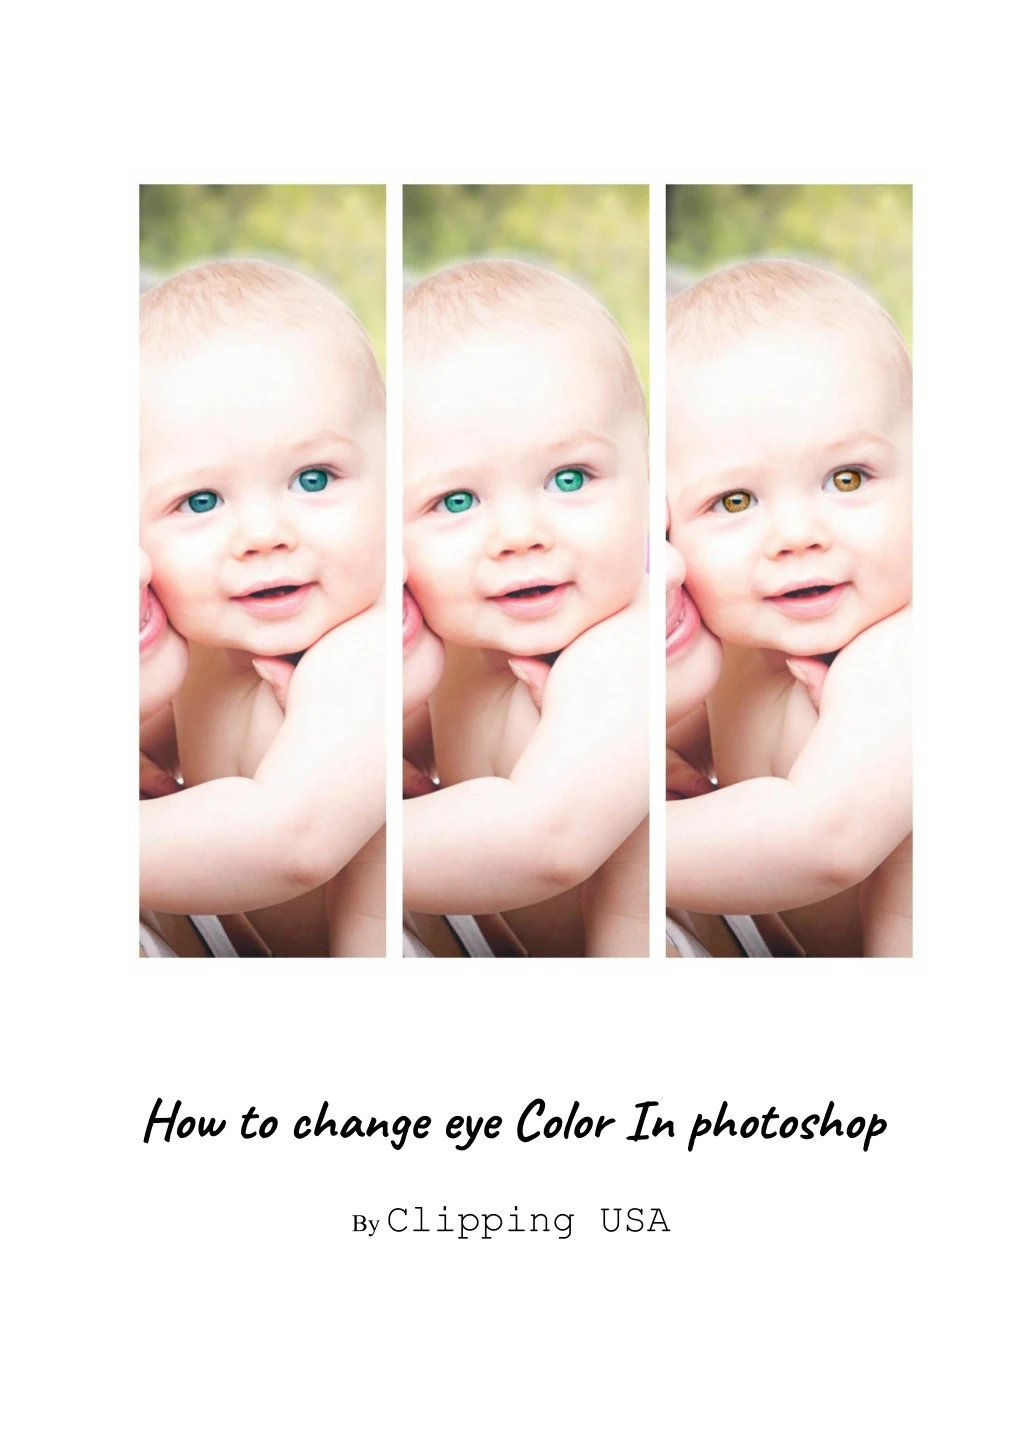
Who doesn’t want to see own self in a different look? What about changing the color of the eyes? If you also want to see yourself in a different and stylish look by changing the eye color, you are just at the right place. In this post, you will learn how to change the eye color in Photoshop. At the end of the post, you can also know where you can get the best photo editing services at affordable prices. Photo editing is a widely spread field. There are a few ways to perform this operation. I will describe you in such a way that is easy to learn and able to change your eye color perfectly. Without taking any more time let's jump into the tutorial section of changing eye color in Photoshop. Let’s change the color of the eyes of this beautiful Baby. I am going to show you the tutorial in 7 easy steps. You will have fun while doing it. Step 1: Take Hue/Saturation Layer From the bottom left of the layers panel take this. Then a new adjustment layer will be created. This is the layer where we will work to change the color. Suggested for you best clipping path services
Step 2: Increase the Hue In this step, Increase the hue from the hue option at the top of the layer panel. Make the color of the eyes like you want. Though it will effect on the whole picture but you don’t have to be worry, we will fix it buddy. Step 4: Make Invert You might also like product background removal service
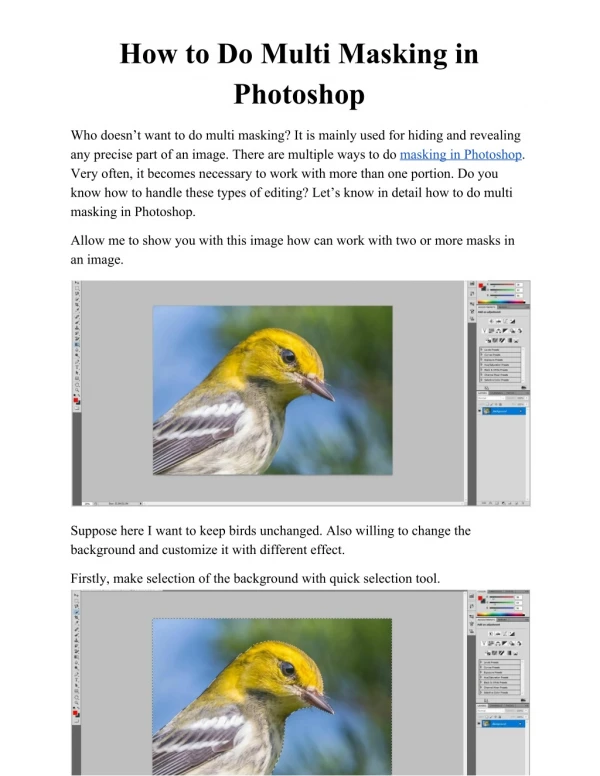
Pick the invert, by clicking on the option shown in the picture. Step 5: Take brush Tool Then you have to take the brush tool from this icon. Make sure that the brush you are taking it is Soft and small in size. Step 6: Zoom in and mark the eyes In this stage, Zoom in the picture and then Mark the eyes carefully you will notice that the color of the eyes are showing the color of the hue effect. Don’t make the mark on Sclera, be conscious about it.
Step 7: The Result After performing the previous task you simply zoom out the picture and inspect your result. The good thing of following this process is you can set any color now just in a few seconds by changing the hue and saturation. Let’s see some other colors. Before that, as I have mentioned above I will reveal the best Photo Editing Service Provider at a reasonable price. It is the CLIPPING USA. That’s my recommendation. You will find here Professional service at the lowest price. You can try with a free trial. It will not cost any money. What is the delay then? Thanks for reading.