Download
1 / 8
80 likes | 227 Views
making text photo. Photoshop tutorial. Photoshop tutorial: making text photo with Angelina Jolie's head-shot (Part 1). Step 1: Select the picture you want to edit. Step 2: “SELECT MENU”> COLOR RANGE> SHADOWS (this step selects all the shadows of the picture) press Ctrl+C > Ctrl+J.

E N D
making text photo Photoshop tutorial
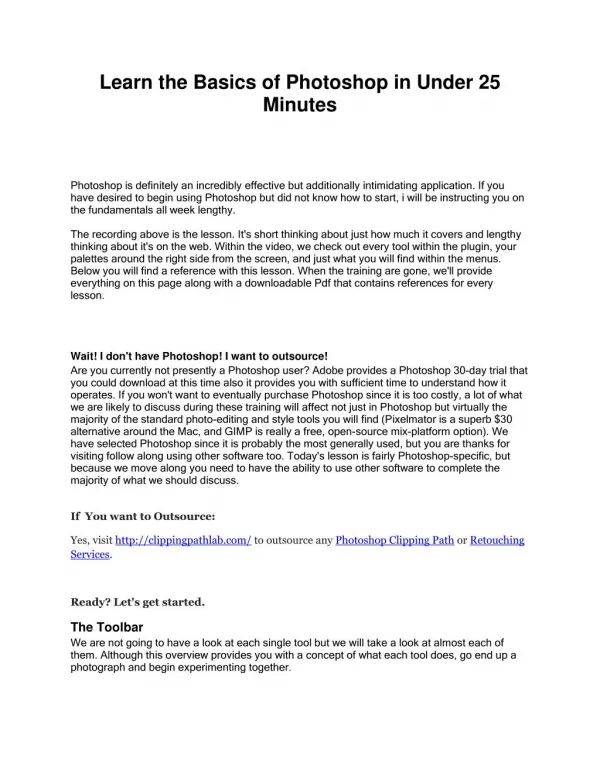
Photoshop tutorial: making text photo with Angelina Jolie's head-shot(Part 1) Step 1: • Select the picture you want to edit. Step 2: • “SELECT MENU”> COLOR RANGE> SHADOWS (this step selects all the shadows of the picture) • press Ctrl+C> Ctrl+J
Step 3:(select the background pic) • “SELECT MENU”> COLOR RANGE> MIDTONES • Press Ctrl+C > Ctrl+J • Hide the background layer(click the eye) Step 4: • (select the midtones layer) “EDIT MENU” > FILL > 50 % GRAY( be sure to check the PREERVED TRANSPERECY) Step 5: • (select the SHADOWS layer) “EDIT MENU” > FILL > BLACK (check the P. T.) Step 6: - Merge the TWO LAYERS(SHADOWS and MIDTONES)
Photoshop tutorial: making text photo with Angelina Jolie's head-shot(Part 2) Step 1: • (Make a new document on photoshop) “FILE” > NEW • (since we need a text, we will copy text from “word doc.”) • (After copying text on the word doc, go back to the photoshop environment) • Click TEXT TOOL> SECLECT THE AREA U WANT TO COVER (fill the whole area with text) • Click the “CHECK ICON” (this is located on the upper right part of the document)
Step 2: - Use “RECTANGULAR MARQUE TOOL” (to select around the whole text) Step 3: - “EDIT > DEFINE BRUSH PRESET > click OK Step 4: • Close the document containing the text
Photoshop tutorial: making text photo with Angelina Jolie's head-shot(Part 3) Step 1: • (go back to the document containing the pic.) Step 2: • Create TWO NEW LAYERS Step 3: • Click LAYER 2 > Ctrl + BACKSPACE > HIDE THE LAYER • Click LAYER 3 > BRUSH TOOL (look for the brush containing the text) > OPACITY (100%) • Apply it to image (make sure to fill the whole image) • Hide the layer 3
Step 4: • Click the LAYER ONE > Ctrl + A > Ctrl + C • Hide the LAYER 1 Step 5: • Select the LAYER 3 > add LAYER MASK > Alt + click the LAYER MASK > Ctrl + V >Ctrl + D > Ctrl + I Step 6: • Select the orig. text layer > select LAYER 2 Step 7: - Select the TEXT LAYER > add LAYER STYLE (gradient overlay then choose any gradient) > BLENDING MOCE (SREEN)
Step 8: • BRUSH TOOL > SOFT BRUSH > OPACITY (20%) > TEXT LAYER (be sure that the FOREGROUND COLOR is BLACK)