Download
1 / 7
70 likes | 94 Views
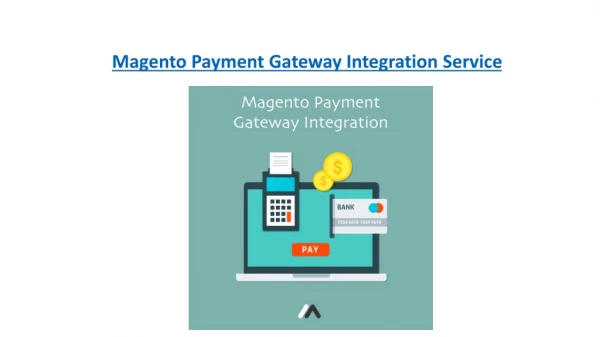
Magneto 2 Square Payment Extension by MageComp allows you to securely capture payment from your store customer using a renowned and secure payment gateway - Square.<br>Set custom Payment method title to display in frontend<br>Built-in Sandbox testing mode to test extension functionality<br>Uses a hosted payment page to ensure user privacy and security<br>Option to sync your Magento 2 data with Square Server<br>for more information visit : https://magecomp.com/magento-2-square-payment-gateway.html

E N D
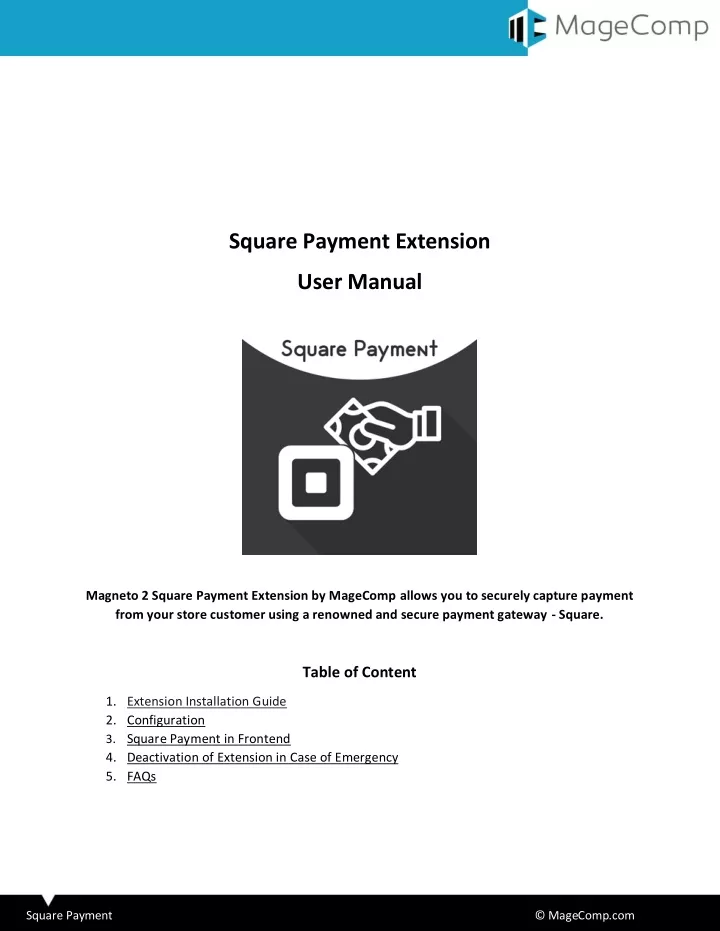
Square Payment Extension User Manual Magneto 2 Square Payment Extension by MageComp allows you to securely capture payment from your store customer using a renowned and secure payment gateway - Square. Table of Content 1.Extension Installation Guide 2.Configuration 3.Square Payment in Frontend 4.Deactivation of Extension in Case of Emergency 5.FAQs Square Payment © MageComp.com
1.Extension Installation Guide Go to My downloadable products. The file that you download normally is a zip file. Use FTP client (such as Filezilla, WinSCP, cuteFtp) to upload or copy all folders in the zip package to your Magneto site root folder. This will not overwrite any existing files, just add new files to the folder structure. Open Command line in folder root of Magento and run following command respectively: ophp bin/magento setup:upgrade ophp bin/magento setup:static-content:deploy ophp bin/magento indexer:reindex ophp bin/magento cache:flush Navigate to Stores/Configuration, if you can see the extension tab, it is installed properly. If you need professional help regarding Magento Extension Installation, feel free to contact us any time. 2.Configuration Once you have successfully installed the extension, go to Store configure the extension for use. Configuration to Square Payment © MageComp.com
Application Mode: Option to enable or disable extension. Sandbox Application Mode: Option to enable sandbox testing mode or live mode. Sandbox Access Token: Enter your sandbox token id provided by Square. Sandbox Square Location for Online Payment: Select location from here. Authentication Key: Enter your Square authentication key provided to you. Sandbox Documentation: You can read their sandbox guide in case of help. After that you have to perform authentication process to connect your Magento store with Square Gateway API. You can also configure webhook settings for Square in case you needed. Square Payment © MageComp.com
Enable Customer Syncrhonization: Option to sync your store customer with Square Gateway. Manual Customer Sync: Option to manually sync customer if needed. Square Payment © MageComp.com
System of Records: Choose option where you want to save your records. Enable Catalog Synchronization: Option to sync your store products with Square. Manual Catalog Sync: You can also manually sync your products if needed. Enable Inventory Synchronization: Option to sync your inventory with Square. Manual Inventory Sync: You can also manually sync your inventory if needed. Enable Catalog Images Synchronization: Option to sync catalog images. Images to Upload: Shows image sync status here. Manual Catalog Images Sync: You can also manually sync your catalog images if needed. Create Square Order: Option to import Square transactions as orders. Import Transactions and refunds: You can enable import for Square transactions and refunds if needed. Convert transactions into orders: You can also convert Square transaction as order in Magento 2 backend. Manual transactions and Refunds Sync: You can also manually sync data. Enable Gift Card: Option to enable gift card strategy. Square Payment © MageComp.com
3.Square Payment in Frontend Once you have enabled and configured it properly from the backend. Your customer will see Square Payment Option while checkout under the hood of Payment methods. If customer select Square Express as payment option, extension will redirect store customer to Payment Gateway provider and set order status as per backend configuration. Square Payment © MageComp.com
4.Deactivation of Extension in Case of Emergency Manually delete all the files and content from following folders in your Magento root: var/cache/* var/session/* Make sure you’ve uploaded all files from the downloaded package. Go to app/etc/modules/Magecomp_Squareup.xml and replace <active>true</active> with <active>false</active> Then repeat Step 1 and if something goes wrong, please contact us at support@magecomp.com 5.FAQs What if I get “Access denied” error after installation of the extension? Whenever you get Access denied error while clicking on the extension tab after installation, log out admin panel and re-login. Square Payment © MageComp.com