Download
1 / 7
70 likes | 90 Views
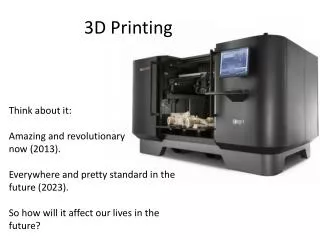
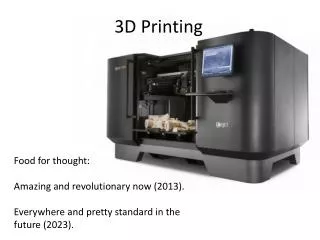
You might have noticed that your FDM 3D prints generally have a rather coarse finish. Itu2019s easily discernible too but luckily there are ways to achieve a smooth look and feel. Itu2019s called 3D printing post-processing techniques, in this article we will summarised all the techniques at your disposal to achieve the<br><br>desired finish. So, without further ado, let us begin : <br><br>www.makenica.com

E N D
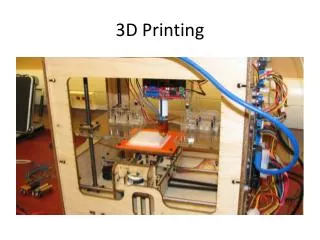
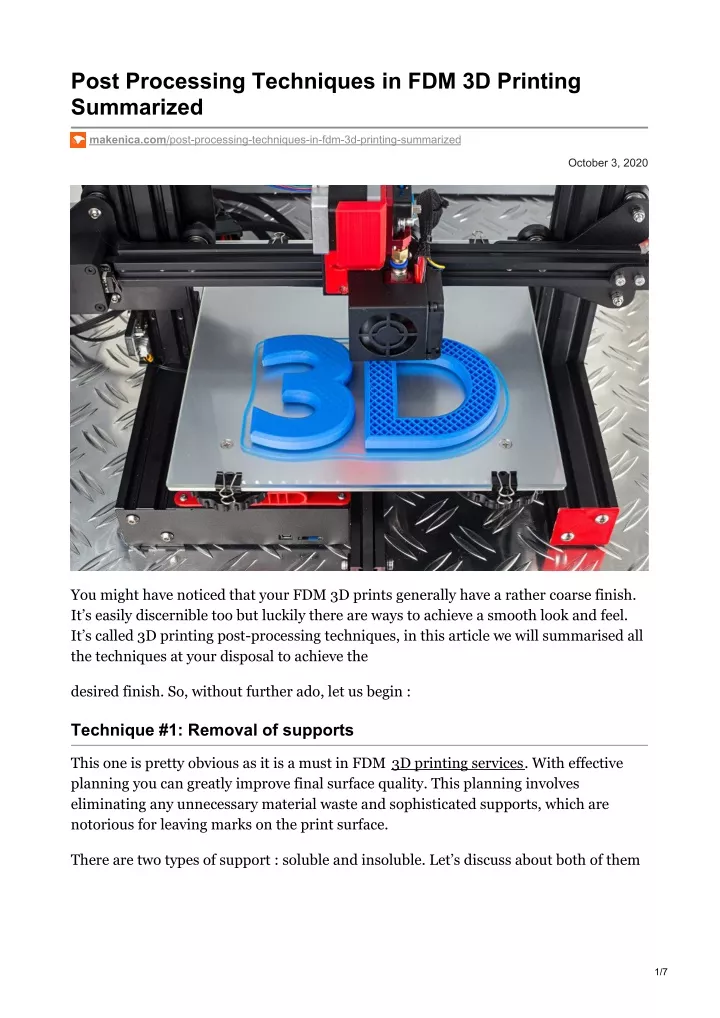
Post Processing Techniques in FDM 3D Printing Summarized makenica.com/post-processing-techniques-in-fdm-3d-printing-summarized October 3, 2020 You might have noticed that your FDM 3D prints generally have a rather coarse finish. It’s easily discernible too but luckily there are ways to achieve a smooth look and feel. It’s called 3D printing post-processing techniques, in this article we will summarised all the techniques at your disposal to achieve the desired finish. So, without further ado, let us begin : Technique #1: Removal of supports This one is pretty obvious as it is a must in FDM 3D printing services. With effective planning you can greatly improve final surface quality. This planning involves eliminating any unnecessary material waste and sophisticated supports, which are notorious for leaving marks on the print surface. There are two types of support : soluble and insoluble. Let’s discuss about both of them 1/7
1. Soluble: If materials dissolve in water or certain chemicals, they are termed as soluble. For eg : a chemical named D-limonene, dissolves HIPS, a substance often used as a support with ABS material. When the final print is dipped in the chemical the HIPS material will completely dissolve, leaving only the required ABS part. PVA is another material used as support with PLA builds which is dissolvable in water. These types of supports are pretty convenient while removing than the usual push-pull-tug approach of removal using clippers or fingers. 2. Insoluble: Normal printing materials like PLA, ABS, Nylon, or PC are generally chosen because of their insolubility. These materials are also used as supports when printing with a single extruder. You’ll have to remove such supports manually or using flush cutters. While mostly easy to remove, they can be tough if they are generated in critical or inaccessible locations. Soluble or insoluble, support structures still leave unwanted patches or blemishes at their point of contact with a print. You can further post-process them to achieve a smoother finish. Pros & Cons of Support Removal Pros: This is the simplest method of post-processing. It is a minimalistic procedure requiring little to no equipment. Greater flexibility of design can be achieved with soluble supports. Cons: Supports at certain critical locations may be inaccessible. They might damage the part during removal. Insoluble supports often restrict artistic freedom while designing the product. Technique #2: Sanding Sanding is also a pretty common approach to 3D printing post-processing. Sandpaper of varying grits are used to achieve a desired finish. It’s good to start the process with a low grit sandpaper and then go up towards using the higher grit ones. Pros & Cons of using a Sandpaper Pros: A very minimalistic approach. Works even on the roughest of prints. Works on any FDM material. Post-processing costs are minimal, because sanding is inexpensive. 2/7
Cons: It is a pretty tiresome process. It might affect the part’s dimensional accuracy, if you are not careful. It’s difficult to reach in certain critical locations or a part which may have smaller parts. It can cause fine particles of the material to be released in the air, which when inhaled can prove to be quite toxic and cause certain respiratory problems. As it is an entirely manual process, sanding may be uneven on different surfaces due to human error. Technique #3: Painting and Priming Coating the part with a primer paint or a primer spray is termed as Priming. It prepares the surface for the desired paint by acting as a basal layer. This 3D technique can work wonders in enhancing the look and feel of the product. It is usually recommended that the product is sanded first with a low and medium grit sandpaper, before going for priming. This is essential for removing the layer lines and exposes the surface for painting. After sanding is done, the primer is applied onto the part in two separate coats. Paint can be applied using a brush or spray, once the model has dried. Tape can be used for masking for help with sharp color intersections. Pros & Cons of Priming & Painting Pros: It really adds to the aesthetics, adding color It gives a smooth and consistent finish. It works on all available FDM materials. The parts of the model can be painted with multiple colors. Cons: It is relatively time-consuming, unless you are a hobbyist It is relatively expensive too, because it makes use of equipment like paints, brushes, sandpaper, masks, and sprays. You can’t be a complete beginner. To do this some amount of skill is required to achieve a smooth surface finish. IMPORTANT NOTE: Proper safety precautions need to be taken while spraying primer and paints. Carry out both tasks in a properly ventilated room or outdoors. Technique #4: Acetone Smoothing 3/7
Acetone smoothing is almost an exclusive 3D printing post-processing technique for ABS material. In this process the 3D printed part is exposed to acetone vapors in a closed environment which is generally a glass enclosure. The vapors chemically react with the outer layer of the print causing it to melt. This results in fading of the layer lines, which indirectly smoothens the outer layer of the print model to give it a shiny look. Pros & Cons of Acetone Smoothing Pros: Acetone smoothens the prints to look shiny and glossy. You can make it gift ready Acetone is cheaper so this post-processing technique won’t burn a hole in your pocket. The process is pretty quick and simple. Cons: Works only on ABS material. Proper precautions have to be taken before using this technique, as acetone is a toxic chemical. A well-ventilated area is a must. You don’t really have a lot of control over the amount of material that might get removed during the process. It might affect the dimensional accuracy of the part being processed. NOTE: Acetone is highly flammable and is prone to explosions, if precautions aren’t strictly followed during the process. Acetone fumes are harmful in itself, if inhaled. It can cause irritation in the eyes or the respiratory tract. Technique #5: Hydro Dipping Hydro dipping is a newer post processing technique to be used with 3D printed parts or models. It’s commonly used on a large scope for industrial products. But, small-scale hydro dipping can be done easily to 3D printed parts for a neat look. Hydro dipping, also known as hydrographics or water transfer imaging, is a technique for the application of printed graphic designs to solid objects. This post-processing technique is commonly used on various materials like plastic, metal, glass or wood. NOTE : This technique is only used for the enhancement of aesthetics of the object and has absolutely no effect on its dimensional properties or the feel. Pros & Cons of Hydro Dipping Pros: It enhances the aesthetics of the product. 4/7
A multi-colored or patterned design can be added using this. It works with all the common printing materials such as plastic, metal, wood, or glass. It has no effect on the dimensional accuracy of the print. Cons: It makes use of expensive apparatus. A certain level of dexterity is required to carry out the process. Technique #6: Polishing This 3D printing post-processing technique can simply be done with the simple polishing tools at your local hardware store. You also have the option to buy advanced polishing toolkits like the Dremel tools to get a much-enhanced and professional outcome. Remember that this is another technique that should only be carried out after proper sanding. Polishing will synergise with the effect of sanding, providing a much smoother finish. Pros & Cons of Polishing Pros: It can be done using common electric tools. It’s an easy process. Cons: It releases fine particles into the air, which can be inhaled by the operator and are a health hazard It requires adherence to a set of safety precautions. A moderate amount of skill is necessary to pull it off. Technique #7: Electroplating Electroplating is another great 3D printing post-processing option. It not only boosts the look and texture of the part but also augments its strength. But the drawback is that only a limited number of materials such as ABS can be electroplated. Metals generally used for electroplating are gold, silver, nickel, chrome, and copper. Pros & Cons of Electroplating Pros: It significantly improves the look, feel, and surface properties of a part. 5/7
It is also capable of increasing the strength of a part. You have plenty of options for outsourcing the process of electroplating. Cons: Only a limited number of materials which include ABS, can be electroplated. It’s pretty expensive. It’s a complicated process. It requires a professional level of skill. Technique #8: Gluing If your model has multiple smaller parts, they can be glued together to make a single part. This is a commonly used technique in the case of large parts that cannot be 3D printed as a whole owing to the dimensional constraints of the printer. For example PLA is a material that can be glued together with ease using industrial level bonding agents like Anabond. Pros & Cons of Gluing Pros: It forms a sturdy bond between pieces. It’s an easy process. It’s a pretty cheap technique.. It doesn’t require much skill. Cons: Limited to a very few materials such as PLA that can be electroplated. While strong in itself they are not as strong as whole parts Technique #9: Welding Here when we say welding, it doesn’t refer to the conventional metal welding but the merging together of ABS parts using acetone. Acetone, as we already discussed, chemically reacts with ABS, melting it in the process. We can make use of this property, such that when light layers of acetone are applied on two surfaces of ABS parts, they can merge together to eventually form a bond. These welded bonds are fairly sturdy. The surface area of the bond is directly proportional to the strength of the bond. Pros & Cons of Welding Pros: It forms a durable bond between parts. 6/7
It’s a simple process. It’s relatively cheap. Skill level required to perform this operation is minimal Cons: This technique can be used on ABS exclusively. Welded parts aren’t as strong as whole parts. Conclusion We took a look in brief about the various 3D printing post-processing techniques that are used to achieve different results. It is important to emphasize the point that post- processing isn’t all about enhancing the aesthetics of the object but, also its other properties such as texture and strength. It is important to wisely select the most suitable process for a specific application. By making the correct decision you can completely revitalise your creation and we hope we helped you in making that choice. 7/7