Download
1 / 7
0 likes | 6 Views
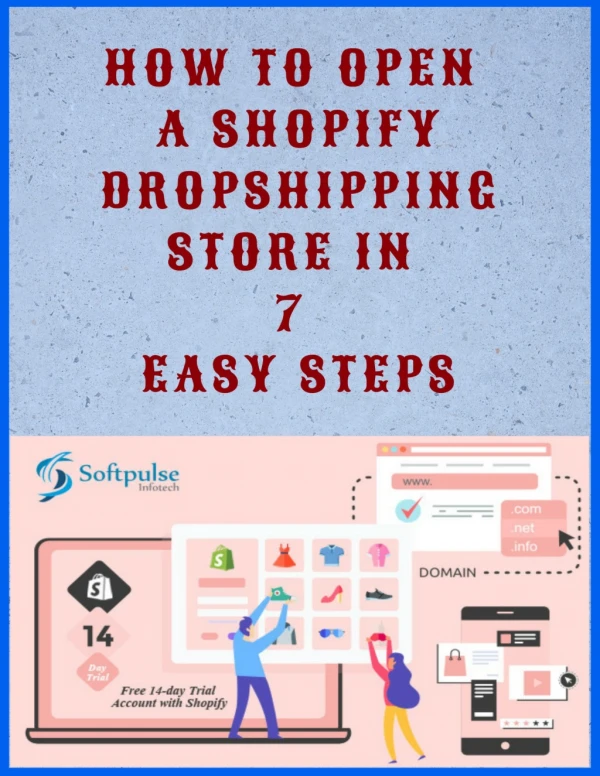
This guide provides a straightforward overview of the steps needed to make your Shopify store live.<br><br>From setting up your domain to configuring payment options, it covers all the essential actions to launch your online store successfully. Follow these simple steps to start selling your products on Shopify with ease.

E N D
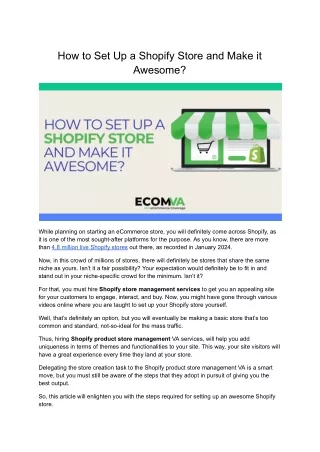
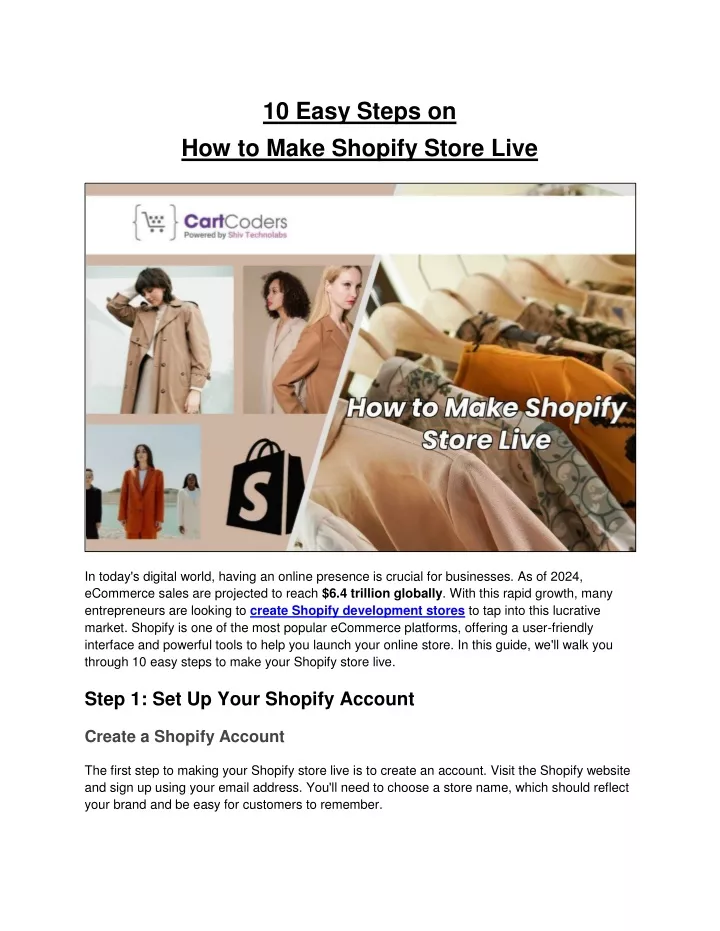
10 Easy Steps on How to Make Shopify Store Live In today's digital world, having an online presence is crucial for businesses. As of 2024, eCommerce sales are projected to reach $6.4 trillion globally. With this rapid growth, many entrepreneurs are looking to create Shopify development stores to tap into this lucrative market. Shopify is one of the most popular eCommerce platforms, offering a user-friendly interface and powerful tools to help you launch your online store. In this guide, we'll walk you through 10 easy steps to make your Shopify store live. Step 1: Set Up Your Shopify Account Create a Shopify Account The first step to making your Shopify store live is to create an account. Visit the Shopify website and sign up using your email address. You'll need to choose a store name, which should reflect your brand and be easy for customers to remember.
Choose a Plan Shopify offers various pricing plans, each with different features. The Shopify Basic plan is a good starting point for most new stores. As your business grows, you can upgrade to higher-tier plans with more advanced features. Step 2: Configure Basic Settings Store Information After setting up your account, it's time to configure your store's basic settings. Start by entering your store information, including your business name, address, and contact details. This information will be displayed on invoices and other customer communications. Payment Settings Next, set up your payment options. Shopify supports various payment gateways, including Shopify Payments, PayPal, and Stripe. Choose the options that work best for your business and configure the settings accordingly. Shipping Settings Shipping is a critical aspect of your online store. Set up your shipping settings by defining shipping zones and rates. You can offer free shipping, flat-rate shipping, or calculate rates based on the customer's location. Step 3: Choose and Customize Your Theme Browse and Select a Theme Shopify offers a wide range of free and paid themes to suit different types of businesses. Browse the theme store and select a theme that aligns with your brand's aesthetic and functionality needs. Customize Theme Settings Once you've chosen a theme, it's time to customize it. Use Shopify's built-in theme editor to adjust the layout, colors, fonts, and other design elements. Make sure your store looks professional and aligns with your brand identity. Add Branding Elements Incorporate your branding elements, such as your logo, favicon, and brand colors. Consistent branding helps build trust with customers and makes your store more recognizable.
Step 4: Add Your Products Add Product Listings Now it's time to add your products. Go to the Products section in your Shopify admin and click on "Add product." Fill in the necessary details, including product title, description, price, and images. Make sure your product descriptions are clear and detailed. Set Prices and Inventory Set the prices for your products and manage your inventory levels. Shopify allows you to track inventory and set up alerts for low stock levels. Organize Products into Collections Organize your products into collections to make it easier for customers to browse your store. For example, you can create collections based on product categories, seasons, or special promotions.
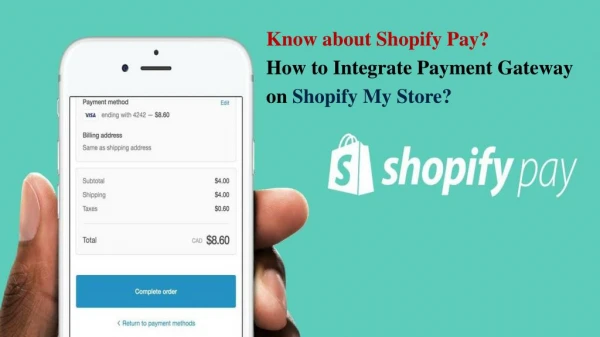
Step 5: Set Up Payment Gateways Choose Payment Providers Choose the payment providers that you want to offer in your store. Shopify Payments is a popular choice as it integrates seamlessly with your store and offers competitive transaction fees. Configure Payment Options Configure the payment options in your Shopify admin. Make sure to enable multiple payment methods to give customers more flexibility. Options can include credit/debit cards, digital wallets, and alternative payment methods. Test Payment Settings Before making your store live, it's important to test your payment settings. Place a test order to make sure the payment process works smoothly and that transactions are processed correctly.
Step 6: Configure Shipping Options Set Up Shipping Zones Set up shipping zones based on the regions you want to ship to. You can define different shipping rates for different zones, such as domestic and international rates. Define Shipping Rates Define your shipping rates based on the shipping zones you've created. Consider offering free shipping for orders over a certain amount to encourage larger purchases. Integrate Shipping Apps Integrate shipping apps to streamline your shipping process. Shopify offers various apps that can help you with printing shipping labels, tracking shipments, and managing returns. Step 7: Set Up Tax Settings Configure Tax Rates Set up tax rates based on your location and the locations of your customers. Shopify allows you to automatically calculate taxes based on the customer's shipping address. Enable Automatic Tax Calculations Enable automatic tax calculations to ensure that the correct tax rates are applied to each order. This will save you time and reduce the risk of errors. Step 8: Test Your Store Preview Storefront Before launching your store, preview your storefront to make sure everything looks good. Check for any design issues or broken links that need to be fixed. Place Test Orders Place test orders to ensure that the checkout process works smoothly. Verify that the order confirmation emails are sent correctly and that payments are processed without any issues.
Check for Errors and Fix Them Thoroughly test your store for any errors or issues. This includes checking the functionality of all buttons, forms, and links. Fix any problems you encounter before making your store live. Step 9: Purchase a Domain Buy a Domain through Shopify Purchase a custom domain through Shopify to make your store look more professional. Having a custom domain also makes it easier for customers to find your store. Connect an Existing Domain If you already have a domain, you can connect it to your Shopify store. Follow the instructions in the Shopify admin to set up your domain and ensure it's properly configured. Verify Domain Settings Verify your domain settings to make sure everything is set up correctly. This includes checking the DNS settings and ensuring that your domain points to your Shopify store. Step 10: Launch Your Store Review Store Settings Before making your store live, review all your store settings. Double-check your payment, shipping, tax, and theme settings to make sure everything is correct. Remove Password Protection Remove the password protection from your store to make it accessible to the public. Go to the Preferences section in your Shopify admin and disable the password protection. Announce Your Launch Announce the launch of your store to your audience. Use social media, email marketing, and other channels to let people know that your store is live. Consider offering a special promotion to celebrate the launch and attract customers. Also Read: Create Shopify Store: The Ultimate Guide
Conclusion Congratulations! You've successfully made your Shopify store live. Remember, the journey doesn't end here. Continuously monitor your store's performance, gather feedback from customers, and make improvements to enhance their shopping experience. With dedication and the right strategies, your Shopify store can become a thriving online business. If you need expert assistance in bringing your vision to life, CartCoders offers top-notch Shopify store development services in India. Our experienced team is dedicated to helping you build a successful online presence, tailored to meet your specific needs. Let us be your trusted partner in achieving eCommerce success.