Download
1 / 15
970 likes | 2.39k Views
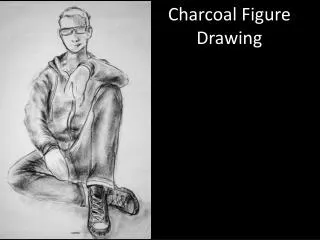
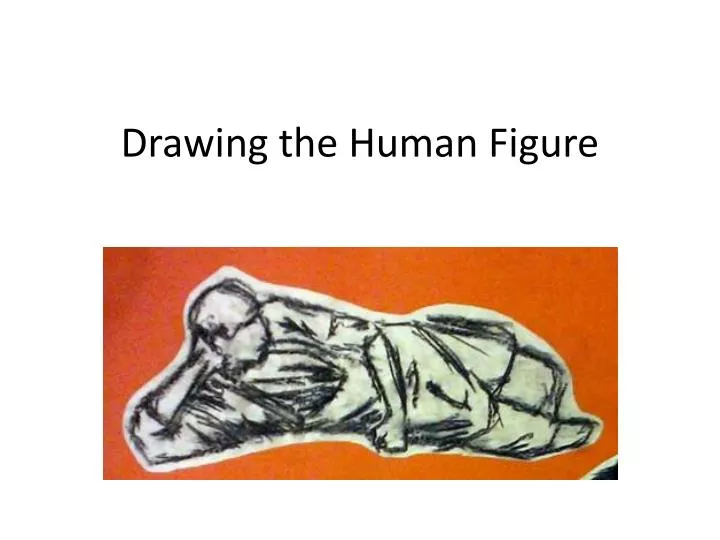
Drawing the Human Figure. Art Terms. Figure Drawing- A drawing of the human form in any of its various shapes and postures using any of the drawing media. Proportion- A p rinciple of art that describes the size, location or amount of one element to another (or to the whole) in a work.

E N D
Art Terms • Figure Drawing- A drawing of the human form in any of its various shapes and postures using any of the drawing media. • Proportion- A principle of art that describes the size, location or amount of one element to another (or to the whole) in a work
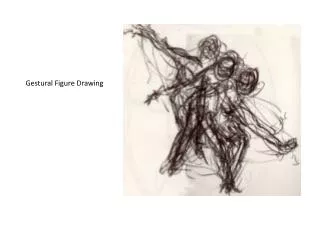
Hammer Daumier • French caricaturist, painter, and sculptor • Known for his cartoons and drawings of 19th-century French politics and society. • Used gesture techniques to create his drawings. • His paintings helped introduce techniques of Impressionism into modern art.
Materials: • Charcoal/Pencil • Paper • Eraser • Person able to model
The model • Select a model • Comfortable pose • Give breaks
Helpful Hinters… • Study your subject, watch the overall movement • Step back and look • Move around the drawing
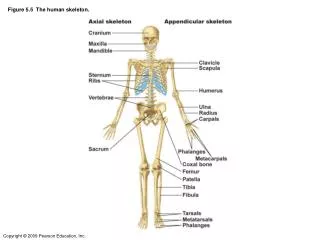
Human Body Proportions • The adult human body is about 8 heads high. • A child is about 5 heads high • A baby is about 4 head high.
Beginning of Drawing • Lines of interest and order of placement • Spine • Hips • Legs • Shoulders • Arms • Neck/head
Drawing the Body (without details) • After line drawing, start with the actual body parts • Don’t get too detailed yet • Using gesture drawing, draw the big areas • Start with the chest cavity • Then draw the legs and arms • Now draw the neck and head • Next box in areas for hands and feet
Drawing the Body con’t. • Work your way to the little areas • Move around • Don’t stay in one area too long • Once this stage is complete, step back and look
Stepping back to LOOK • Hints when looking… • Look at the drawing as a whole • Are proportions the same? • Look at negative areas (spaces in between legs or arms) • If it doesn’t look right and you can’t figure it out, ask someone else to have a look.
Drawing the head • Start with a circle for the back of the head • Use an oval for the front of the face • Connect the two together
When finished… • Step back, look at it and ask these questions… • Does it look the same? • Is it shaded the same? • How does the face look? • Are the negative areas the same? • If all of these are good, then great! You’ve completed the assignment. If not, try to make the necessary changes.
Starting Details • Begin looking at shaded regions • Start shading areas that are light and work your way to the darker areas. • Try to shade alike regions at the same time.