Download
1 / 6
0 likes | 10 Views
Maintaining vinyl flooring is essential to preserve its durability and shine, especially in commercial spaces that endure heavy foot traffic. This comprehensive guide from Nationwide Commercial Cleaning walks you through the process of stripping and sealing vinyl flooring, helping you restore its original appearance and extend its lifespan. From preparing the area and applying the stripping solution to sealing the floor for long-term protection, this guide covers all the steps necessary to keep your vinyl floors looking pristine.

E N D
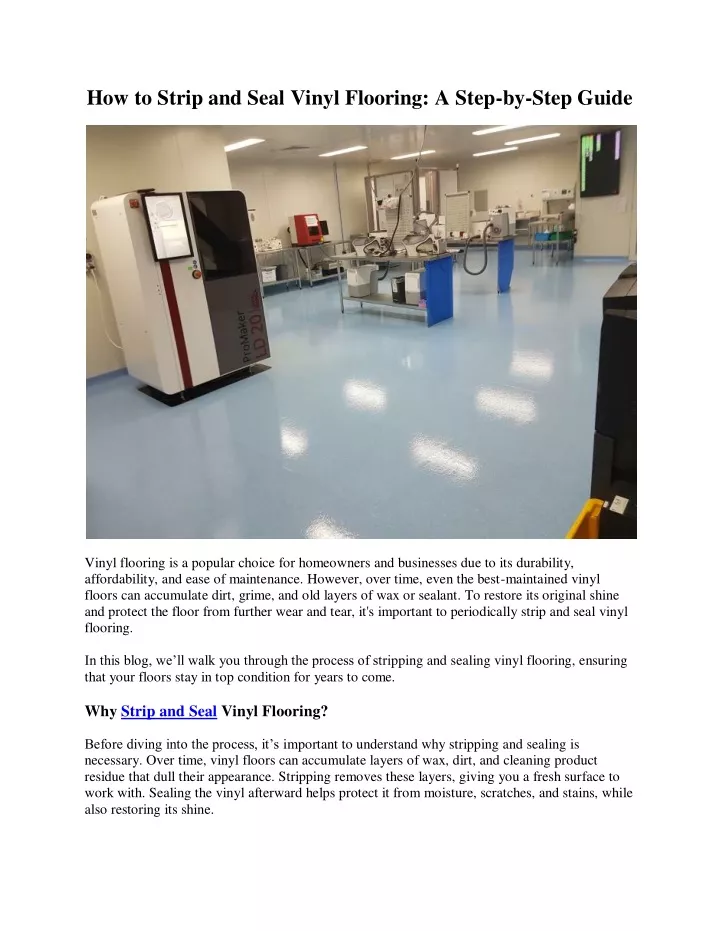
How to Strip and Seal Vinyl Flooring: A Step-by-Step Guide Vinyl flooring is a popular choice for homeowners and businesses due to its durability, affordability, and ease of maintenance. However, over time, even the best-maintained vinyl floors can accumulate dirt, grime, and old layers of wax or sealant. To restore its original shine and protect the floor from further wear and tear, it's important to periodically strip and seal vinyl flooring. In this blog, we’ll walk you through the process of stripping and sealing vinyl flooring, ensuring that your floors stay in top condition for years to come. Why Strip and Seal Vinyl Flooring? Before diving into the process, it’s important to understand why stripping and sealing is necessary. Over time, vinyl floors can accumulate layers of wax, dirt, and cleaning product residue that dull their appearance. Stripping removes these layers, giving you a fresh surface to work with. Sealing the vinyl afterward helps protect it from moisture, scratches, and stains, while also restoring its shine.
What You'll Need: Before starting, gather the following tools and materials to make the process smoother: Tools: Mop and bucket Floor stripping solution (available at hardware or flooring stores) Scrubbing brush or floor buffer Clean cloths or rags Protective gloves and eyewear Wet/dry vacuum (optional) Soft-bristle broom or vacuum cleaner Paint roller or applicator pad for sealant Materials: Vinyl floor sealer or floor polish Floor finish stripper (specific for vinyl flooring) Clean water Disposable shoe covers (optional) Step-by-Step Process for Stripping and Sealing Vinyl Flooring Step 1: Prepare the Area Before starting the stripping process, make sure the area is well-prepared: 1.Remove all furniture and objects: Clear the room completely to ensure you have full access to the entire floor. 2.Clean the floor: Sweep or vacuum the vinyl flooring to remove loose dirt, dust, and debris. This will prevent any dirt from becoming embedded during the stripping process. 3.Ventilate the room: Open windows or doors to allow good air circulation, as some stripping solutions contain strong chemicals. 4.Put on protective gear: Wear gloves, protective eyewear, and long sleeves to protect yourself from harsh chemicals in the floor stripper. Step 2: Apply the Stripping Solution Now that the area is prepped, it’s time to apply the floor stripping solution: 1.Mix the stripping solution: Follow the manufacturer’s instructions on the label to dilute the stripper in water if needed. The ratio of water to stripper depends on the product's strength.
2.Apply the solution to the floor: Use a mop to generously apply the stripper to the vinyl floor. Work in small sections, especially if you’re dealing with a large area, to ensure the solution doesn’t dry out before you scrub it. 3.Allow the solution to sit: Let the stripping solution sit on the vinyl floor for the recommended time (typically 5–10 minutes) to break down the old layers of wax or sealer. Be careful not to let the solution dry on the floor. Step 3: Scrub the Floor Once the stripping solution has had time to work, it’s time to remove the old layers:
1.Scrub with a floor buffer or scrubbing brush: Use a floor buffer with a scrubbing pad (for larger areas) or a stiff-bristle brush (for smaller areas) to scrub the floor thoroughly. Focus on any spots with built-up wax or dirt. 2.Work in small sections: For larger areas, work in manageable sections to ensure even stripping. 3.Wipe or vacuum away the residue: After scrubbing, use a wet/dry vacuum or mop to remove the dissolved wax and stripper residue. Be thorough to ensure no residue remains, as it can affect the sealing process. Step 4: Rinse the Floor After stripping the floor, it’s crucial to remove any remaining stripping solution to ensure the sealer adheres properly: 1.Rinse with clean water: Mop the floor with clean water to rinse off any remaining stripper and wax residue. 2.Repeat if necessary: You may need to rinse the floor more than once to ensure it's completely clean. Use a fresh bucket of water each time to avoid reintroducing any residue. 3.Allow the floor to dry: Once the floor has been thoroughly rinsed, allow it to air dry completely. You can use fans to speed up the drying process, but avoid walking on the floor while it dries. Step 5: Apply the Vinyl Floor Sealer Once the floor is clean and dry, it’s time to apply the sealant to protect your freshly stripped vinyl: 1.Choose the right sealer: There are different types of vinyl floor sealers or finishes, including high-gloss, semi-gloss, and matte. Select the one that suits your desired look and level of protection. 2.Apply the first coat: Using a paint roller or applicator pad, apply the first coat of sealer evenly across the vinyl floor. Work in small sections and ensure a smooth, even application. Avoid applying too much product, as this can lead to streaks. 3.Allow drying time: Let the first coat of sealer dry for the manufacturer’s recommended time (usually 30 minutes to an hour). 4.Apply additional coats: For best results, apply 2–4 coats of sealer. Each coat should be applied in thin, even layers, allowing sufficient drying time between each coat. 5.Final drying: After the final coat, allow the floor to dry completely before walking on it. This may take several hours, depending on the sealer. Step 6: Final Clean and Maintenance Tips After the sealer has fully dried, you can begin using the floor as normal. Here are some maintenance tips to keep your newly sealed vinyl floor looking great:
1.Regular cleaning: Sweep or vacuum regularly to prevent dirt and debris from scratching the surface. 2.Mop with a gentle cleaner: Use a vinyl-safe floor cleaner for routine mopping. Avoid using harsh chemicals that can break down the sealer over time. 3.Reapply sealer when necessary: Depending on the traffic in your home or business, you may need to reapply the sealer every 12–24 months to maintain the shine and protection. Conclusion Stripping and sealing vinyl flooring is a necessary task to maintain its appearance and durability. By following these steps, you’ll be able to restore your vinyl floors to their original shine while protecting them from everyday wear and tear. With the right tools, materials, and proper technique, you can extend the life of your vinyl flooring and keep it looking like new for years to come.