Download

1 / 9
100 likes | 270 Views
Water Quality Testing. Setting up a pH test with LoggerPro. You will need…. Water/liquid samples 100 mL beakers ( 1 per group per sample) computers Vernier computer interface Vernier pH sensor LoggerPro Wash bottle with distilled water Duct tape and markers for labeling.

E N D
Water Quality Testing Setting up a pH test with LoggerPro
You will need…. • Water/liquid samples • 100 mL beakers ( 1 per group per sample) • computers • Vernier computer interface • Vernier pH sensor • LoggerPro • Wash bottle with distilled water • Duct tape and markers for labeling
How to Conduct pH Tests • Obtain LoggerPro & Vernier pH sensor • Collect water samples • Prepare pH sensor • Connect sensor and interface to computer • Connect pH experiment file to sensor • pH-test away!
Collect Water Samples • Collect water samples from open bodies of water, water fountains, and bottled water. • Also collect samples of OJ or tomato juice for comparison • Label sample beakers with tape & marker
LoggerPro • Download free trial or purchase through Vernier • Open “20b Watershed Testing” experiment, under “Biology for LoggerPro” in “Experiments” folder
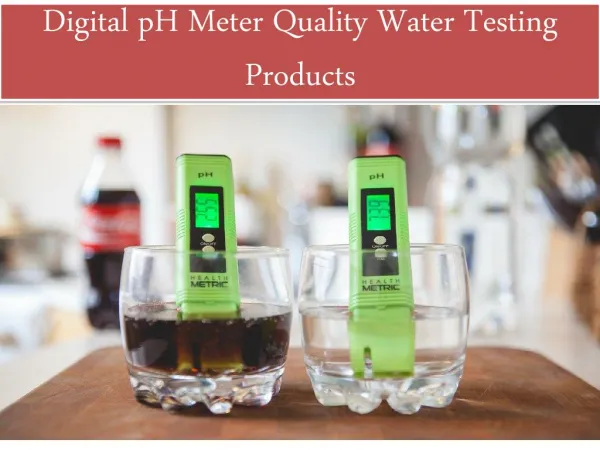
Vernier pH sensor • Connect pH sensor to power source and computers following directions supplied by Vernier • Clean sensor with water and place into cup of distilled H20
Connecting to LoggerPro… • Once connected, go to LoggerPro and under “Experiments”, choose “Set up sensors”. • Choose your sensor • You will now see the pH and temp. flux
pH Testing • Insert probe into samples, watch pH level on computer screen, and take reading once pH reading has stabilized • Rinse sensor between samples
Analyzing Data • You can have students create bar graphs in LoggerPro using their data to analyze their results • This can be done easily by creating a new graph and manually inserting data