Download
1 / 11
110 likes | 194 Views
Fiberglass Chassis Cover 101. Why custom shape lightweight strong Why not time consuming Brought to you by: detail oriented can be costly. Develop the Design. Develop design in CAD Verify size Print plan views with grid overlay. Create the Plug.

E N D
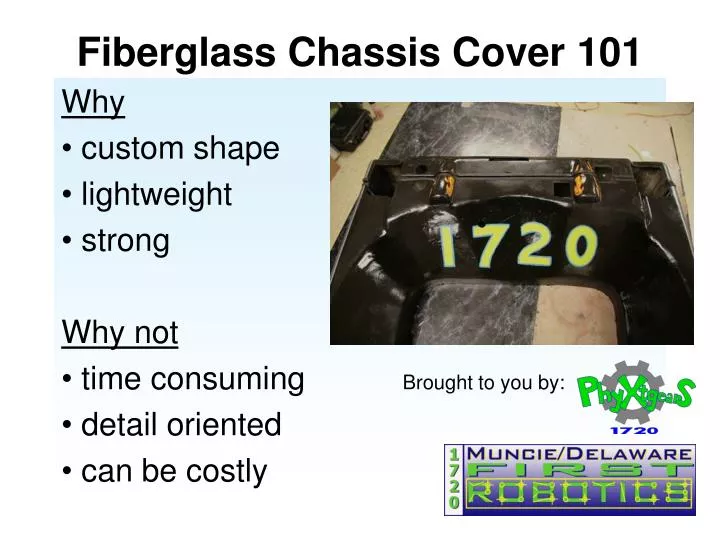
Fiberglass Chassis Cover 101 Why custom shape lightweight strong Why not time consuming Brought to you by: detail oriented can be costly
Develop the Design Develop design in CAD Verify size Print plan views with grid overlay
Create the Plug Layout slices of shape on blue styrofoam Plug is the same size as the final shell
Shape and Assemble Pieces Use bandsaw to cut shapes Glue pieces together with styrofoam glue Assemble as giant puzzle-pieces
Cover with Bondo Mix only what you can use in 3 minutes. A large flat board is better than a bowl for mixing; use broad putty knife to mix. Be thorough. Clean tools immediately with acetone. Use good ventilation Cover with flexible spatula-type tool for smooth, even application Allow to harden
Preparation of Mold Sand with long, straight sanding block or sander Use mask due to dust Fill low spots with Bondo Re-sand Prime and sand until smooth WAX or SPRAY with RELEASE AGENT (many times!)
Lay Up the Fiberglass Mold Use chopped fiberglass mat for mold Cut all pieced to size first Use Epoxy Resin (strong/light/odorless/expensive) or Polyester Resin (strong odor/cheap/heavier) Mix resin in quantities useful in 3 minutes USE LATEX GLOVES Wet pieces with resin before applying (use alum cooking tray) Dab resin into all layers of fibers with short paintbrush; be sure to push out all air bubbles Allow layer to set up before applying next layer Dab in resin as above (try to use the same brand of resin; right front corner was different brand here)
Release the Plug Once resin is hardened, release styrofoam from mold May need to ’help’ release where drafts (reverse angles) are too steep Be prepared to remove styrofoam in any way possible if fiberglass does not release from release agent
Lay-up Shell Test mold for fit Fill any inside imperfections Apply release agent to inside Use Fiberglass CLOTH for shell USE LATEX GLOVES Cut all pieces first Wet cloth by dipping, then apply as in previous step. Remember to push out all air pockets. Reinforce at pressure points, edges and holes
Inner Mold Remove shell carefully Sand as needed, with fine-grit sand paper, then steel wool Paint with spray-on autobody car paint Lightly spray first coat When tacky, spray heavier layers Continue adding multiple layers for high sheen
Finish Add detailing & graphics Total time: evenings, for 2.5 weeks (25 – 30 hrs) Total cost, including learning curve (additional materials): Comments? Questions? Contact Muncie/Delaware FIRST Robotics Team 1720 – The PhyXTGears Mike Koch, Engineer/Lead Mentormike.koch@ontariosystems.com (765) 661-5562