Download
1 / 10
100 likes | 163 Views
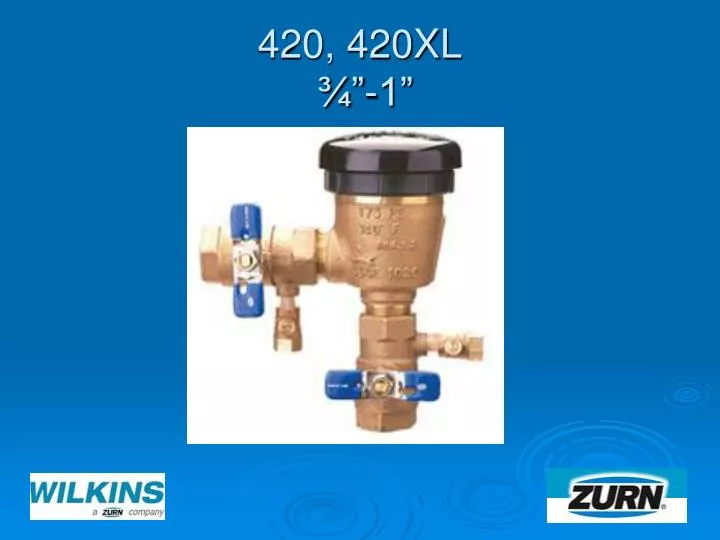
Learn how to modify, disassemble, and service the 420 and 420XL valves. Includes step-by-step instructions on canopy and bonnet removal, float service, check valve disassembly, and reassembly notes.

E N D
Modification Overview • Production for the 420 began in 1998. • The first version of the 420 had male threads on the body and female threads on the bonnet. This version was discontinued shortly after production started. • The current 420 has female threads on the body and male threads on the bonnet. • A lead free version (420XL) was introduced in 2010.
Canopy Removal • The canopy is secured by one screw.
Bonnet Removal • The bonnet is threaded into the body and sealed by an o-ring. • Unscrew the bonnet counter clockwise. * Note: Apply force at the outside edge. • There is no spring load
Float Removal and Service • The float is free once the bonnet has been removed. * Note: The float contains a relief valve to protect against freeze damage. If the RV is damaged, the float must be replaced. • Replace the rubber seal by pulling it from the groove on the float.
Check Valve Removal • Check valve module. • The module is sealed by an o-ring. • Slide the module out of the body.
Check Valve Disassembly • Module is spring loaded. • Remove spring retainer by pressing down and rotating to clear the tabs on seat.
Check Disc Replacement • Replace the rubber disc by pulling it from the groove on the poppet.
Check Seat Replacement • The seat is free once the check is disassembled.
Reassembly Notes • Reassemble in reverse order. • Make sure the check module slides into the seat guides located in the body. • Lubricate the check and bonnet o-rings.