Download
1 / 5
50 likes | 62 Views
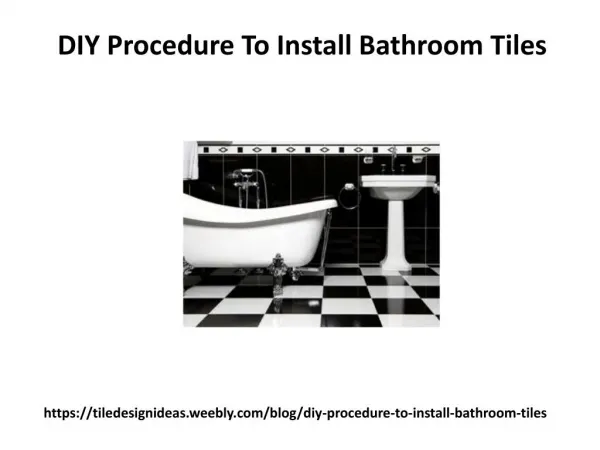
Adding new floor tile is a relatively affordable method for adding moment class and worth to your property. Additionally, a refreshed washroom draws in potential purchasers when you put your property at a bargain. Bathroom tile installation in Naples is reasonable, and you could do it without anyone's help north of the end of the week.<br> <br>Explore: https://www.profloors.biz/<br>

E N D
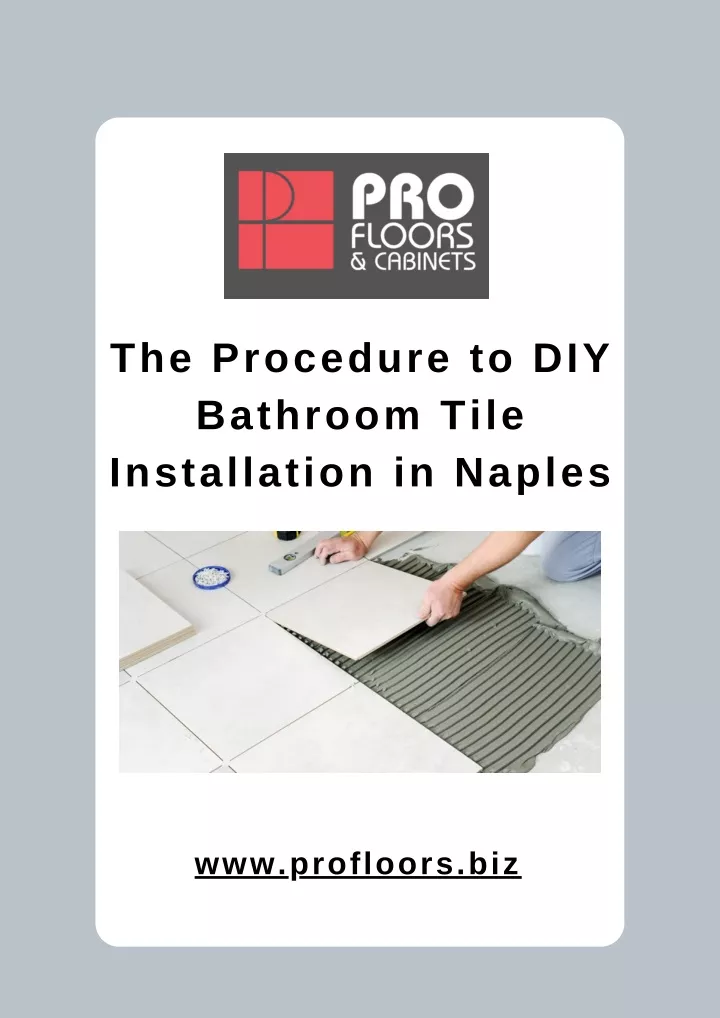
The Procedure to DIY Bathroom Tile Installation in Naples www.profloors.biz
Adding new floor tile is a comparatively economical way to add instant elegance and worth to your property. Moreover, an updated bathroom buyers when you put your property on sale. Bathroom tile Naples is inexpensive, and you can even do it yourself over a weekend. attracts potential installation in
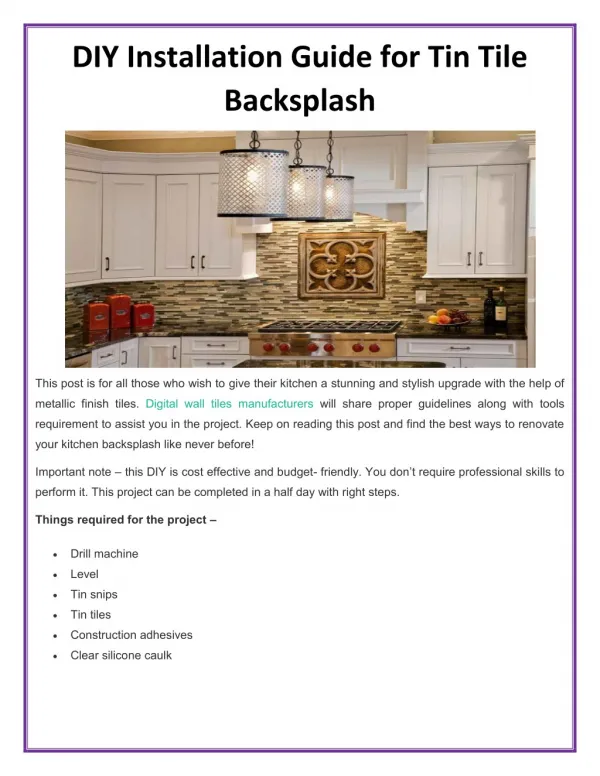
Step 1: Measure Floor Utilize a tape measure to ascertain how many tiles, mortar, grout, and backing board you will need while DIY. This is important as purchasing the correct tile amount at the beginning of the job decreases the uncertainty of mismatches in texture or color among production lots. Step 2: Prepare Underlayment Adding an underlayment of the concrete board to sub-flooring presents an even and firm surface with which you can easily attach tiles. Employ a circular saw, cut boards to suit the measured bathroom, and exercise a jigsaw to cast spaces as demanded to accommodate the bathroom fixtures. Step 3: Attach Underlayment While carrying out DIY tile flooring installation, use a drill with a driver bit to attach backer board fasteners to underlayment to sub-floor. Place screws around 6 inches apart and ensure they rest flat once secured.
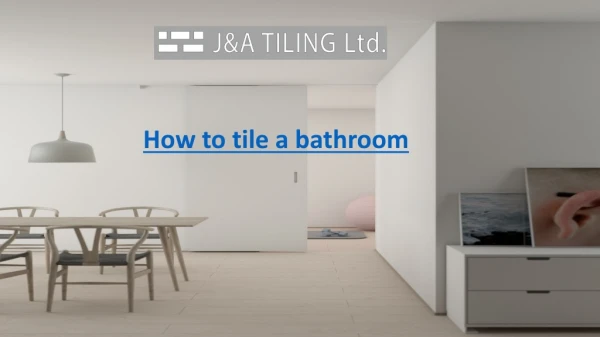
Step 5: Cut Tile & Place Cut Tiles Practice a tile saw for cutting tiles essential to complete the flooring. accomplish tile layout and validate tiles are spaced evenly, flat, and if the layout is pleasing. Once content with the layout, eliminate tile to implement thin-set mortar. Place cut tiles to Step 6: Apply Thin-set Mortar Using a notched trowel, apply a thin coating of thin-set mortar to the floor in small segments. Replace some tiles at a time utilizing spacers to help hold the space. Step 7: Let Mortar Dry and Then Apply Grout Once tiles are in position, leave mortar to dry for 24 hours before proceeding. Once the mortar is dry, exclude spacers, blend grout and apply a grout float to fill spaces between floorings. Step 8: Wipe Off Excess Grout Once the grout is thoroughly applied, practice a wet sponge to wipe off excess grout, giving tiles clean, smooth, and level touch. Ensure to be careful as grout left behind on tile results in grout haze, which is hard to remove once the grout is set. Grout will be ready within 24 hours, although it takes several weeks to cure fully.
Contact us ProFloors & Cabinets 2033TradeCenterWay, Naples, Florida34109, US profloors.biz (239) 310-2711