Download
1 / 32
330 likes | 633 Views
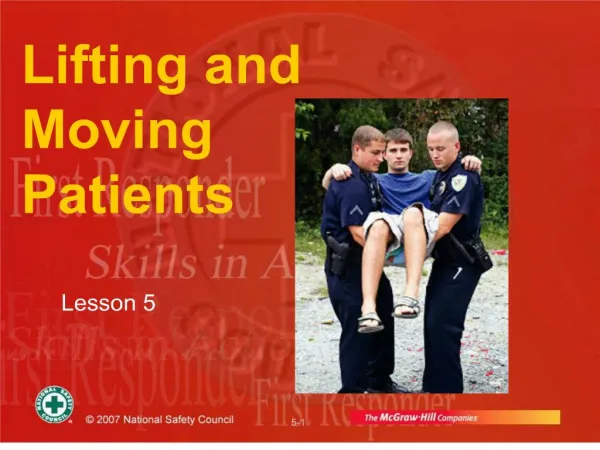
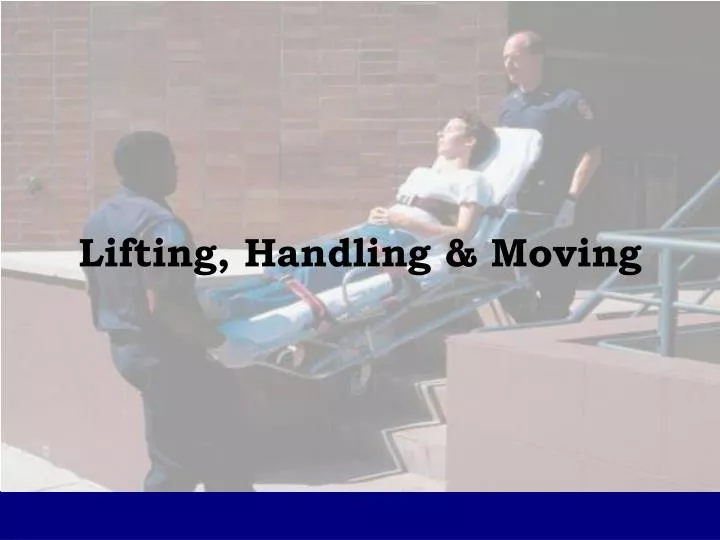
Lifting, Handling & Moving. Objectives. Review Risk factors Examine Body mechanics Importance of proper posture & fitness Guidelines for lifting & moving Emergency moves Non-emergency moves Patient positions Patient carrying devices. Risk Factors. Sporadic or continuous lifting

E N D
Objectives • Review Risk factors • Examine Body mechanics • Importance of proper posture & fitness • Guidelines for lifting & moving • Emergency moves • Non-emergency moves • Patient positions • Patient carrying devices
Risk Factors Sporadic or continuous lifting Poor posture from constant sitting in the unit Burst of exertion on tired, stiff, unfueled bodies Mental attitude Most providers are young, healthy, and have a strong sense of invulnerability Lifestyle, posture and stress Overweight/Obesity Flexibility, (Lack of) Poor physical condition
Lifting Dynamics Every situation is unique Apply the basic principles of lifting to each situation Think it through - Know what you are going to do before you start Determine who will be the team leader - Only one person calls the shots Communicate with team members
Lifting Dynamics Check your footing Maintain the most balanced position possible Use your leg muscles, not your back -Use smooth continuous motions, do not jerk Exhale during exertion -This can add power to the lift Keep the weight close to your body - With palms up, the load is brought closer to your body Know your limits
Body Mechanics Keep the weight of the weight of the object as close to the body as possible. Use leg, hip & buttock muscles plus contracted abdominal muscles. “Stack” Reduce weight or distance that must be moved
Guidelines for Lifting & Moving • Know your physical abilities & limitations • Know the weight of the patient prior to lifting • Know the weight limitations of the equipment • Call for additional help if necessary • Try to use even number of persons for lifting • Use wheeled stretchers whenever possible
Only move a victim you can safely handle Get additional help if needed Look where you’re walking or crawling Move forward if possible Take short steps Bend at hips and knees Lift with legs, not back Keep load close to the body Keep patient’s body in line when moving Body Mechanics DuringLifting and Moving
Injury Prevention Don’t hurry - The faster you go, the less you think out your plan Communicate - Let others know what, how & who is to do which job Lack of communication can prove detrimental Avoid awkward positioning - Be aware of body position & footing When maintained properly, your back is a powerful tool Once injured, you are 3-5 times more likely to experience future injury
Injury Prevention Think about lifting dynamics before and during each lift Consider the use of a back support belt Use help wisely - Bystanders like to help, be sure you explain what needs to be done before the lift is done to prevent injury to the bystander & yourself
POWER LIFT • Get in position • Your feet should be shoulder width apart • Turn your feet slightly outward • Ensure that your feet are flat on the ground
POWER LIFT • As you begin your lift: • Your back should remain locked • Your feet should remain flat • Tighten the muscles of your back • Tighten the muscles of your abdomen
POWER LIFT In the power grip, Palms & fingers should come in complete contact with the object & fingers should be bent at the same angle.
POWER LIFT As you return to the standing position, make sure your back is locked in and your upper body comes up before your hips.
Emergency Moves You should use an emergency move to move a patient before initial assessment & care are provided when there is some potential danger, and you and the patient must move to a safe place to avoid possible serious harm or death.
Non-Emergency Moves When both the scene & the patient are stable, you & your partner may choose one of several methods for lifting & carrying a patient. The two general methods are the Direct Ground Lift and the Extremity Lift.
Direct Ground Lift • Is used for patients with no suspected spinal injury who are found lying supine on the ground. • Line up on one side of the patient • One person should be at the patient’s head • One person should be at the patient’s waist • One person should be at the patient’s knees
Direct Ground Lift As a team and on signal, each Paramedic rolls the patient in toward his / her chest. Again on signal, the team stands & carries the patient to the ambulance cot. The steps are reversed to lower the patient onto the ambulance cot.
Extremity Lift The extremity lift may also be used for patients with no suspected extremity or spinal injuries who are supine or in a sitting position on the ground. The first Paramedic kneels behind the patient’s head as the second Paramedic kneels at the patient’s feet. The patient’s hands should be crossed over their chest.
Extremity Lift The first Paramedic places one hand under each of the patient’s armpits while the second Paramedic grasps the patient’s wrists. The two Paramedics pull & lift the patient into a sitting position. The first Paramedic then reaches his / her arms through the patient’s armpits & grasps the patient’s wrists.
Extremity Lift The second Paramedic moves to a position between the patient’s legs, facing in the same direction as the patient. The second Paramedic will then slip his / her hands under the patient’s knees. Both Paramedics then move up to a crouching standing position.
Extremity Lift Both Paramedics will make sure they are balanced with a good grip on the patient. On command, both Paramedics stand fully upright & move the patient to a stretcher. Keep in mind that this lift & carry method increases pressure on the patient’s chest, so the patient may be uncomfortable in this position.
Patient Carrying Devices • Wheeled Stretcher / Ambulance Cot • Scoop Stretcher • Long Spine Board • Stair Chair • Portable Stretcher
Wheeled Stretcher / Ambulance Cot • Advantages • Enables movement without carrying • Accommodates variety of positions & heights • Safe traversal of stairways & curbs • Can be lifted & lowered from ends or sides • Durable • Mechanically simple • Comfortable
Wheeled Stretcher / Ambulance Cot Disadvantages • Requires two Paramedics to load & unload • X-ray opacity • Adds extra weight
Scoop Stretcher • Advantages • Can be used in confined spaces • Allows easy application of restraints • Integrates well with other equipment
Scoop Stretcher Disadvantages • Must be carried • Requires padding • Should be pre-warmed • May consume considerable space Not Recommended For Patients With Suspected Spinal Injuries
Long Spine Board • Advantages • Great spinal immobilizer • Good lifting device • Can float • Light & compact • Can serve as a CPR surface • Mechanically simply • X-ray transluceny • Can be carried & loaded from ends or sides • Integrates well with other equipment
Long Spine Board Disadvantages • Must be carried • Usually must be left with the patient • Unstable for moves up or down inclines • Uncomfortable • Wooden types may develop splinters • May weaken with time
Stair Chair • Advantages • Good for use in stairways, corridors & elevators • Some models can be converted into stretchers • Disadvantages • Must be carried • Unstable to use with trauma patients • Not to be used for pts with altered mental status • Fairly complex • May consume considerable space
Portable Stretcher • Advantages • Light weight, compact & easy to store • Excellent use as an auxiliary stretcher • Can be used in confined spaces • Some models utilize folding wheels & posts • Easily loaded & off loaded
Portable Stretcher Disadvantages • Must be carried • Metal styles interfere with some x-rays