Download
1 / 12
120 likes | 259 Views
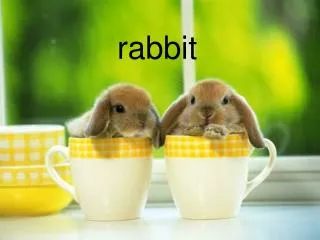
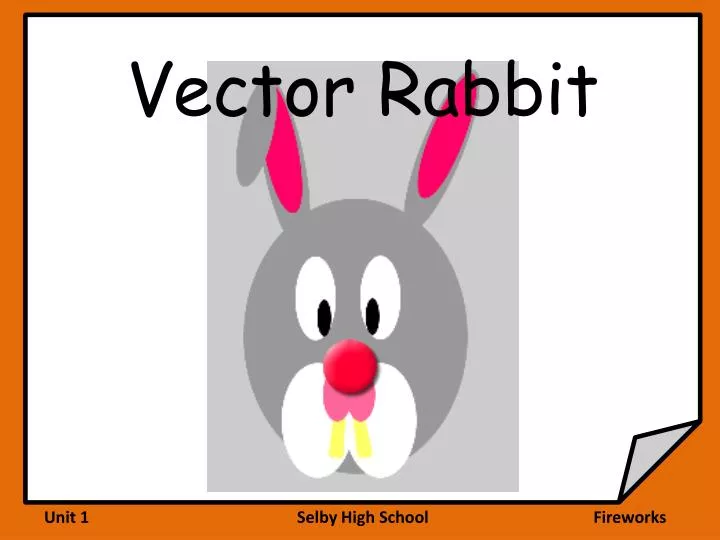
Vector Rabbit. Lesson Objectives. To use vector tools to create a rabbit image Lesson Outcomes All students will create a vector rabbit Most students will use advanced effects such as bevel, blur, shadows etc. Levels. Level 3: I can create an image on fireworks on my own

E N D
Lesson Objectives To use vector tools to create a rabbit image Lesson Outcomes All students will create a vector rabbit Most students will use advanced effects such as bevel, blur, shadows etc
Levels Level 3: I can create an image on fireworks on my own Level 4: I can use layers in my work Level 5: I can use vector filers such as bevel, shadows, blurs etc
Starting the Vector Rabbit • New canvas • 600 x 800 • Colour light Grey • Fill Colour, medium Grey, #999999 • Stroke Colour, Transparent
Eyes • Using the Elipse VECTOR tool • Try shading the eyes with VECTOR tools
Layers • Each Shape is a new object • Name the Objects • Eye / Eye
Cheeky • Draw the Cheeks • Finish as 2 Objects • Select both using the Shift Key • Modify / Combine Paths / Union
Nose • Another Elipse – Hold the Shift key to make a circle. • Draw the second part of the nose • Drag the Layer. The higher the layer – the closer to the front of the picture.
Teeth • Use Rounded rectangle • Shape the Teeth • Move the Layers.
The Ears Draw one first Then the Inner ear Copy and rotate Add the flop
Effects • Nose – Shadow & Glow / Drop Shadow • Nose –Bevel & Emboss / Inner Bevel • Try some more filters on different parts. • Remember to save • Undo is Ctrl-Z
Extension • You can create a vector image of another animal of your choice • Remember • Use layers • Use the vector tools available to create an effective image