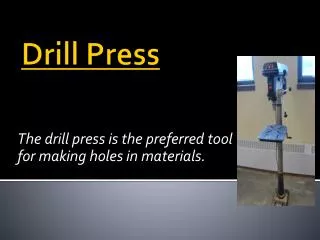
Download
1 / 27
290 likes | 641 Views
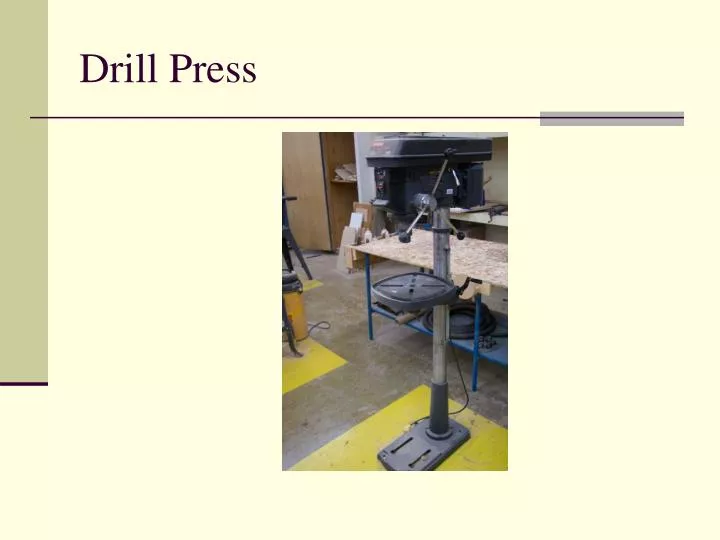
Drill Press. General Safety. Wear your safety glasses at all times Take off all jewelry Do not wear loose clothing Make sure you are the only person in the safety zone when operating the Drill Press. General Safety continued. Keep your material tight against the table

E N D
General Safety • Wear your safety glasses at all times • Take off all jewelry • Do not wear loose clothing • Make sure you are the only person in the safety zone when operating the Drill Press.
General Safety continued • Keep your material tight against the table • Clear scrap or cut material with a brush, other scrap material, or your project from the table. Do not use your hands. • Use wood screw clamps to tighten the material to the drill press table
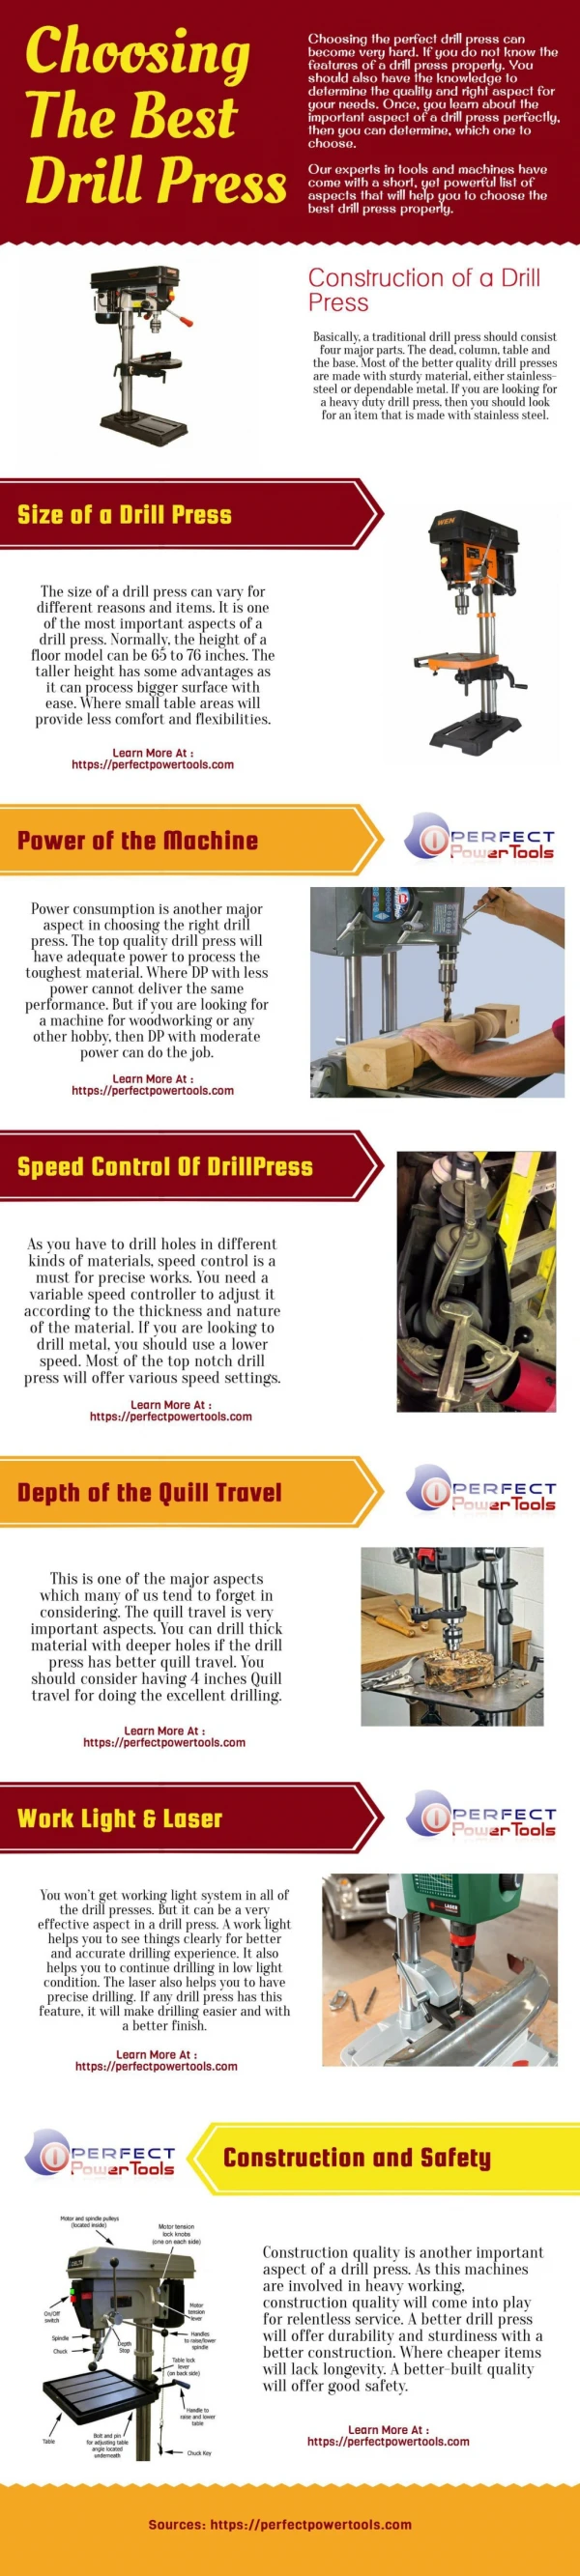
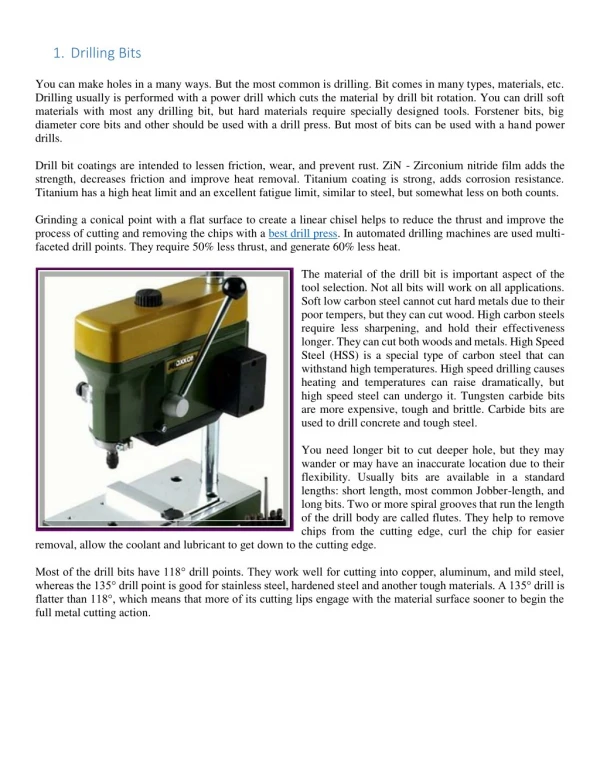
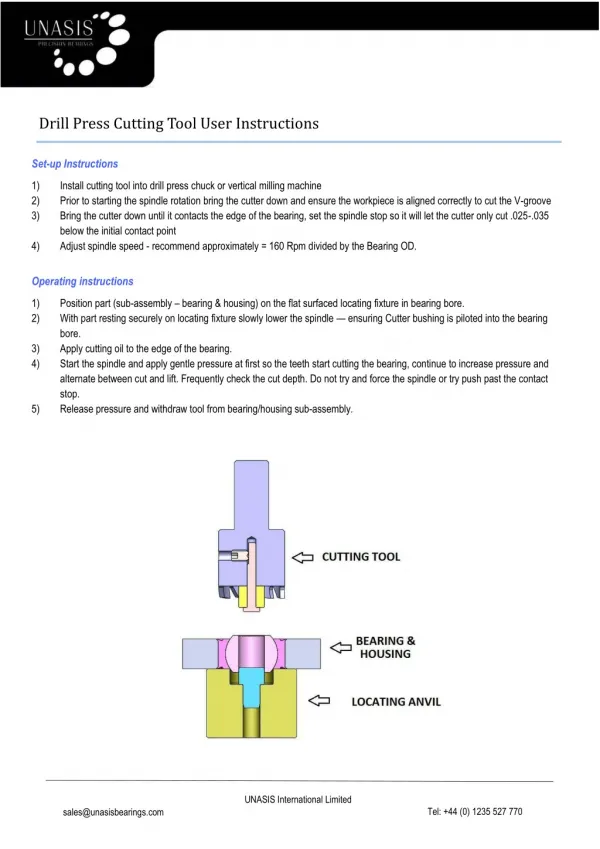
Components of the Drill Press • Table • Chuck • Chuck Key • Depth Stop
Operations of the Drill Press • Drilling • Boring • Countersinking • Sanding • Routing
Table The table should be 90 degrees
Chuck Key Used to tighten the bit or drum in the chuck
Drilling • Drilling is defined as creating a hole completely through the thickness of the material.
Boring • Boring is defined as creating a circular pocket a specific depth in the material.
Countersinking • Countersinking is defined as creating a hole completely through the thickness of the material with a taper on the surface to accommodate the taper head of a screw
Sanding • Sanding can be done on the drill press with the sanding drum bit.
Routing • Routing a decorative edge or a wood joint can be done on the drill press.
Operation Procedure 1 • 1. Tighten the bit or drum in the chuck with the chuck key.
Operation Procedure 2 • 2. Remove the chuck key!!
Operation Procedure 3 • Adjust the table to be 90 degrees to the bit or drum
Operation Procedure 4 • Use a back-up board to prevent drilling into the table.
Operation Procedure 5 • Line up your material with the mark needed to be drilled
Operation Procedure 6 • Clamp the material down to the table with wood screw clamps.
Operation Procedure 7 • Turn the machine on and drill or bore the hole needed. • Use a consistent rocking motion to clear chips from the hole