Download
1 / 2
20 likes | 39 Views
CenturyLink Email Settings requires a few technical steps that you should learn. Creating the account very easy and it gives users two methods to create.<br>

E N D
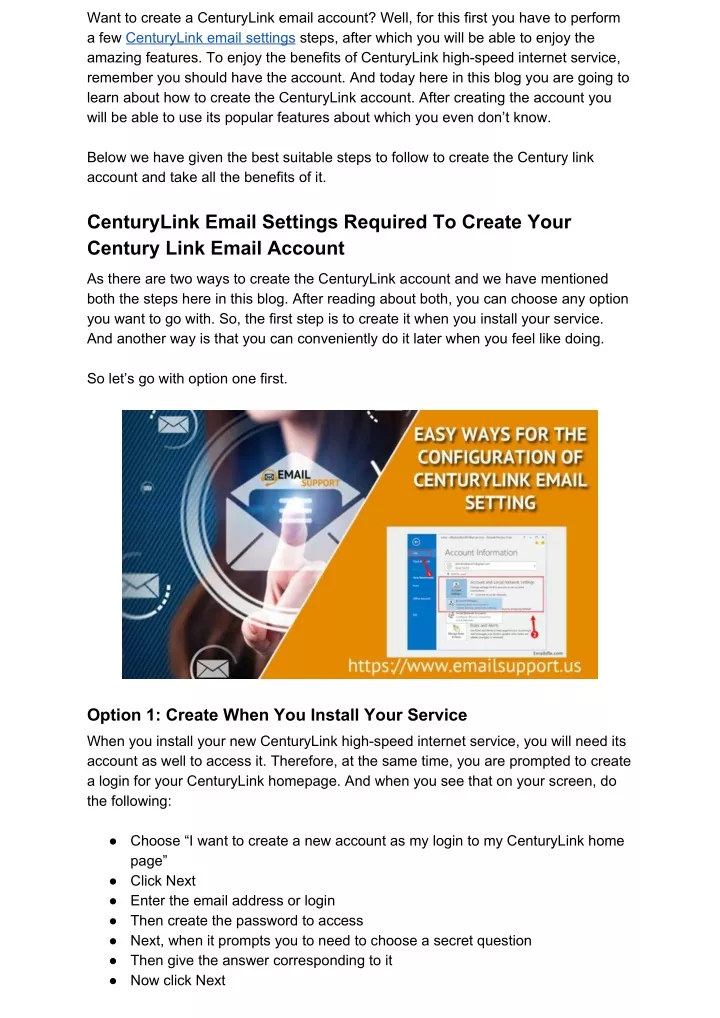
Want to create a CenturyLink email account? Well, for this first you have to perform a few CenturyLink email settings steps, after which you will be able to enjoy the amazing features. To enjoy the benefits of CenturyLink high-speed internet service, remember you should have the account. And today here in this blog you are going to learn about how to create the CenturyLink account. After creating the account you will be able to use its popular features about which you even don’t know. Below we have given the best suitable steps to follow to create the Century link account and take all the benefits of it. CenturyLink Email Settings Required To Create Your Century Link Email Account As there are two ways to create the CenturyLink account and we have mentioned both the steps here in this blog. After reading about both, you can choose any option you want to go with. So, the first step is to create it when you install your service. And another way is that you can conveniently do it later when you feel like doing. So let’s go with option one first. Option 1: Create When You Install Your Service When you install your new CenturyLink high-speed internet service, you will need its account as well to access it. Therefore, at the same time, you are prompted to create a login for your CenturyLink homepage. And when you see that on your screen, do the following: ● Choose “I want to create a new account as my login to my CenturyLink home page” ● Click Next ● Enter the email address or login ● Then create the password to access ● Next, when it prompts you to need to choose a secret question ● Then give the answer corresponding to it ● Now click Next
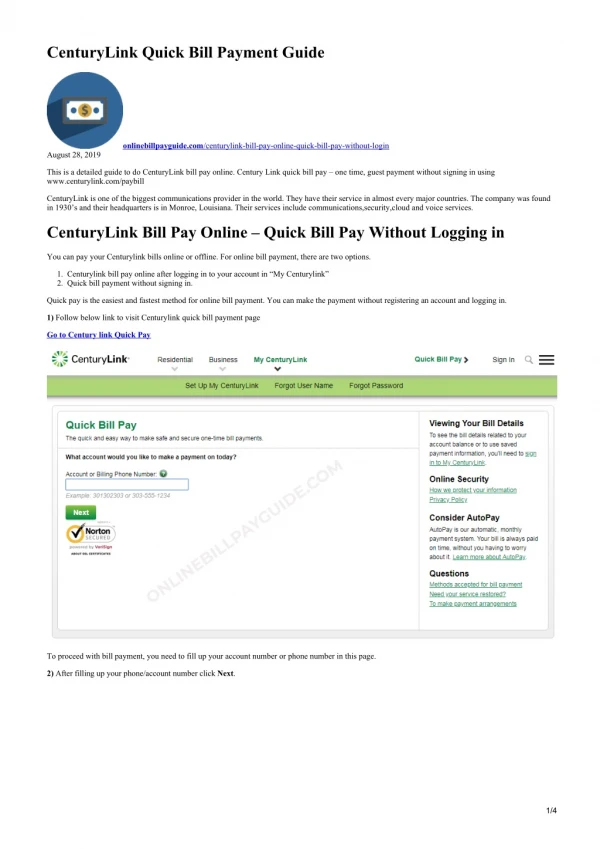
Congratulations! You have created your new CenturyLink email address successfully. If you face any technical issue while creating the account, you consult the experts for help. Now let’s know the steps in option two. Option 2: Centurylink Email Settings According To Your Schedule If you have created at the time of installing the service, you can create it later according to your schedule. But in this option will need your Welcome letter or bill, so make sure that you have any one of those handy before you start. ● First, go to centurylink.net ● Next click on the Email button in green color ● You will find it at the top right side ● Now click on the Create Account button in green color After performing these steps you need to follow on-screen instructions and choose your login or email address and create a password. Next, similar to the above option, create a secret question and then write the answer. It will help you to change CenturyLink email settings when you forget or unable to access your account. If you have performed all these steps successfully, you will see a pop-up message on the screen of the new account. Now you can enjoy all the new and advanced features of CenturyLink email. With your CenturyLink email account, you will be able to access its high-speed internet service. After creating the account you should know how to access the mail and check emails. Hence, for this read further. Check Your Mails Using Webmail As you have successfully setup the email and can use it anytime you want to. Therefore, below we have mentioned the steps to use it successfully on Webmail. Follow the below steps: ● Directly open the home of your CenturyLink email ● Now click on the Email button ● And then enter the username and password ● Now click on the login button to see all your emails The CenturyLink service provides you access to 10 additional customizable email addresses that you can use or share with other members of your family. Conclusion While using the CenturyLink email at any time if you face any issue or error that stops you to access your mail then you contact the experts. If you get a send/ receive issue in your CenturyLink mail you can take the expert help. Other than this issue, if you have any other issues such as opening attachments or if you start seeing a mailbox full error, the expert can help you in resolving. Originally published on emailsupport.us