Download
1 / 4
0 likes | 11 Views
Discover the different methods of crowning in press brakes and how they impact the accuracy and consistency of metal bending projects.

E N D
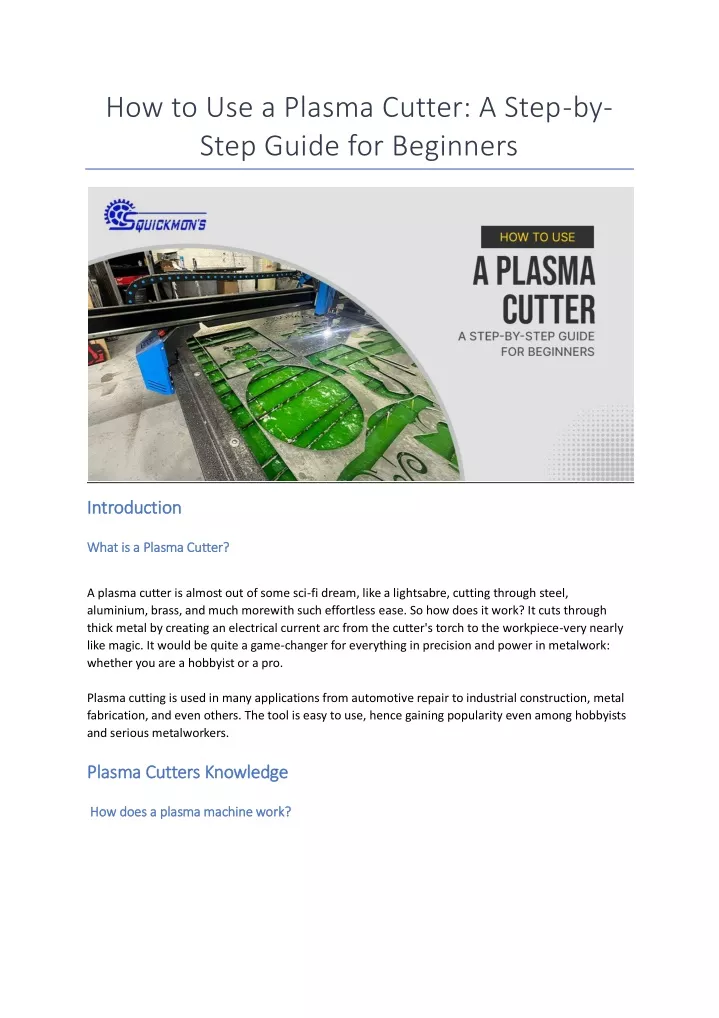
How to Use a Plasma Cutter: A Step-by- Step Guide for Beginners Introduction Introduction What is a Plasma Cutter? What is a Plasma Cutter? A plasma cutter is almost out of some sci-fi dream, like a lightsabre, cutting through steel, aluminium, brass, and much morewith such effortless ease. So how does it work? It cuts through thick metal by creating an electrical current arc from the cutter's torch to the workpiece-very nearly like magic. It would be quite a game-changer for everything in precision and power in metalwork: whether you are a hobbyist or a pro. Plasma cutting is used in many applications from automotive repair to industrial construction, metal fabrication, and even others. The tool is easy to use, hence gaining popularity even among hobbyists and serious metalworkers. Pl Plasma Cutters Knowledge asma Cutters Knowledge How does a plasma machine work? How does a plasma machine work?
It would help to understand how a plasma cutter works by first learning the science involved. A plasma cutter essentially works by directing an electric arc through a gas, mainly compressed air or nitrogen, through a constricted opening, which superheats the gas until it becomes plasma: an ionized state with free electrons and ions. Such is the way of the plasma that cuts through a metal, melting off in the process to leave a clean cut. A plasma cutter basically consists of these major parts: I. Power Supply: For the generation of arc plasma, it provides power. II. Torch: That area which an individual controls and holds in a plasma arc in the workpiece. III. Compressed Air: This pushes the plasma and blows away the melt of the metal so you get a clean cut. That’s why, understanding how the machine works in a plasma is the first step toward mastering that magnificent tool. Types of Plasma Cutters Types of Plasma Cutters Actually, there are many types of plasma cutters, each well-suited for particular purposes. Among the two most widely used types:
I. Manual Plasma Cutters: These are handy and usually applied in small jobs that have to be finished at the site. Such cutters will surely serve the needs of the hobby manufacturer and the small workshop. II. CNC Plasma Cutters: These are computer-controlled machines, and they can do pretty well with heavy or even complex cutting jobs. Their cuts are very precise and repeatable with professional usage. This will determine the type of plasma cutter to use depending on your intended plan with the tool, say a hobbyist could be okay with a manual cutter, while a metal fabrication business will opt for the best by using a CNC plasma cutter. Running a Plasma Cutter Containing S Running a Plasma Cutter Containing Step by Step Guide Now that you have some general understanding of the principle of how these cutters work, let us tell you the steps you should be undergoing to properly use it. Here's how you can efficiently make use of a plasma cutter without risking your safety. Step 1: Preparation of the Plasma Cutter Step 1: Preparation of the Plasma Cutter Start by preparing your plasma cutter in a safe work area. First off, get a copy of a troubleshooting guide along with your plasma cutter, in the event that you are going to have to seek consulting assistance when troubleshooting problems. tep by Step Guide Personal Protective Equipment: Personal protective equipment appropriate to the operation shall be used; including gloves, proper clothing, and a welding helmet with a face shield rated for plasma cutting. Eye and Face Protection is very critical since the plasma arc is an intense emitter of both visible and ultraviolet light. Check Power and Air Supply: First things first, check that your plasma cutter is plugged into the correct current outlet. Check in the manufacturer's guideline document for what the cutter needs in terms of voltage. Your compressed air source should be hooked up to the cutter; most machines will have a compressor built-in, but others must be hooked up to an external air source. Mount the ground clamp to the workpiece. The circuit required for plasma arc, thus will be obtained. Step 2: Customization Settings Step 2: Customization Settings Set up your thickness, and all is set to go, with your machinery ready, you can refer to plasma-cutting tips and tricks on how to set up your machine. Some of the adjustments that you must make include the following: Amperage: Depending on the material, amperage must be adjusted. The more the amount of amperage, the more the thickness one can cut a material. Air Pressure: Set your air pressure to what your cutter manual recommends. If it is too much or too little, then it just does not cut well at all.
Step 3: Make Your Cut Step 3: Make Your Cut Mark Your Material: Mark where you want to cut with a metal marker in your material. That makes it more accurate Set up your instrument and initiate: Mark where you want to cut with a metal marker in your material. That makes it more accurate. Locate the Torch Position the torch to be perpendicular to the workpiece. Adjust the torch to material distance in advance and preposition it to develop a consistent value-ordinarily in the order of 1/8 to 1/4 inch would usually do. Start the Cut: Engage the torch trigger to form an arc. Keep moving the torch slowly along the line. Since plasma cutting is so fast, you do not need to make jerky motions. You will be able to make smooth, intentional motions without creating any ragged edges. See flying sparks and liquid metal. If they seem to fly down, you are cutting at the right speed. When they fly up, you probably need to increase your speed a little more, accordingly you can be certain to adjust somehow. Step 4: Clean up and inspect your cut Step 4: Clean up and inspect your cut Turn the plasma cutter off once the cut is complete. Now is a good time to inspect your edges. A correctly cut plasma edge should be clean enough so that it requires very little in terms of post- processing. If you do have slag or metallic debris showing on any of your edges, chip that up with your chipping hammer. Various common problems can be checked to utilize a better means of perfecting the skills of the operator. Cleaning and maintaining the torch and nozzles will increase the life of your equipment and make clean cuts. Also read: Plasma Cutting Process: How It Works, Pros & Cons Conclusion Conclusion A plasma cutter is quite intimidating at first, but when one is well-equipped and safe using it with a plasma cutter, then it goes on to become a precious tool for metalworking. It will make the work go much faster and precise for that hobbyist who works upon little things in the house or for the professional wanting to step up his productivity with cutting. Safety always is awareness of proper safety gear protection and practicing on scrap metal before trying to make quality cuts. You will be comfortable with this handy tool in no time through this tutorial. For more detailed troubleshooting and maintenance, including advanced cutting techniques, be sure to check out our extra resources on how to use a plasma cutting machine and plasma cutter troubleshooting. So, let's get started and learn how to safely make the most of the freedom that plasma cutting can bring to your projects.


![DOWNLOAD [PDF] How to Use a Sewing Machine for Beginners: Step By Step Guid](https://cdn7.slideserve.com/12465379/how-to-use-a-sewing-machine-for-beginners-step-dt.jpg)