Download
1 / 36
360 likes | 372 Views
Learn how to create stunning applique designs such as the Dresden Plate, Fan, and Sun Bonnet Sue with step-by-step instructions. Explore different techniques for applique and embellishments to add a unique touch to your quilting projects.

E N D
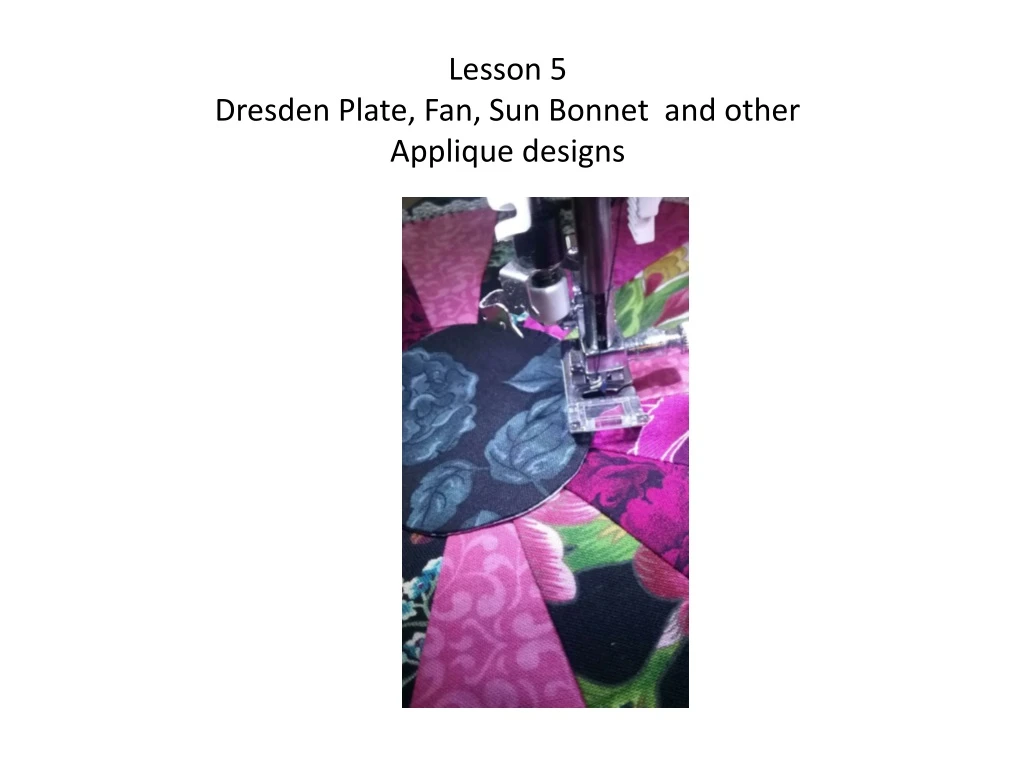
Lesson 5 Dresden Plate, Fan, Sun Bonnet and other Applique designs
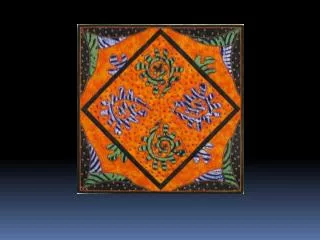
Dresden Plate and Fan Blocks Layout the wedges of your Dresden plate. I have 4 blades in a set and 4 sets for the plate.
Join the sets into groups and then sew the groups to form the plate.
Light to medium weight fusible interfacing is used to sew the center. Place the fuse side and the right side together and sew the complete circle.
I pinked the edges to make the circle easy to turn. To turn I cut a slit in the interfacing.
Using my 15” and my 12” square rulers I marked off a 12 ½” square and cut the background block to applique my Dresden Plate to.
Fold and find the center of the 12 ½” square so you can center the applique.
I sewed a narrow edge lace to the Dresden plate outer edge to help turn the edge. Alternate methods include using the fusible interfacing to turn the plate or using piping as a trim to turn the edge.
I had to clip the lace in various spots to make it lay flat. Press the edges under.
Pin and top stitch the Dresden Plate to the background block. You can use decorative stitches to embellish the plate and edge.
I used the mending stitch to hold the lace down. It is stitch number 07 on the chart.
The Fan wedges are sewn in the same way as the Dresden Plate wedges. The Lap Quilt Fan has 8 wedges. Sew the wedges in 4 sets of 2 and then join the 4 sets together to form the 8 wedge Fan. The Fan will need to be pressed so all seams go to one side. You can use piping, lace or a fusible interfacing to finish the wide edge of the fan and the wide edge of the quarter circle. Add decorative stitches for a special touch. I applied fusible a stabilizer like Stitch and Tear on the reverse side of the block
Sunnet Bonnet Sue applique’ was completed using the pattern from Quilt in a Day. I used Sharpie pen to trace the pattern to the wrong side of the lightweight fusible. Place the interfacing on a sized fabric swatch so the drawing fits and the fuse side is against the right side of the fabric. Stitch on the drawn outline of the pattern. You will turn the the drawn piece by making a small slash in the interfacing. Roll the edges with your fingers so they looked pressed. Fuse Stitch and Tear to the wrong side of the background square. Position the pieces on the 12 ½” background and fuse in place. Applique’ using the blanket stitch. Use lace, rick rack and trim plus decorative stitches to decorate the dress and bonnet. Tear the stabilizer off the back.