Download
1 / 2

E N D
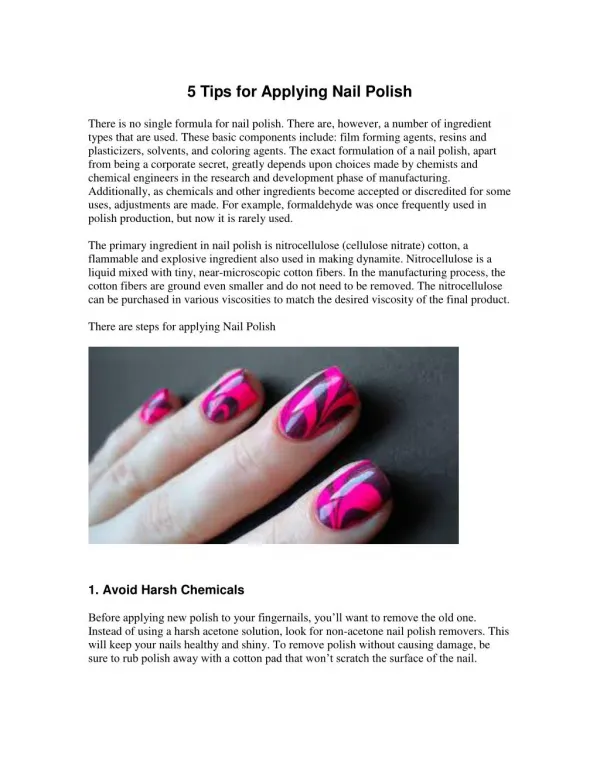
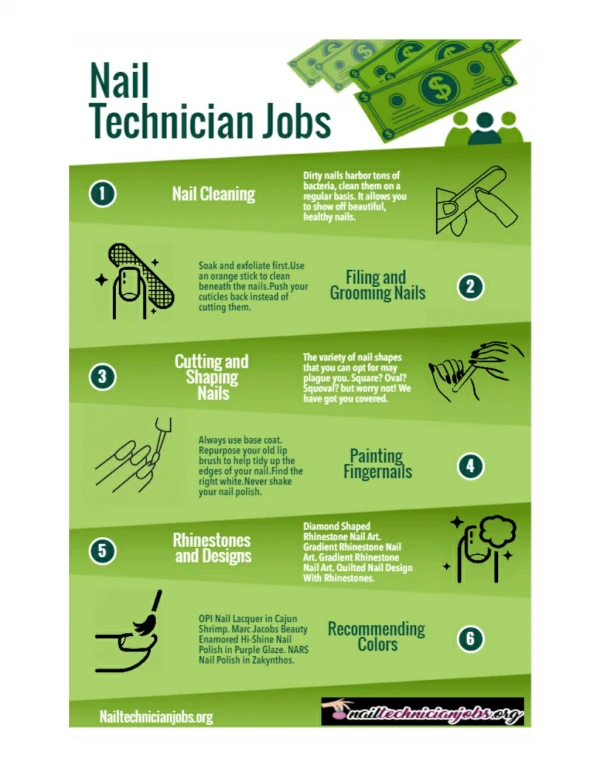
Best Ideas to Shape Your Nails 1. Starting varnish-free, file your nails left to centre and right to centre (instead of see-sawing), holding the nail file at a 45 degree angle. Mirror the shape of your cuticles to get the most flattering shape for your fingers. Finish by filing the tip of your nail at a 45 degree angle away from you to seal the edges. 2. Buff the nail plate to smooth out any imperfections and get an even surface, going with the direction of nail growth. Buffing is a nice alternative to doing cuticle work at home; just go right around the edges of the nails to remove bits of dead skin on the nail plate and underneath the tips. TOP TIP: If your nails are uneven use a coarser, rough buffer first, then use a smoother buffer to polish (like in DIY where you'd start by using coarse sandpaper first, then downgrade to a softer sander). 3. 'Squeak' the nail by using a cotton pad soaked in remover and wipe over the entire nail. Push it into the cuticle area and side walls to get right around the edges. This professional technique removes any dust, debris and naturally occurring oils from the nails (if you have an oily or dirty nail surface you'll create a barrier for polish). 4. If you're using a polish like the new Color Stay Gel Envy Nail Enamel which has a built-in base coat you can paint the color straight away. If your polish doesn't contain a base coat apply one and leave it to dry for 2 minutes. TOP TIP: Do your best hand with your worst hand first and start at the little finger, working towards the thumb so you don't have to cross over your nails and risk smudging them. 5. To paint the colour, wipe off one edge of the brush against the bottle neck so all the product is loaded onto one side of the brush. Place it close to the cuticle, then push back even closer without touching the skin. Paint the nails in 3 strokes, one down the centre and one either side. Aim to get as close as the cuticle without flooding it and leave a small gap around all edges for a pro finish.
TOP TIP: If you find the thumb tends to go jaggedy near the cuticle because it's a wide area, try painting the bottom part sideways to get a nice straight line. 6. Clean up your paint job by dipping a small brush (the Revlon Concealer Brush is perfect) into remover and correct any mistakes, wiping the brush on a tissue between nails. This technique is so much easier and more effective than a cotton bud! 7. Wait 2 minutes and apply a topcoat in the same way, using gentle pressure so you don't drag any polish beneath. Make sure you seal along the tip of each nail. TOP TIP: Thickness gives it durability; just make sure you let it completely dry. 8. Wait another 2 minutes and very lightly sweep quick-dry oil like Revlon Liquid Quick Dry over the cuticles and entire nail. Blowing, flapping and shaking the nails dry can give them an uneven finish, the only thing that will dry them is oil as oil starves the polish of oxygen. For More Details: - Cheap Nail Varnish UK