Download
1 / 5
50 likes | 62 Views
Having trouble configuring your Wavlink AX1800 extender? Don't worry, simply follow the step-by-step instructions to connect your extender to your wireless network at home or at the workplace. The most modern wifi protocols, including 80 MHZ and 802.11ax (Wi-Fi 6), are compatible with the WL-WN573HX1.

E N D
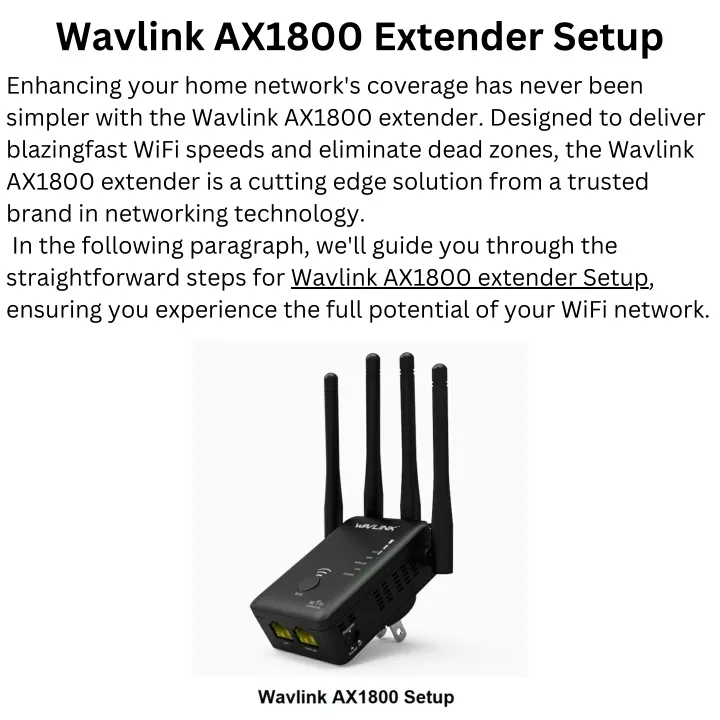
Wavlink AX1800 Extender Setup Enhancing your home network's coverage has never been simpler with the Wavlink AX1800 extender. Designed to deliver blazingfast WiFi speeds and eliminate dead zones, the Wavlink AX1800 extender is a cutting edge solution from a trusted brand in networking technology. In the following paragraph, we'll guide you through the straightforward steps for Wavlink AX1800 extender Setup, ensuring you experience the full potential of your WiFi network.
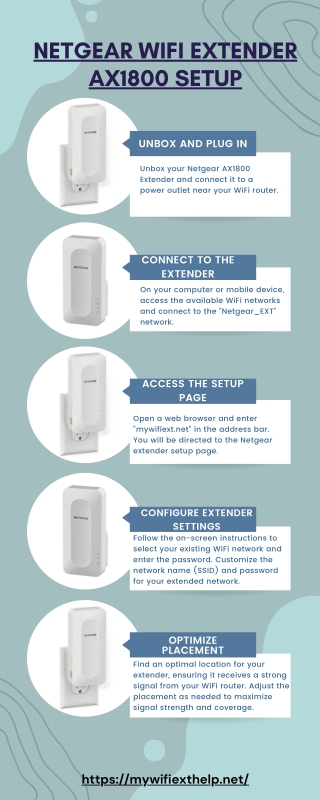
Wavlink AX1800 setup using manually Plug the Wavlink AX1800 extender into a power outlet within your router's WiFi range. Wait for the extender's LED lights to stabilize. The Power and WiFi LEDs should be solid. Connect your computer or mobile device to the extender's WiFi network named 'Wavlink_Ext'. Open a web browser and enter 'http://ap.setup' or 'http://192.168.10.1' in the address bar. You'll be directed to the Wavlink extender setup page. Follow the onscreen instructions to create a new login password for the extender. Enter your WiFi password after selecting your network from the list of available networks.
Optionally, you can set up a different SSID and password for the extended network. Complete the setup process and wait for the extender to reboot. Once the extender is back online, relocate it to an area with weak WiFi coverage. Connect your devices to the extended WiFi network for improved coverage. These steps are simplified and based on a general setup process. Refer to the user manual or official documentation for your specific Wavlink AX1800 extender model for accurate instructions. Wavlink AX1800 setup via WPS method
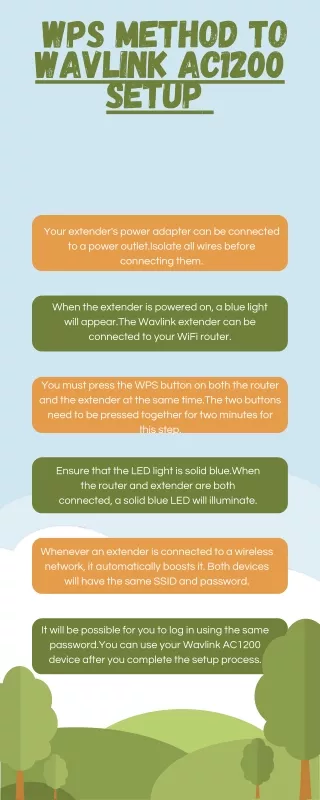
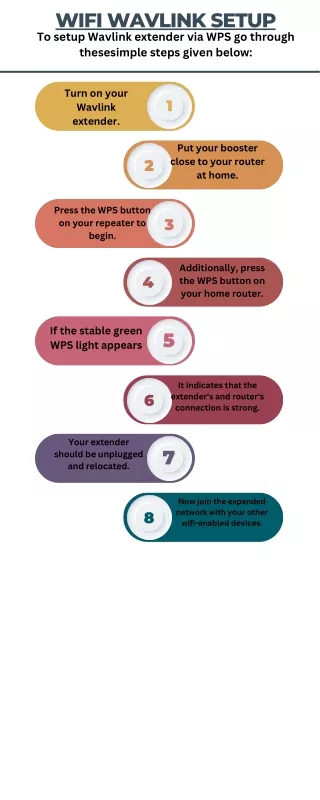
Wavlink AX1800 setup via WPS method Step by step guide to Wavlink AX1800 extender setup using the WPS (WiFi Protected Setup) method : Plug the Wavlink AX1800 extender into a power outlet within the range of your router's signal. Wait for the extender's LED lights to stabilize. The Power and WiFi LEDs should be solid. Locate the WPS button on your router. Press and hold it until the WPS LED starts blinking. Within 2 minutes, press the WPS button on the Wavlink AX1800 extender. The WPS LED on the extender should turn solid, indicating a successful connection. Relocate the extender to a location between the router and areas with weak WiFi signal.
Connect your devices to the extended WiFi network named 'Wavlink_Ext'. Optionally, you can access the extender's settings by opening a web browser and entering 'http://ap.setup' or 'http://192.168.10.1'. If prompted, log in with the credentials you set during the initial setup. From the extender's settings page, you can finetune configurations or change the network name and password. These steps provide a general overview of the WPS setup process for the Wavlink AX1800 extender. Be sure to consult the user manual or official documentation specific to your model for accurate and detailed instructions.