Download
1 / 10
100 likes | 116 Views
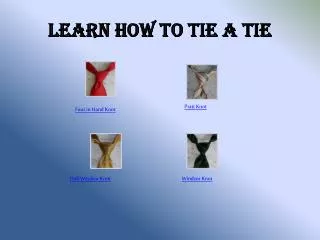
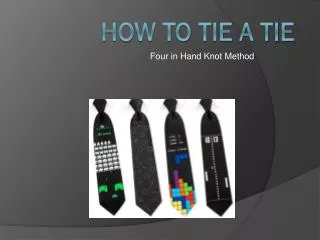
This PPT talks about how to tie a tie focusing more on the steps to tie a perfect four-in-hand knot<br>

E N D
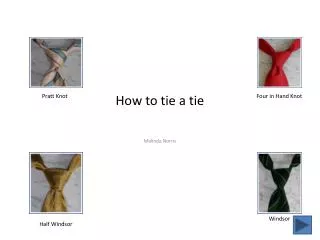
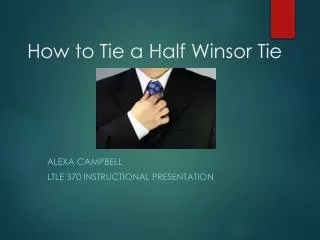
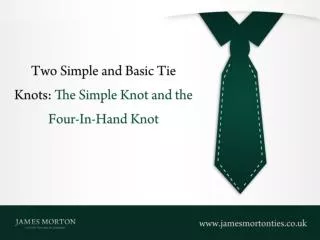
It is time you get graduated beyond the usage of clip-on tie. It is high time you learn how to tie a tie the right way. It is an art and will take some time to master it. If you are a beginner, then here are some instructions that will help you tie a perfect tie. All it requires is a little patience and working to get it perfect. You have a number of options to choose from, the versatile Four-in-hand Knot to Windsor. Here are some tips to tie a perfect Four-in-Hand Knot:
Drape the Tie Around Your Neck The first step to tying a perfect tie is placed the tie around your shoulders, while your collars are up and shirt completely buttoned up. To get it perfect, hang the wider end of the tie on the right side, and narrow end around 12 inches higher on the left. You are highly advised to avoid the spread collars with the small and asymmetric knot.
Cross the Wide-End Over the Narrow-End The next step is all about crossing the wide-end over the narrow-end. For the same, all you have to do is bring the wide-end of the tie to the left side of your body and over the narrow end. Near your neck, hold these two pieces together with your left hand.
Twist the Wide-End Under the Narrow-End The third step of how to tie a tie is twisting or looping the wide-end under the narrow-end. Let it go and tuck it beneath the narrow-end. While doing so, get hold of the wide-end and pull it back to your right side.
Ring the Wide End Back Over Again You will have to follow the same third step by circling the wide end back over again. Cross it over to the narrow end, and hold the knot together. Ensure the front of the tie is facing the forward.
Pull the Wide-end Through the Neck Loop Ensure you fold the tip of the wide-end under itself. While doing so, ensure you pull up the tie through the neck loop.
Pull-out the Wide-End Down through the front knot By now you need to have a horizontal knot. You are advised to hold the knot open using your fingers and insert the wide-end carefully.
Tighten the Knot The last step of how to tie a tie is tightening the knot. Do this by holding the narrow end and slip the front knot up in order to tighten the tie.