Download
1 / 2
20 likes | 28 Views
Making an idol of Lord Ganesha with clay is an exciting and fun activity. However, if you are not familiar with the process then visit https://myecoganesha.tumblr.com/post/617532312967577600/how-to-make-a-beautiful-clay-ganesha-idol-easily

E N D
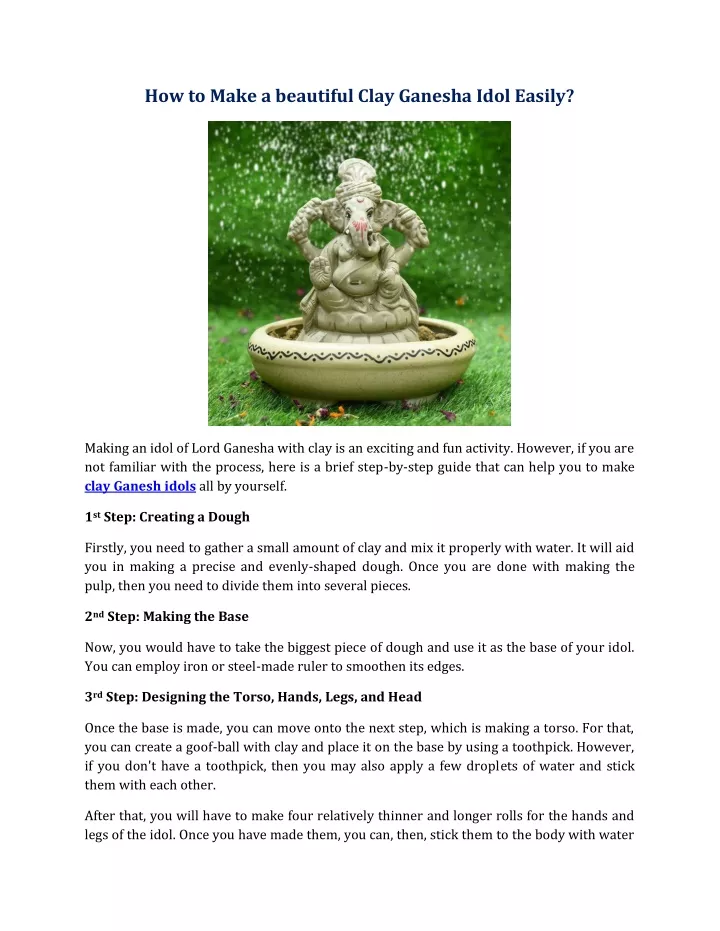
How to Make a beautiful Clay Ganesha Idol Easily? Making an idol of Lord Ganesha with clay is an exciting and fun activity. However, if you are not familiar with the process, here is a brief step-by-step guide that can help you to make clay Ganeshidols all by yourself. 1st Step: Creating a Dough Firstly, you need to gather a small amount of clay and mix it properly with water. It will aid you in making a precise and evenly-shaped dough. Once you are done with making the pulp, then you need to divide them into several pieces. 2nd Step: Making the Base Now, you would have to take the biggest piece of dough and use it as the base of your idol. You can employ iron or steel-made ruler to smoothen its edges. 3rd Step: Designing the Torso, Hands, Legs, and Head Once the base is made, you can move onto the next step, which is making a torso. For that, you can create a goof-ball with clay and place it on the base by using a toothpick. However, if you don't have a toothpick, then you may also apply a few droplets of water and stick them with each other. After that, you will have to make four relatively thinner and longer rolls for the hands and legs of the idol. Once you have made them, you can, then, stick them to the body with water
as well. In the case of the head, you will have to make a curvy and pointy dough and attach it with a small round piece of clay. 4th Step: Finishing It Up As you have already completed creating the major body parts, now you will just need to make the teeth, ears, and eyes to finish up your clay figurine. After that, keep the idol in an airy place to let it get dried up properly. So, these are a few simple steps that can help you to make a Ganesh figurine with clay. Source: https://myecoganesha.tumblr.com/post/617532312967577600/how-to-make-a-beautiful-clay-ganesha-idol-easily