Download
1 / 7
70 likes | 79 Views
A technical blog for the users of our tool MappyField 365 - a Dynamics 365 mapping tool. Learn how to create security templates for better data sharing and security...<br>

E N D
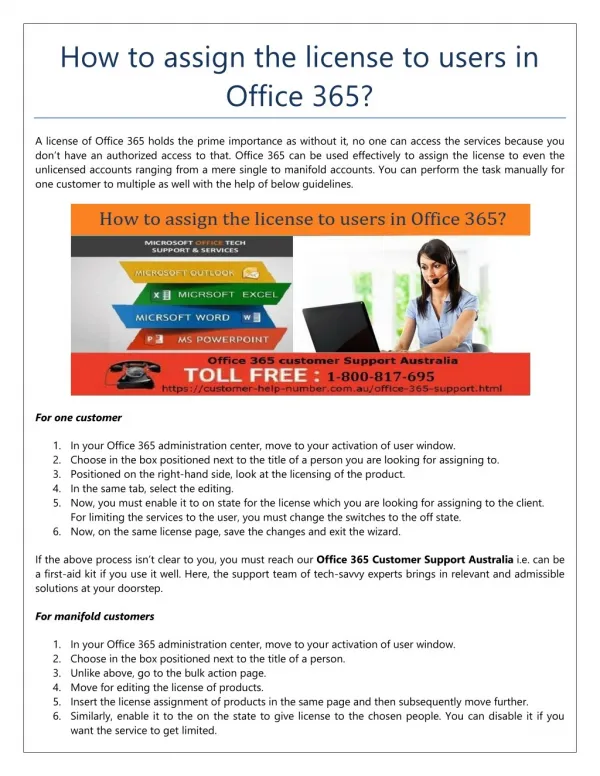
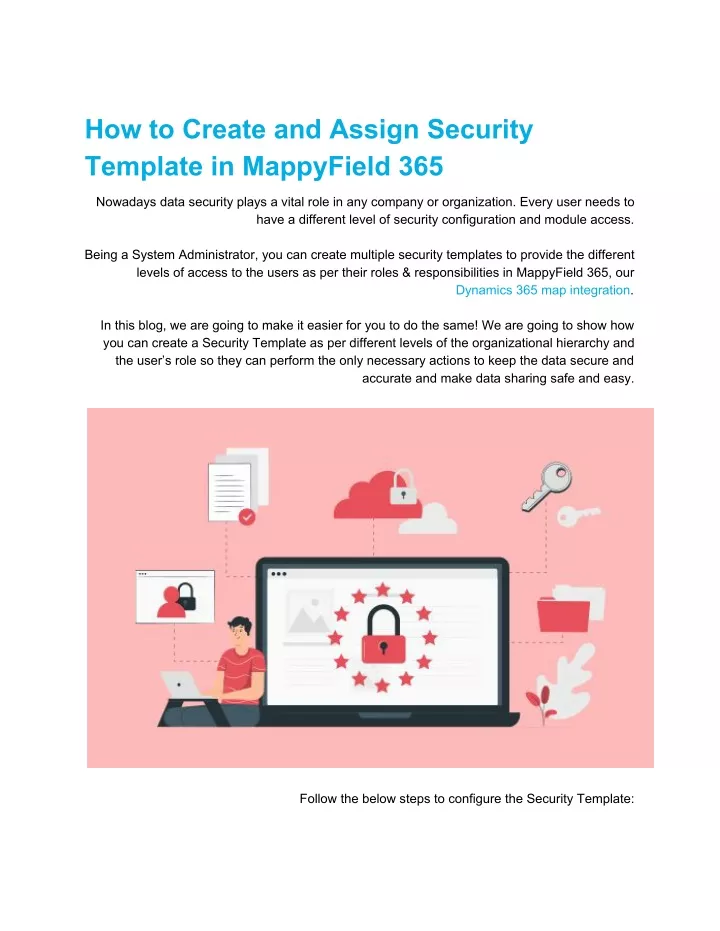
How to Create and Assign Security Template in MappyField 365 Nowadays data security plays a vital role in any company or organization. Every user needs to have a different level of security configuration and module access. Being a System Administrator, you can create multiple security templates to provide the different levels of access to the users as per their roles & responsibilities in MappyField 365, our Dynamics 365 map integration. In this blog, we are going to make it easier for you to do the same! We are going to show how you can create a Security Template as per different levels of the organizational hierarchy and the user’s role so they can perform the only necessary actions to keep the data secure and accurate and make data sharing safe and easy. Follow the below steps to configure the Security Template:
Step 1: Navigate to AppJetty → MappyField 365 From the Dynamics 365 dashboard, navigate to AppJetty → MappyField 365 and click on the Security Template Configuration. Step 2: Create a Security Template You will get the list of the security templates if they are previously created templates under the Active Security Configurations. To create a new Security Template, by clicking on the +New button from the action ribbon.
Once you click on New, you will be redirected to the New Security Configuration page. First, insert the name of the new security configuration and then click on the Save button. After saving the template name, click on the Action Configuration tab for setting the security configurations.
You will find the list of actions divided into two categories: Infobox Actions and Bulk Actions. You can now select or deselect any action to provide accessibility to the users according to their roles. Once you’ve selected the necessary actions for the template, click on the Save button to save the configurations.
Now that you have created the templates, let’s see how you can assign them to users for better data security. Step 3: Assign Security Template to the Users Under the template configuration, you can assign the users by navigating to the General tab. Here you will find the +NewMap configuration for the selected security template using which you can assign to the users or you can also use Add the existing Map Configuration option for the same. By clicking on the Add Existing Map Configuration, the records of the map configurations will be available.
You can assign the multiple map configurations to the single Security Template. OR You can also assign the Security Template to the users by navigating to Map Configuration Detail → Click on any particular configuration. Under the General tab, you will find the Security Template Configuration option.
If you are facing any issues with any feature, feel free to reach out to us at sales@appjetty.com or you can also tweet at us at @appjetty. Source:https://www.appjetty.com/blog/how-to-create-and-assign-security-templates-in-mappyfie ld-365/