Download
1 / 16
160 likes | 580 Views
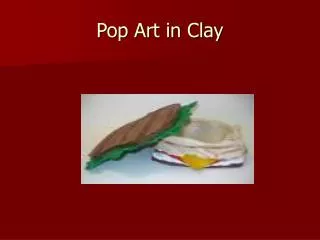
Using Clay to create ART. Three Dimensional Design. Designing in the “Round”. 3D artists get to consider ALL sides of their artwork when designing their piece because viewers interact with the art within an actual, physical space

E N D
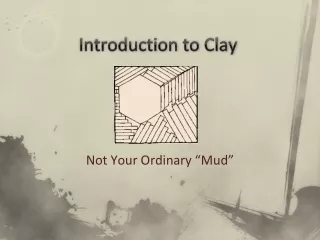
Using Clay to create ART. Three Dimensional Design
Designing in the “Round” • 3D artists get to consider ALL sides of their artwork when designing their piece because viewers interact with the art within an actual, physical space • Artists don’t only consider the illusion of space, but ACTUAL space!
3-D artists have many materials to chose from paper, metal, plaster, plastic, stone, fibers, wood, natural elements…. Paper Sculpture by Ferry Staverman Michelangelo’s “David” Sculpture made of disposable cupcake tins by Tara Donavan
CLAY…Important Info: • Clay is a natural material of earth that becomes plastic (flexible)when moistened and waterproof when fired to very high temperatures in a kiln. Examples of fired clay are brick, tile and pottery. We will be working with a stoneware clay called Whitestone.
AKILNis a furnace that heats to extremely high temperatures—over 2000 degrees. It transforms and hardens the clay.
THE 6 STAGES OF CLAY: • Clay TRANSFORMS over 6 stages • It’s important to understand how you can work with clay at each stage. • Certain actions can ONLY be done during each stage. • Clay can be dissolved in water until it is fired in a kiln.
The 6 Stages of Clay: • SLIP:Clay thinned with water to create a thick liquid. (CLAY GLUE) Slip is used on scored areas to bind soft pieces of claytogether. • PLASTIC: Clay that is wet enough to work with: It will bendand shape into any form. It is FLEXIBLE. 3. LEATHER HARD: this is the stage midway between wet and dry.The clay will be stiff enough to support itself, but pliable to be bent and worked with.
6 stages continued.. 4. GREENWARE/BONE DRY: ceramic ware that is DRY but has not been fired. THIS IS THE MOST FRAGILE STAGE!! • BISQUE: firedpottery that is unglazed. It can no longer be recycled or dissolved by water. 6. GLAZE: one way to color pottery; the pottery must be firedagain after being glazed; glazing makes the pottery safe for food.
Key Characteristics of CLAY: • Clay SHRINKSas it dries • Once clay dries beyond the leather hard stage YOU CANNOT ADD CLAY TO IT. It will not hold together. • Clay SHRINKS in the kiln • IF pieces are not joined together with slip and scoring, it will fall apart during firing. • Clay that has NOT been fired is NOT waterproofOR food safe. • Clay is waterproof and/or food safe ONLY when the correct type of GLAZEhas been applied AND fired a secondtime.
SCULPTURAL TECHNIQUES • RELIEF: A type of sculpture which is not freestanding; objects in the relief project from a background.
SCULPUTRAL TECHNIQUES. CONT’D • ADDITIVE: A method of making sculpture where you are ADDING parts together to make a whole.
SCULPTURAL TECHNIQUES CONT’D • SUBTRACTIVE: A method of making sculpture where you REMOVEparts to “reveal” the form.
CONSTRUCTION TECHNIQUES • SLAB: A piece of clay that has been evenly flattened by means of a rolling pin or a slab roller. • SCORE: Scratching grooves or lines into surfaces of clay pieces that will be joined together. Scoring helps the pieces of clay to bond together.
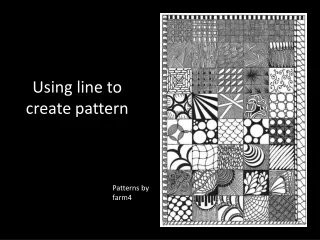
DECORATING METHODS • INCISE: Using a needle toolor other pointed tool to “draw” into your clay. (Be careful not to go all the way through!) • TEXTURE: An artwork’s actual or impliedsurface quality, such as rough, smooth, or soft.
DECORATING METHODS CONTINUED… • CARVE: To remove an entire area of the surfaceof the clay leaving a recessedspace. (This also does not go all the way through the clay) • APPLIQUE: A decorative technique where flatclayshapesare attached to the clay project using the “slip and score” technique. • PIERCE: Using a sharp tool to create an openingin the clay that you can see through.