Download
1 / 8
80 likes | 342 Views
1 . Fold a sheet of paper lengthwise into four columns and cut it into four strips. Tape two of the strips together to create one long strip. Make another long strip by taping or gluing the other two strips together.

E N D
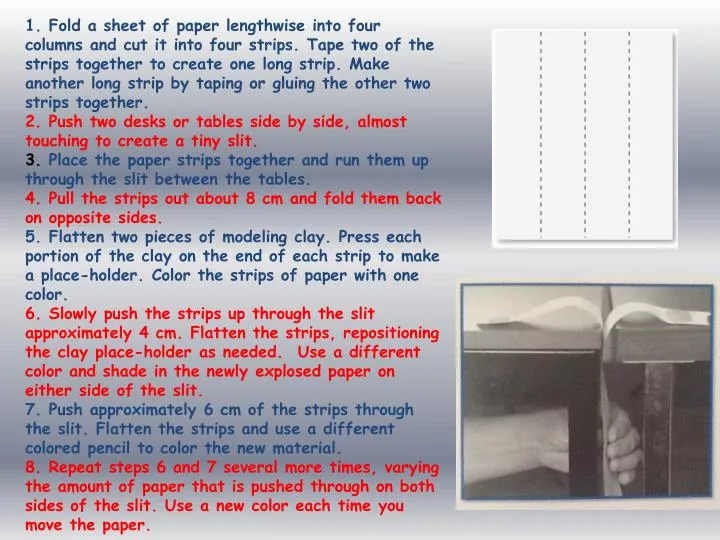
1. Fold a sheet of paper lengthwise into four columns and cut it into four strips. Tape two of the strips together to create one long strip. Make another long strip by taping or gluing the other two strips together. 2. Push two desks or tables side by side, almost touching to create a tiny slit. 3. Place the paper strips together and run them up through the slit between the tables. 4. Pull the strips out about 8 cm and fold them back on opposite sides. 5. Flatten two pieces of modeling clay. Press each portion of the clay on the end of each strip to make a place-holder. Color the strips of paper with one color. 6. Slowly push the strips up through the slit approximately 4 cm. Flatten the strips, repositioning the clay place-holder as needed. Use a different color and shade in the newly explosed paper on either side of the slit. 7. Push approximately 6 cm of the strips through the slit. Flatten the strips and use a different colored pencil to color the new material. 8. Repeat steps 6 and 7 several more times, varying the amount of paper that is pushed through on both sides of the slit. Use a new color each time you move the paper.
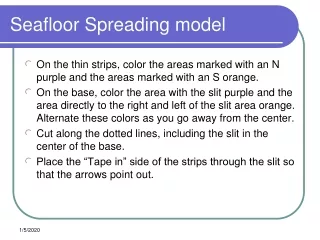
Modeling Seafloor Spreading - Diagram After Modeling: • Draw your set-up and results (JP 89 top section). • Label and identify what each of the following parts represents (JP 89 top section): • (A) desk top • (B) area under the desk top • (C) opening between the desk top • (D) paper strips • (E) alternating colors.
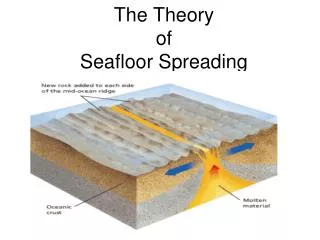
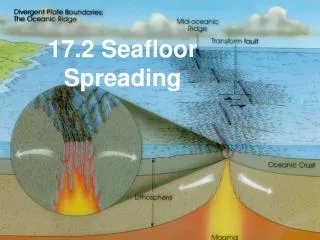
#1: What force might be causing the lithospheric plates to pull apart?
#2: What is the name of the landform located where two oceanic plates are pulling apart?
#3: Do you think the crust is being destroyed or created at locations where the plates are pulling apart? Explain your reasoning.
#4: If one desk represented the North American plate, and the other desk represented the Eurasian plate, what is actually happening to the distance between North America and Europe?
#5: On your seafloor paper model, where is the OLDEST seafloor located? How do you know?
#6: On your seafloor paper model, where is the NEWEST seafloor located? How do you know?