Download
1 / 8
100 likes | 361 Views
The Life Cycle of A Plant. By Tiffany mize. TEKS. K.1 (B) learn how to use and conserve resources and materials. K. 2 (A) ask questions about organisms, objects, and events; K.2 (D) construct reasonable explanations using information; and

E N D
The Life Cycle of A Plant By Tiffany mize
TEKS • K.1 (B) learn how to use and conserve resources and materials. • K. 2 (A) ask questions about organisms, objects, and events; • K.2 (D) construct reasonable explanations using information; and • K.6 (B) record observations about parts of plants including leaves, roots, stems, and flowers
Learning Objectives • name the conditions suitable for the growth of seeds and plants • identify the parts of a plant • identify the plant life cycle in correct sequence • plant a seed and observe the complete life cycle of flowering plants grown from seeds over a period of time
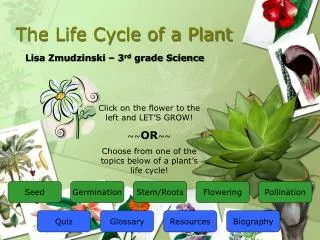
Parts of the Plant • Stem • Flower • Leaf • Root
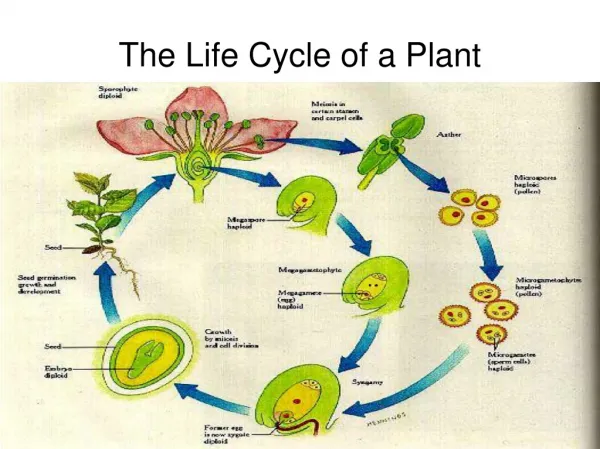
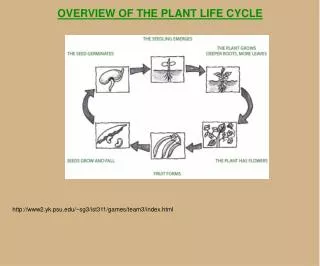
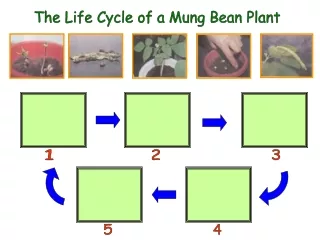
Plant Life Cycle • Seeding • Flowering • Pollination • Repetition of cycle
Science Experiment • Gather materials for planting the seeds. (Soil, lima beans, cups, • dropper, water). • Show the materials. Discuss the proper use of the materials. On chart paper, list the 5 Senses with students and remind them that scientists do not use their sense of taste. • Explain to the children that they are going to plant a seed. Model how to plant the seed: • Step 1: Fill the cup with soil (half full). • Step 2: Place the seed in the soil. • Step 3: Cover the seed with more soil, filling the cup ¾ full. • Step 4: Use the dropper filled with water and add three-four drops of water to the soil. • Step 5: Place the plant in a sunny area. • Check for understanding by having students repeat the steps and the rules for using the materials. • Divide students into groups of 3-4 and pass out materials. Tell students to begin planting seeds. Observe students and help if needed. • After all the seeds have been planted, gather students • Ask: “What will the plant will need to survive?” (Soil, water, sun light, air).
Internet Resources • Watch an interactive video on how the plant grows!! http://www.teachersdomain.org/asset/tdc02_vid_plantsgrow/ • Find activities and crafts at craftjr.com! • Parts of a plant and watch how plants grow and are affected by light and water at http://www2.bgfl.org/bgfl2/custom/resources_ftp/client_ftp/ks2/science/plants_pt2/
References • http://www.tooter4kids.com/Plants/parts_of_plants.htm • Teachersdomain.org • Buzzle.com • http://www2.bgfl.org/bgfl2/custom/resources_ftp/client_ftp/ks2/science/plants_pt2/