Download
1 / 16
200 likes | 705 Views
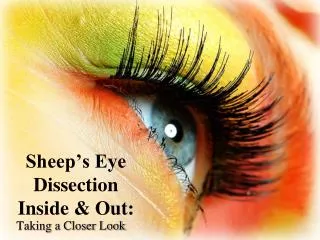
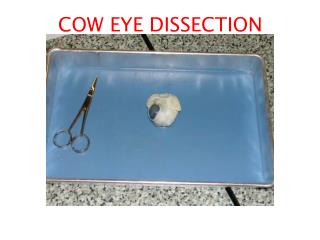
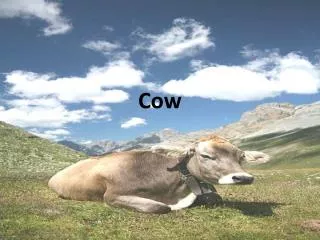
COW EYE DISSECTION. Use this presentation as your “virtual” cow eye dissection, or use it as a guide for your actual classroom dissection (recommended). If you are following along at school, please be careful. Scalpels and razors can cut you as easily as they cut cow eyes.

E N D
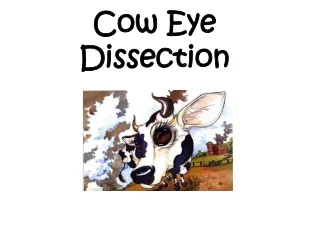
COW EYE DISSECTION Use this presentation as your “virtual” cow eye dissection, or use it as a guide for your actual classroom dissection (recommended). If you are following along at school, please be careful. Scalpels and razors can cut you as easily as they cut cow eyes. You can order cow's eyes at a butcher shop or purchase them directly from a slaughterhouse. Try to get eyes with the muscles and fat still attached. If possible pick up the cow's eyes the day of the dissection, eyes are easier to cut when they are fresh.
MATERIALS NEEDED: -One cow's eye for every two participants.-One single-edged razor blade or scalpel -Scissors (optional)-Wax Paper and Paper Towels-Plastic garbage bag
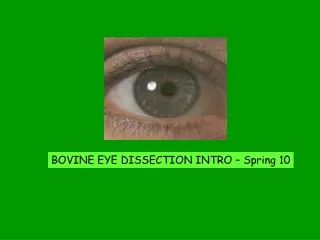
STEP 1: EXAMINE EYE Examine the outside of the eye. See how many parts of the eye you can identify. You should be able to find the whites (or sclera) and the clear covering over the front of the eye (the cornea). You should also be able to identify the fat and muscle surronding the eye.
STEP 2: FIRST INCISION Make the first incision where the sclera meets the cornea. Cut until the aqueous humor is released.
STEP 3: CORNEA Rotate the eye and cut around the cornea. Be careful not to cut too deep or you may cut the lens. As the cornea starts to cut free, hold the cornea in the center and make the last cuts around it.
STEP 4: CORNEA Once you have removed the cornea, place it on the board (or cutting surface) and cut it with your scalpel or razor.
STEP 5: IRIS With the cornea removed, the next step is to pull out the iris. Place one finger in the center of the eye. Find the iris and pull it back. It should come out in one piece.
STEP 6: SCLERA It can be a bit tricky to remove the lens with the vitreous humor attached. It works best if you cut slits in the sclera. Be careful not to cut the lens.
STEP 7: LENS After enough incisions have been made in the sclera, you should be able to remove the lens. Sometimes the vitreous humor will be removed along with the lens.
STEP 8: EXAMINE LENS Hold up the lens and look through it. If the lens is too slippery, pat it dry and try again.
STEP 9: INSIDE OUT With the vitreous humor now removed, you should be able to turn the eye inside out.
STEP 10: RETINA The thin tissue on the back of the eye is the retina. Find the spot where the retina is attached. The shiny blue-green material is the tapetum.
STEP 11: OPTIC NERVE Find the spot where all the retina's nerves collect. It is called the blind spot. This is where all the nerves go out the back of the eye, forming the optic nerve.
STEP 12: OPTIC NERVE Return your attention to the outside of the eye. Locate the optic nerve. To see the separate fibers that make up the optic nerve, pinch the nerve with a pair of scissors or with your fingers.
STEP 13: CLEAN-UP Once the dissection is complete, properly dispose of the remains. They should be wrapped up in plastic and disposed of the same day. Also, if you used razor blades, they should be disposed of properly. (A blade is good for only one or two dissections.)