Download
1 / 12
120 likes | 130 Views
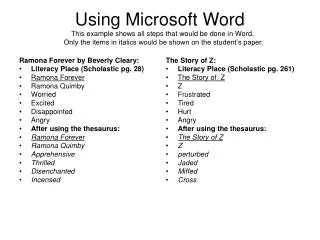
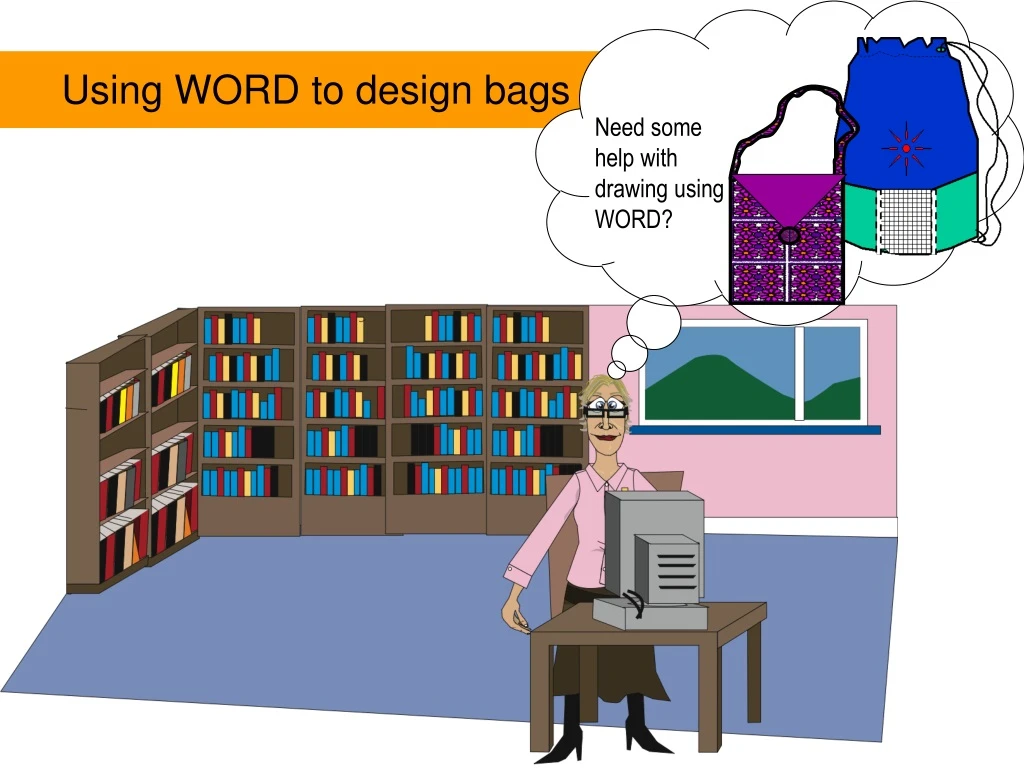
Using WORD to design bags. Need some help with drawing using WORD?. This drawing tool bar contain a lot of really helpful drawing aids, let see if we can work through these together. Drawing tool bar. A quick introduction to using WORD for drawing.

E N D
Using WORD to design bags Need some help with drawing using WORD?
This drawing tool bar contain a lot of really helpful drawing aids, let see if we can work through these together. Drawing tool bar A quick introduction to using WORD for drawing • To enable you to draw using WORD – the Drawing toolbar needs to be open. To open the Drawing toolbar – • click on the View toolbar • then Toolbars and finally select Drawing from this menu.
Using the Basic Shapes feature will give a range of outline bag shapes. Click on the AutoShapes to open Basic Shapes. A quick introduction to the Drawing toolbar in WORD Main drawing features AutoShapes menu Basic Shapes gives a range of outlines that can be used for your bag designs e.g. circle & rectangle. Some of the shapes have 3D features. • To draw a simple bag • select a square • add a half circle – change the size to form a handle& add a line of topstitching
2. Use the half circle to make a handle, the yellow diamond will enable you to change the width. 3.Postion the handle to create a bag. 1. Draw rectangle Other ideas using quick shapes Drawing a range of bags using WORD A little bit of colour and shade could improve the presentation maybe?.
A quick introduction to using WORD for drawing Adding colour, texture & pattern Adding colour & 3D effects often gives designs impact. • In the Fill menu there are a number of options: • Fill Colour allows you to create designs with solid colours • Fill Effects enables you to create interesting patterns & textures. Lets look in more detail at Fill Effects.
Click on Fill and then on Fill Effect and experiment with the Gradient and Texture tools. Texture – some of the fills are suitable. A quick introduction to using WORD for drawing Fill Effects features • Gradient Effect – this can be used in a number of ways: • to get a 3D effects using the Shading styles. • make fabrics look sheer using the Transparency tool.
A quick introduction to using WORD for drawing More Fill Effects features • The Pattern Effect allows you to : • produce a range of textured effects. • use one or a blend of two colours
A quick introduction to using WORD for drawing More Fill Effects features • The Picture menu allows you to : • fill an object with saved photographs or designs. Click on Select Picture and it will take you to My Picture – selected your picture, click Insert and it will fill your outline design. Just to re-cap this again.
A quick revision - Drawing a bag using WORD Drawing an embroidered bag 1. Draw the main part of the bag, select a shape from the AutoShapes menu. 2. Draw the handle – use the half circle from AutoShapes again – adjust the size and shape. Use the small yellow diamond to do this. To bring the handle to the front of the bag - click on Draw – next to AutoShape and select - Order – Bring to Front. 3. Add colour to the bag using Fill Colour – gradient tool. 4. Add embroidery stitches using different line styles & Auto shapes
AutoShapes menu This bag was drawn using the curved line To draw your own outline shapes of the bags you’ll need to use the lines toolbar. Firstly click on the AutoShapes to find the Lines menu option. A quick introduction to the Drawing toolbar in WORD Main drawing features The AutoShapes menu contains a number of features to help you draw your designs : Lines – contains a range of lines styles that can be used e.g. Curve, Freeform & Scribble. You will need to test which one is best suited for a task.
A quick revision - Drawing a drawstring bag using WORD 1. Draw a rectangle – using Auto Shapes to give you the outline shape of the drawstring bag. 2. Draw your bag using the Scribble line this time so you can experiment with a different line style. 3. Add style further details to the bags – drawing string, topstitching , logo etc 4. Add colour or texture to the bag using Fill Colour – gradient tool etc
“ I want that one” “ No I want that one too” Have a look at some of the Fill effects that have been created using the Gradients a and Picture tools. Possible colour and pattern effects to bag designs using WORD