Download
1 / 27
270 likes | 431 Views
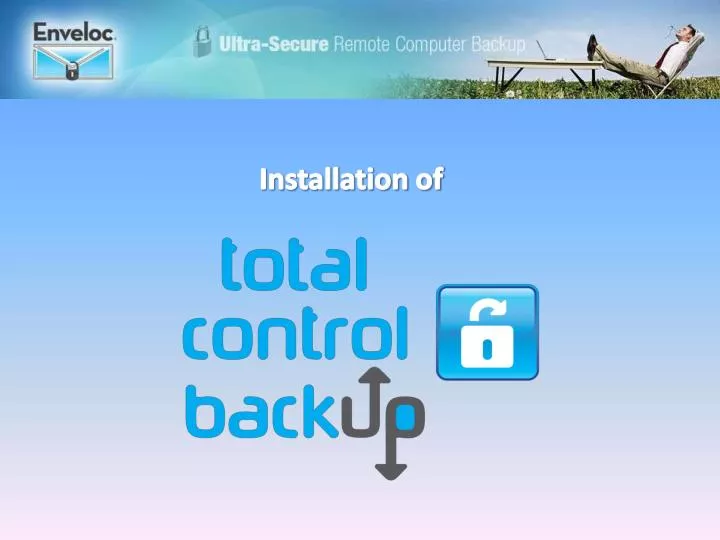
Installation of. After running the installation program and agreeing to the Service Agreement,. the configuration process begins. You will determine what gets backed up and when. Since this is a new installation, choose “Continue” to proceed.

E N D
After running the installation program and agreeing to the Service Agreement, the configuration process begins. You will determine what gets backed up and when.
Since this is a new installation, choose “Continue” to proceed.
Make up and enter an encryption key that the program will use to secure your backups. Remember, this key will be required to restore any of your backups.
You may use a predetermined hint or make up your own custom question and answer The program will supply the key automatically for restorations if the option is checked.
You may also opt to store a copy of the key on Enveloc’s server
Ensure you have a printer connected and configured to print copies of the key
You may choose to secure your billing information from unauthorized viewing
It is best to let the computer back up at times when the computer is not in use
The program will identify the folders and files for the next step - selection
Put a check in the boxes next to the folders you wish to back up. Click on the + signs to expand the tree and reveal the sub-folders
If you uncheck a folder, all sub-folders below it will be de-selected
Select the folders you want backed up and click OK to continue
Click Cancel to return to the selection list to fine-tune it
Your computer connects to Enveloc’s server to establish your account
Your contact and billing information is uploaded in encrypted format
Ensure your printer is online, your encryption key will now be printed After communication tests and display of the Service Agreement, setup is complete